Want to get more email subscribers for your site, store, or service? Generate positive word of mouth on social media? Spread organically through your biggest fans’ social networks?
If so, you should run a milestone referral program. Encourage people to sign up for your email newsletter, and give them rewards for any friends they get to sign up as well.
In this guide, we’re going to set up a complete milestone referral marketing
program using Peach’s.
This tutorial takes about fifteen minutes.
What is a newsletter milestone referral program?
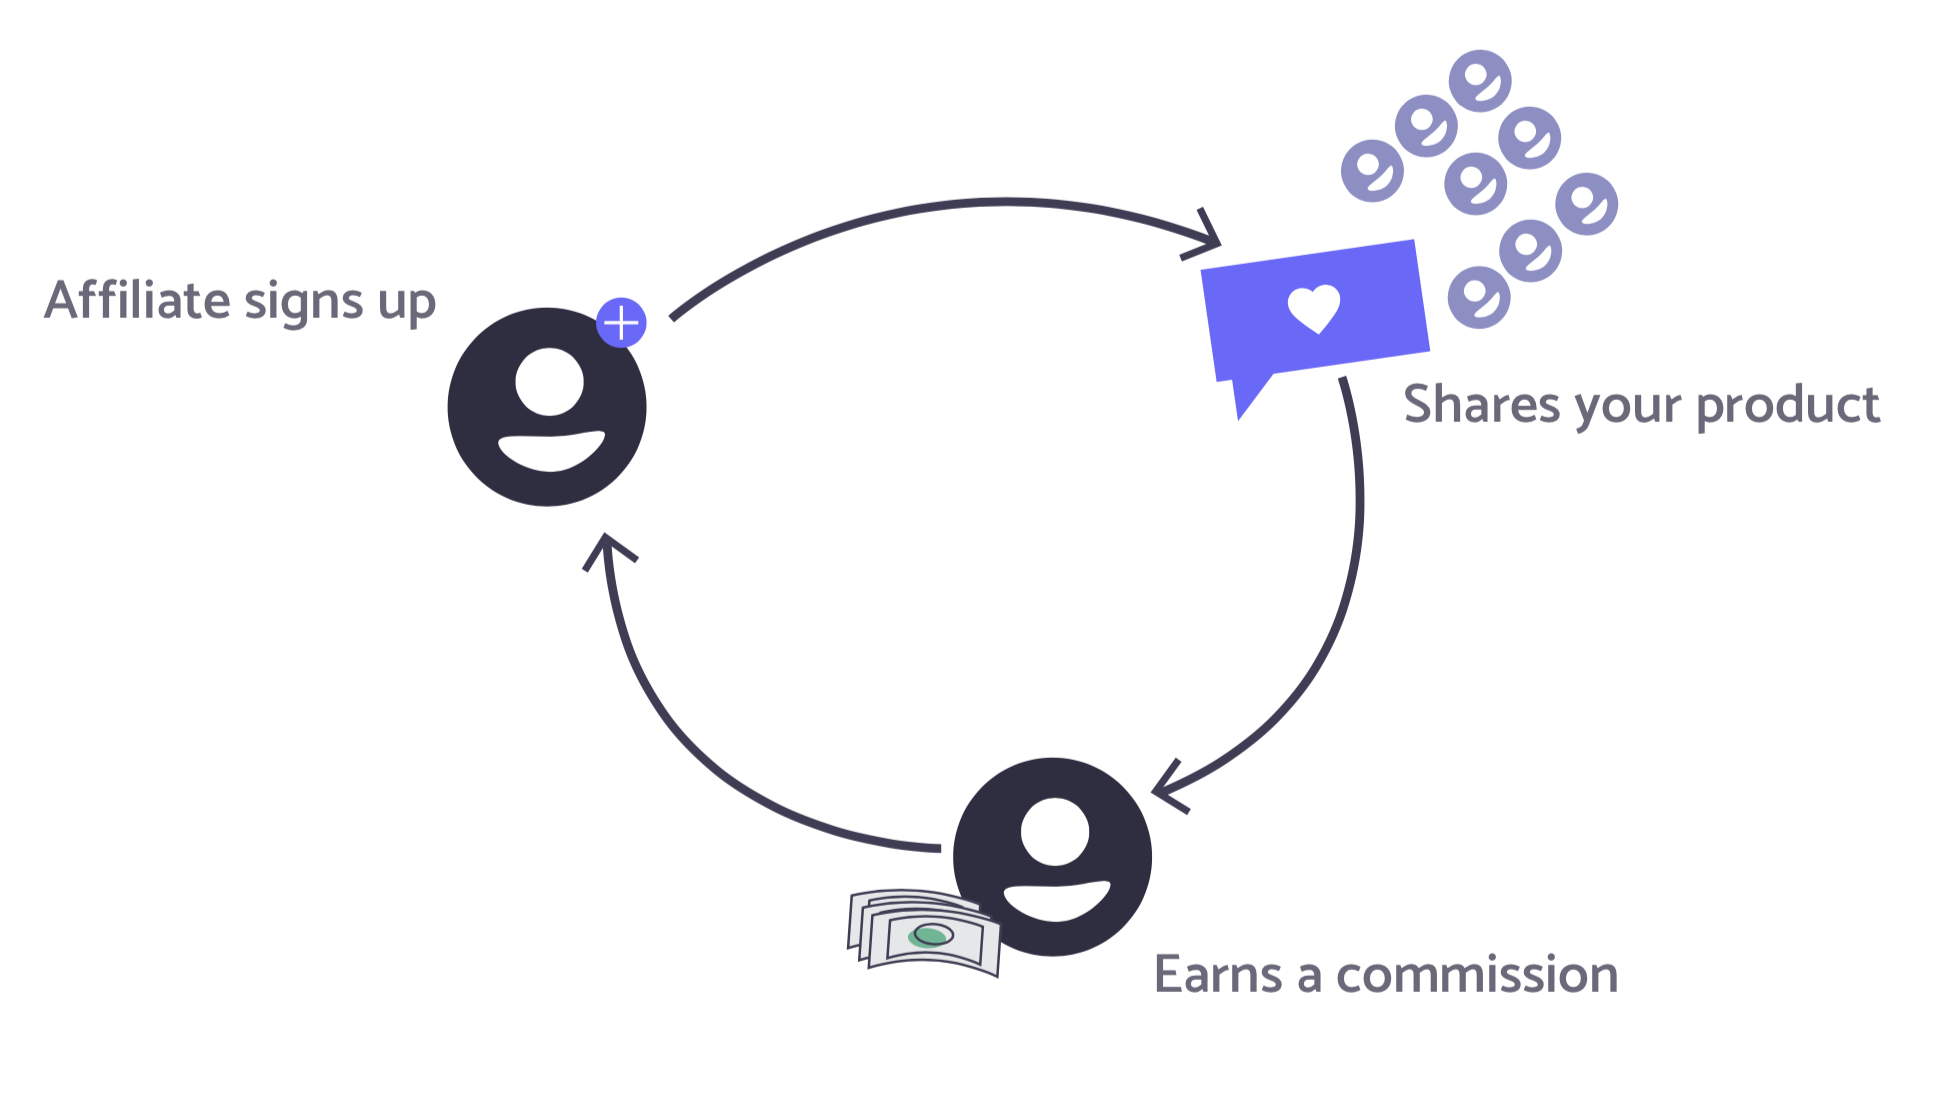
A subscriber milestone referral program lets you give rewards to people who refer their friends to sign up for your mailing list or email newsletter. It’s often used for products that are pre-launch.
You’ll create a landing page for your product, connect a referral program, and let people earn early access, discounts, or merch for telling their friends about you.
Why would you want one?
When you’re pre-launch, a subscriber milestone referral program helps you build excitement and viral interest in your products. It lets customers get a sneak peek into your business, and sign up to be notified when your product is available.
Plus, they get rewards for sharing your business via email or on social media.
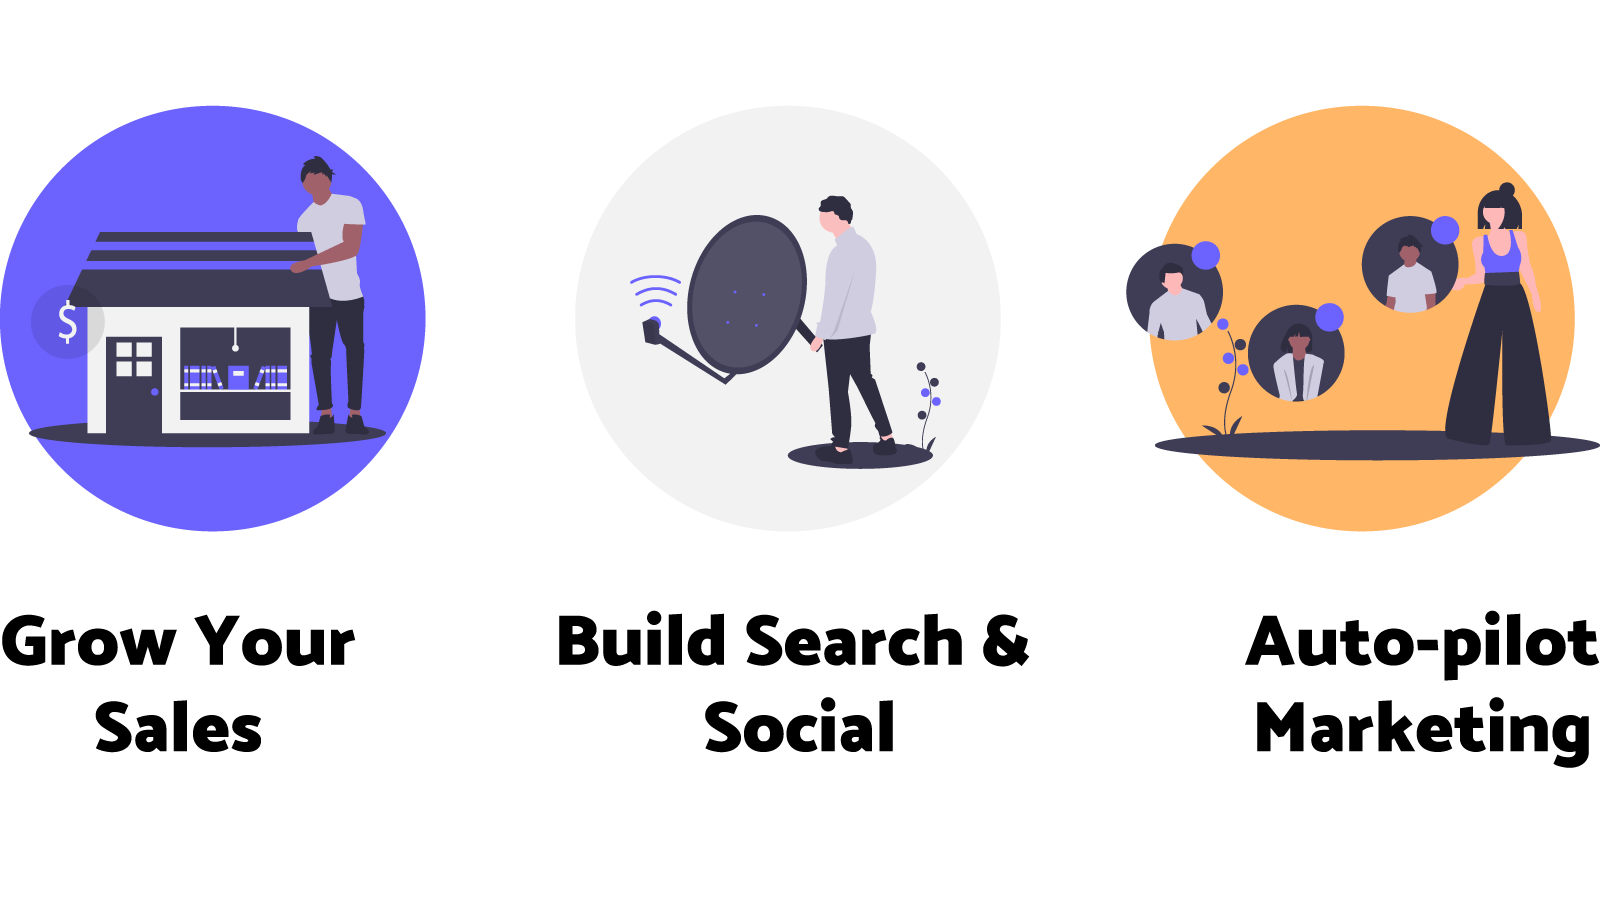
If you’ve already got a great online store, but you want to do more email marketing, a newsletter milestone referral program will help you grow your mailing list much faster than traditional methods.
Since you reward people for sharing as well as signing up, you’ll reach many more people than just your site’s regular visitors.
And email marketing is one of the most underrated marketing methods. It’s cheap, super effective, and high quality – way better than running expensive ads on social media. You just need to have a solid mailing list to send to!
Let’s get into setting up your landing page & creating your milestone referral program.
In this guide, we’ll use Squarespace. (But Peach’s works with any website builder! You’ll just need to translate them for your platform.)
Design your rewards
First, think about your products and your business.
What rewards will get people excited about your products and your brand? What’s a cool enough reward to make people want to tell their friends about you?
For Harry’s (the company that makes razors and shaving products), they had four milestones in their program. When someone referred five friends, they’d get free shave cream. At 10 and 25 referrals, subscribers got a free razor. And at 50 referrals, they got free shaving for a year.
If you’re unsure, I’d recommend the following milestones (reward tiers)
Refer 1 friend
Referring just one friend is good so that people don’t feel intimidated for sharing. A great reward here is a $5 discount code or free shipping on their next purchase.
Refer 5 friends
For someone who refers five friends, give them a product sample or sticker pack. This is really a nice level of sharing that balances a cool gift with an attainable level of sharing with friends.
Refer 25 friends
For referring 25 friends to your email newsletter, it’s worth rewarding someone with a free product. Most people probably won’t reach 25 referrals – unless they have a big following on Instagram or other social media, but if they do, a free product might even get them to post again about your site when they receive it.
And you should consider setting up an affiliate program if you have a few people making a lot of referrals.
Create your landing page
In Squarespace, we’re going to create a landing page that explains our referral program’s offer. Try to make this page nice and visual, and explain the rewards as clearly as you can.
For this example, we’ll set up a subscriber milestone referral program that rewards people for sharing the store with 1 friend, 5 friends, and 25 friends.
For 1 friend referral, we’ll give them a free shipping discount code.
For 5 friends referred, we’ll send them a free sticker pack.
And for 25 friends referred, we’ll give them a free piece of merch.
Let’s create the landing page in Squarespace.
(Note – you don’t have to follow these steps exactly if you want your landing page to look different to this example. Just jump back in at the “Connect your milestone referral program” step.)
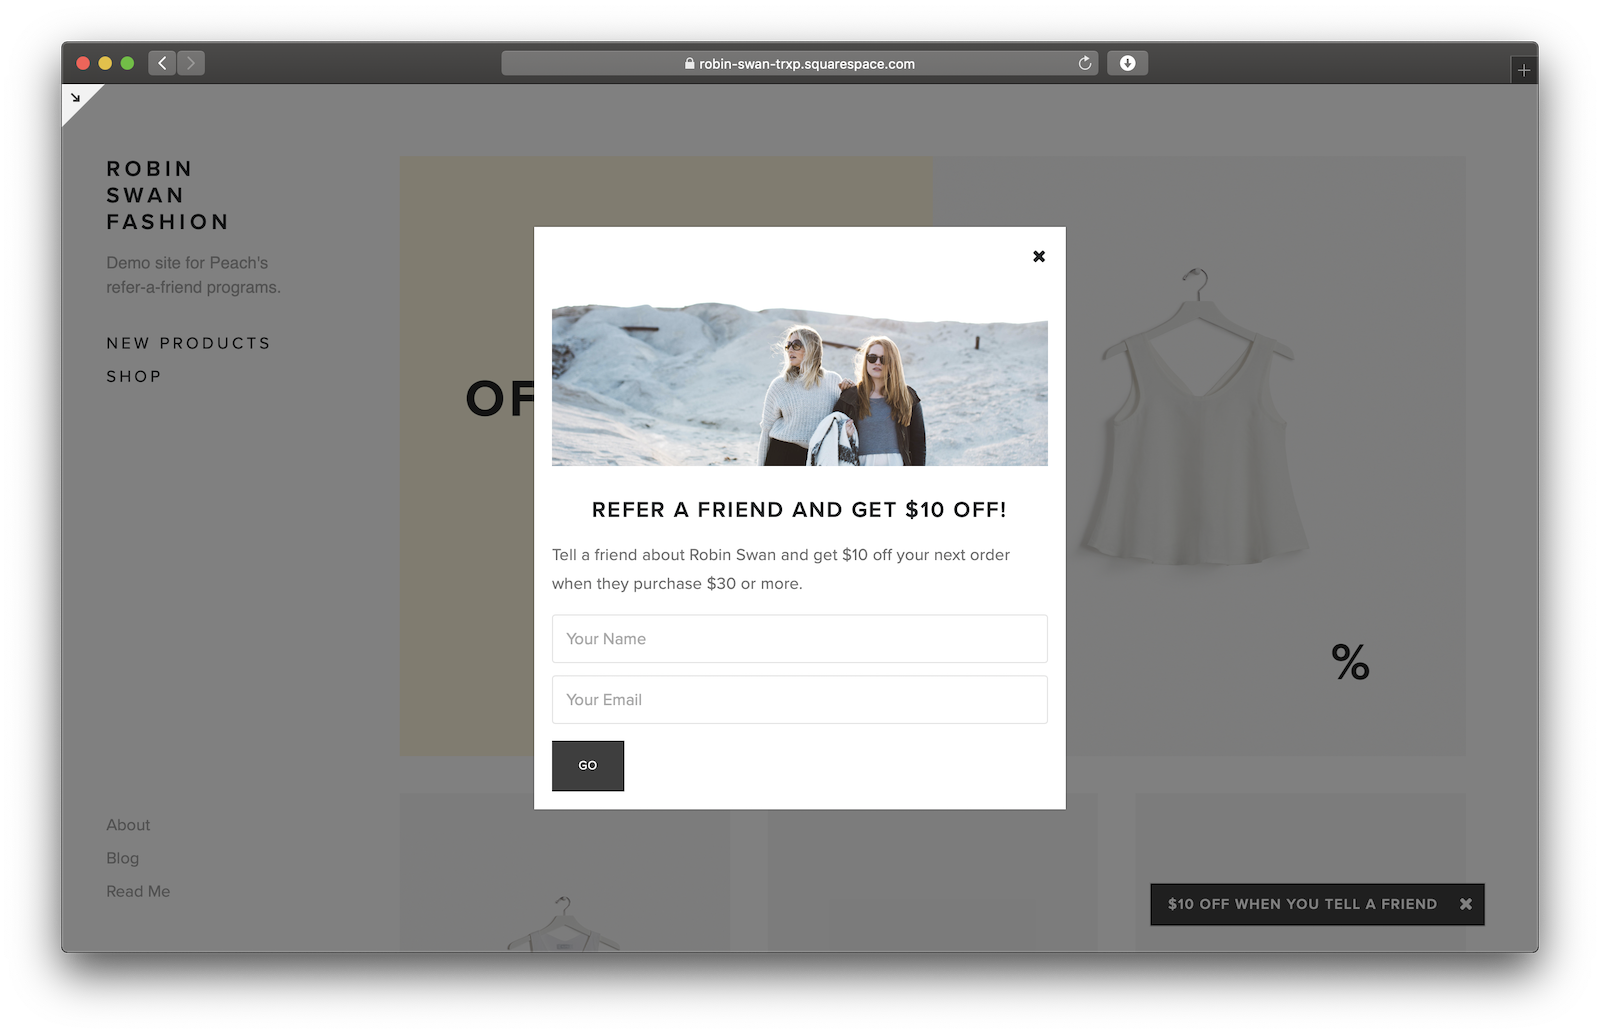
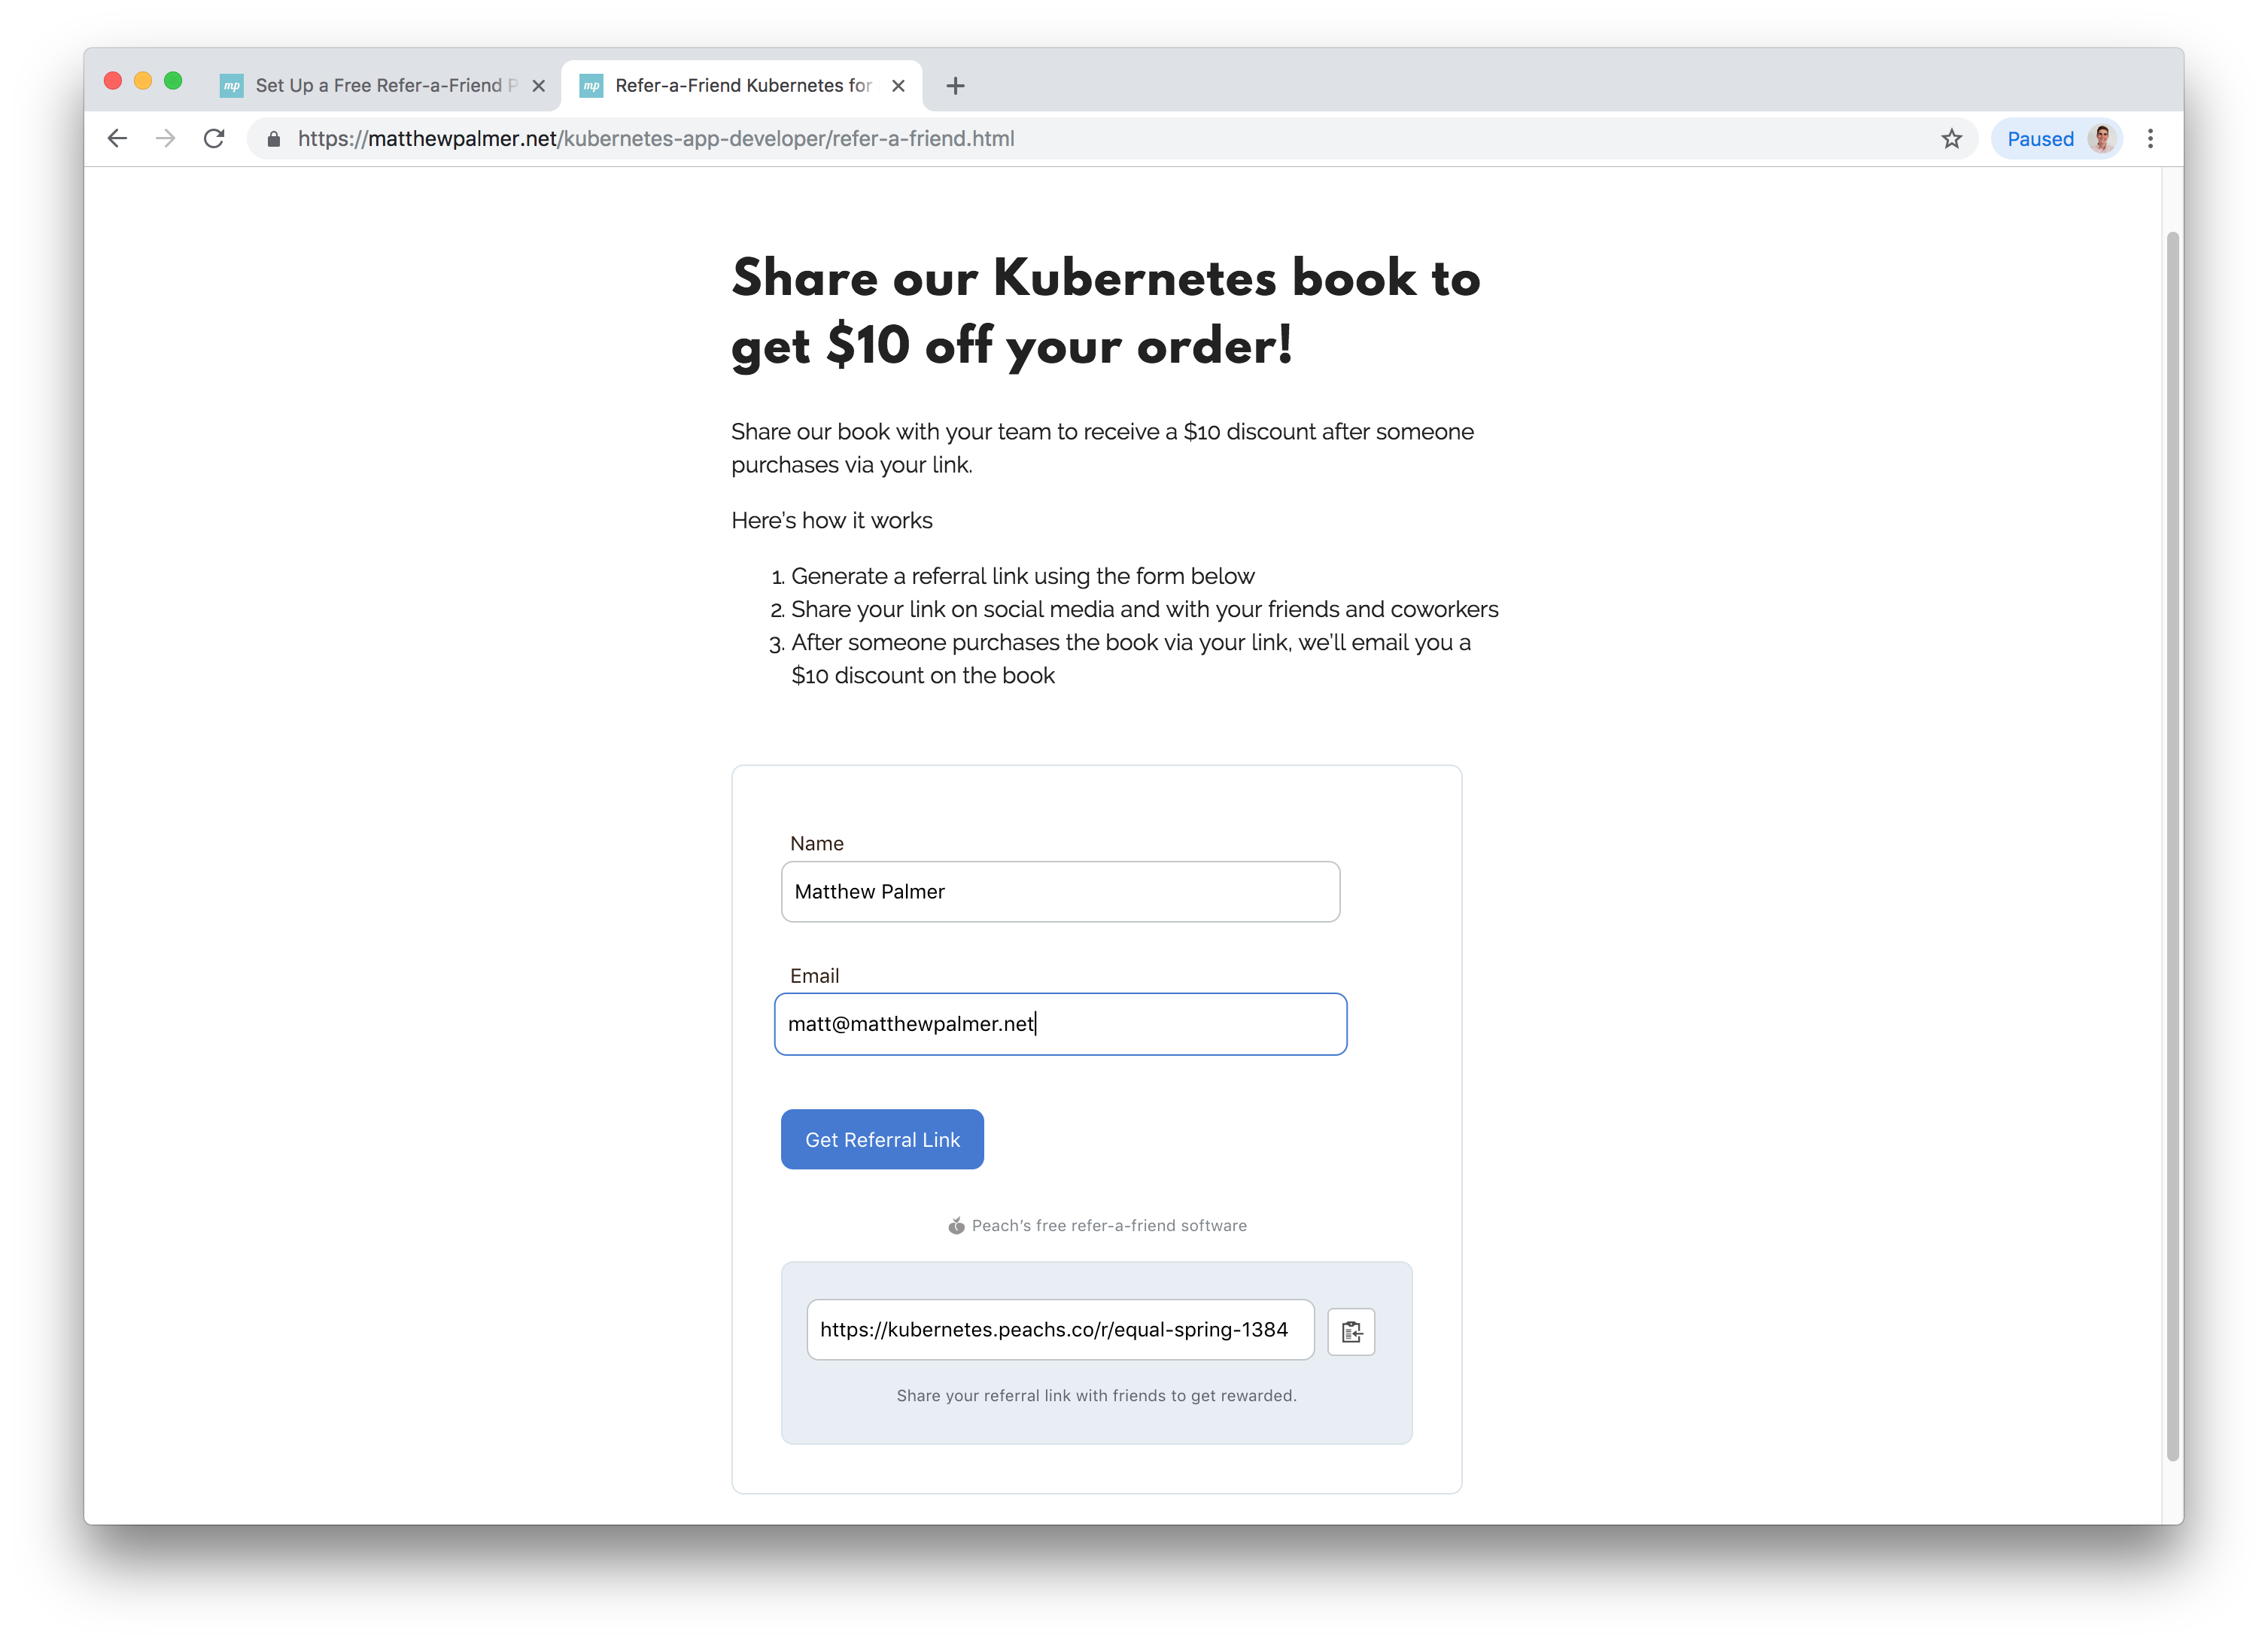
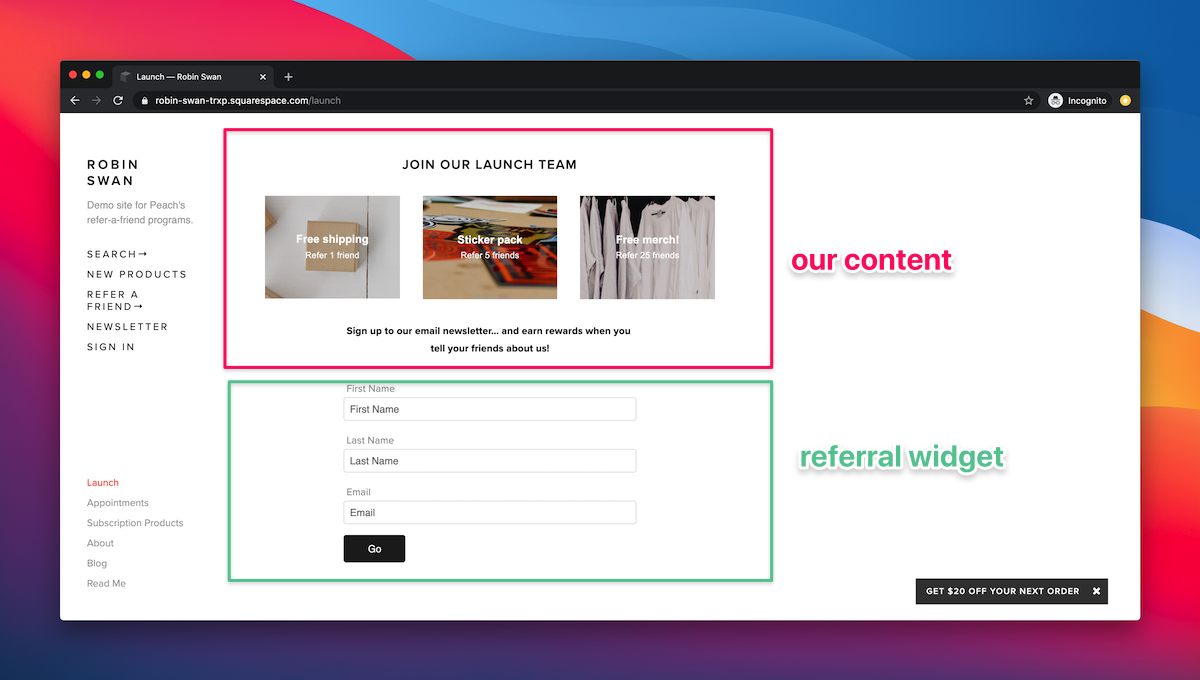
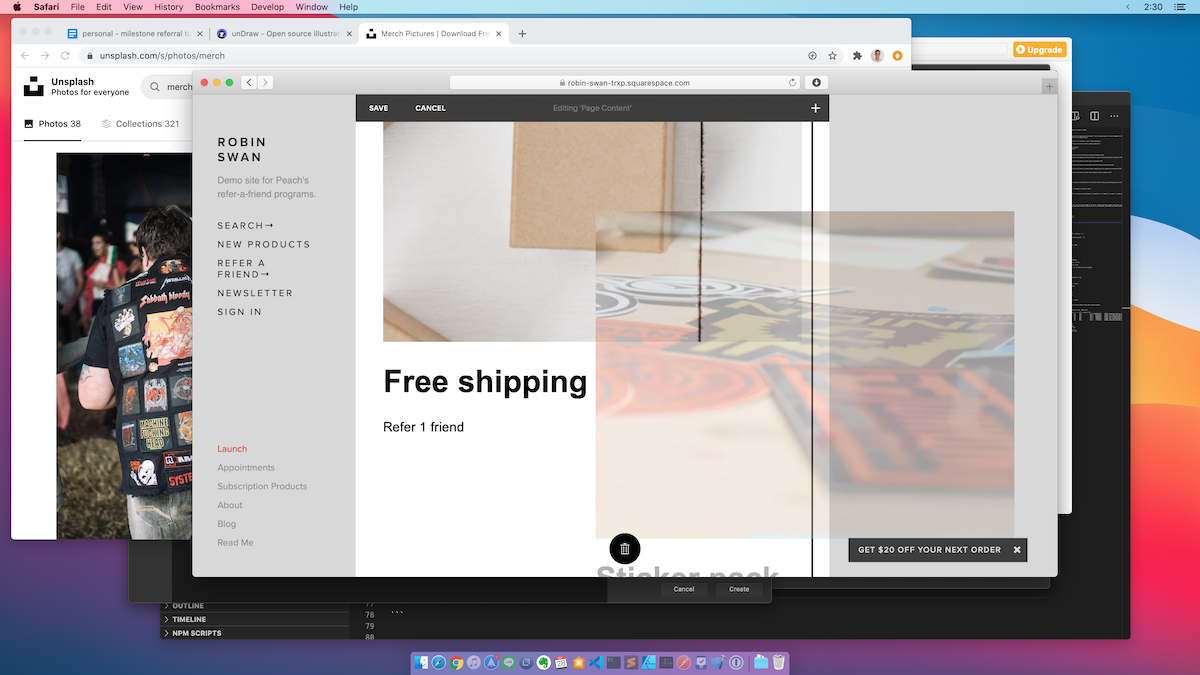
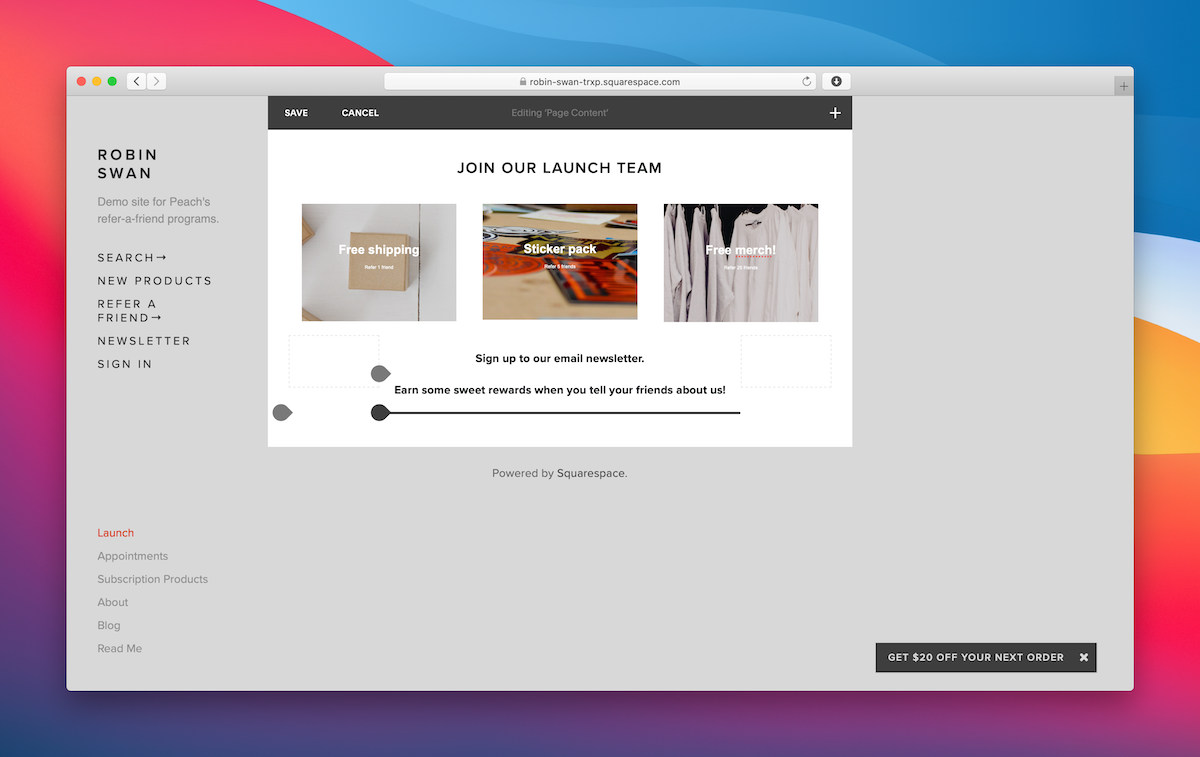
This is the landing page we’ll be creating.
Create the content
In your Squarespace admin, click Pages, then click the plus button to create a new page. For this example, we’ll use the “About” template.
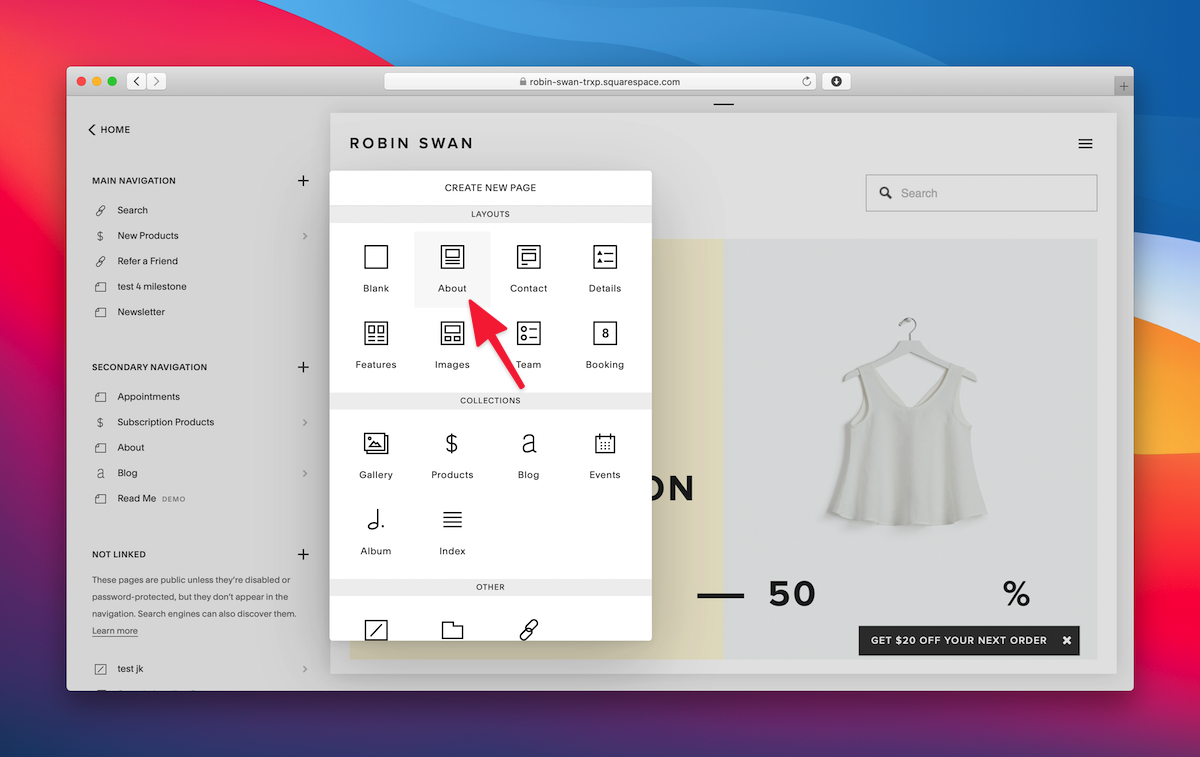
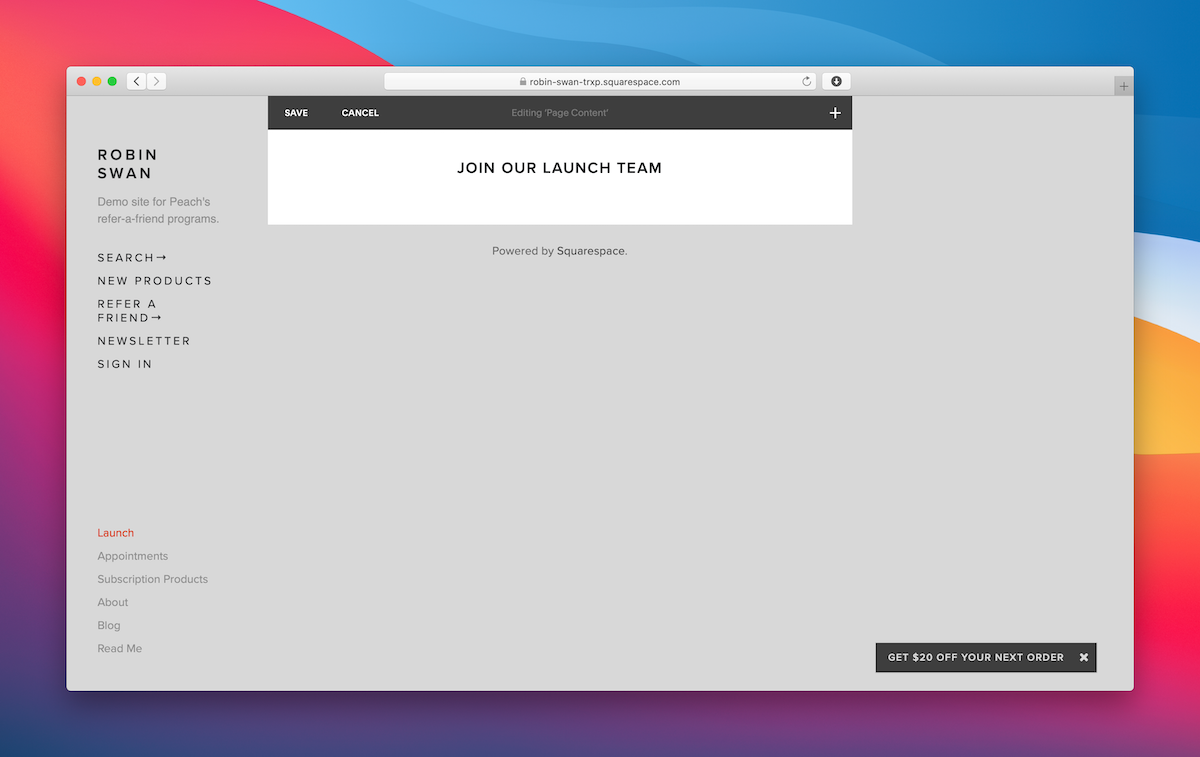
Remove all the existing blocks from the template so that we’ve just got the page title.
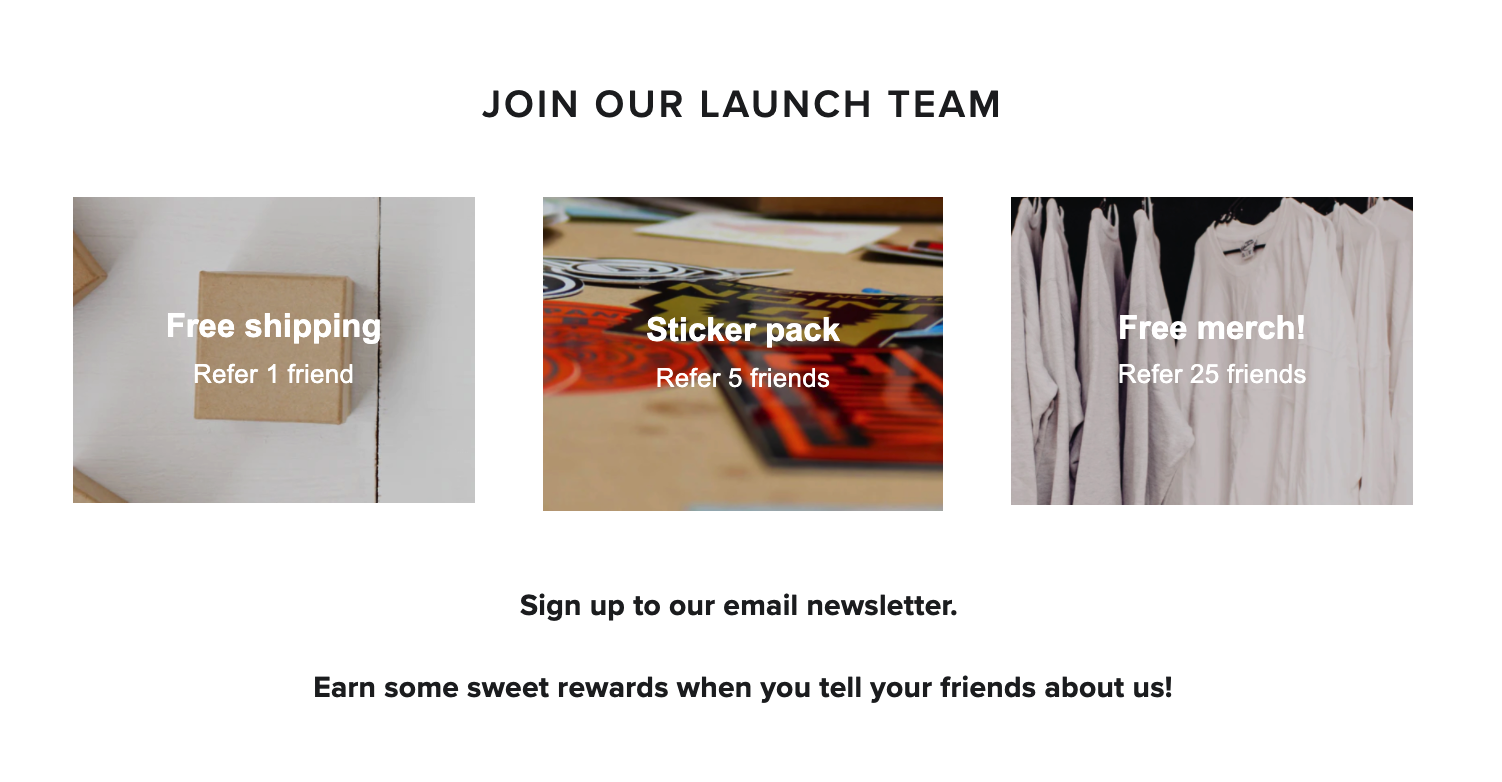
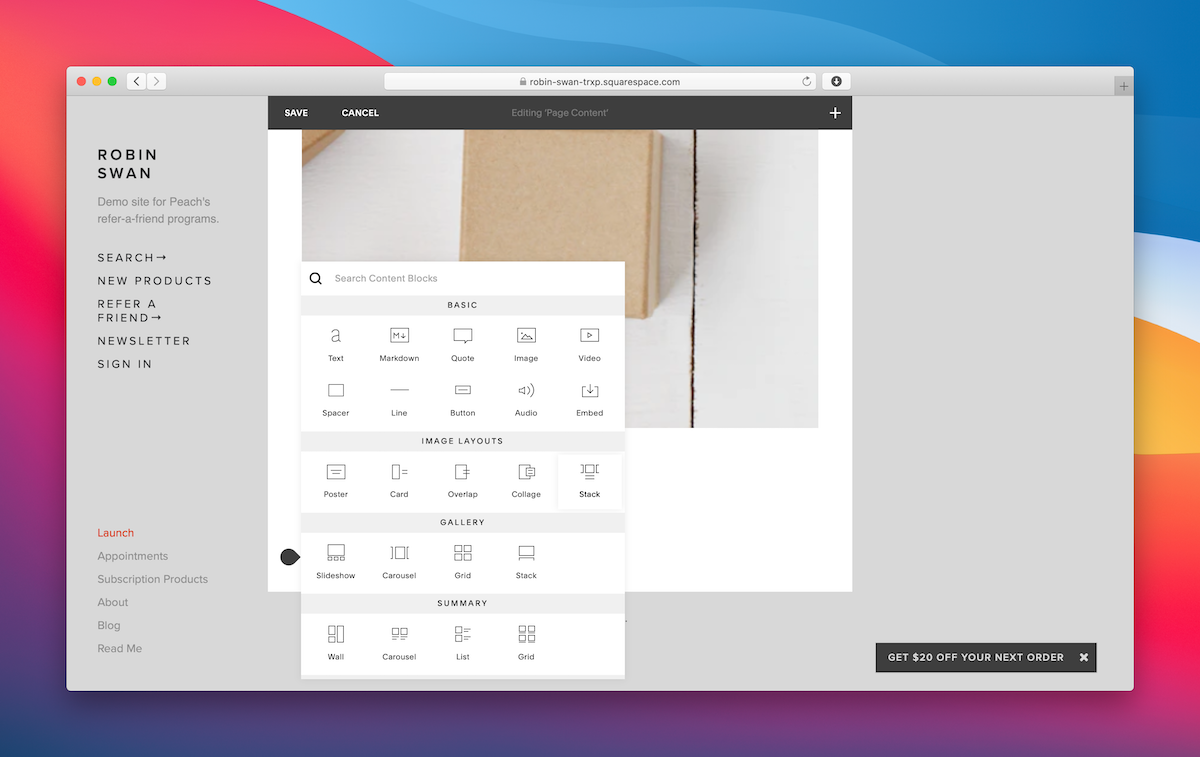
Now, let’s add in three images of our rewards. Create new image blocks with images that show off that reward level.
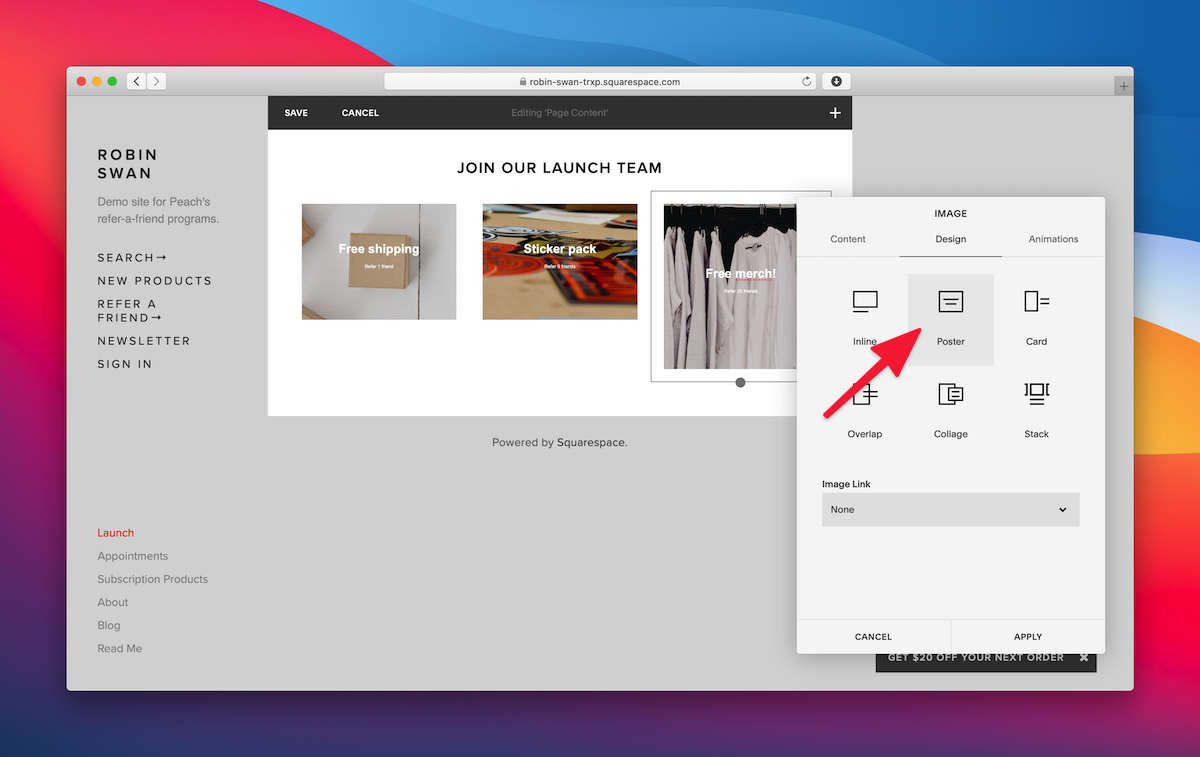
We’ll use the “Poster” image layout so that the caption appears over our images.
Once you’ve added the images, drag the second image to the right of the first image. This will create a new column.
Repeat this by dragging the third image to the right of the first two, which creates a third column.
You might need to rearrange the title block at this point. Once you’re set up, you’ll have a nice title and a three column layout of images with your reward levels.
Now, let’s create space for our description of the referral program. In this spot, we need to explain to visitors how the referral program works.
Add a text block to your page, and then add two spacer blocks to either side of the text block. (Use the same method as before to create columns).
If you want to resize your columns, hover your cursor between two columns and it will change to the vertical bar cursor. Then you can resize your column width.
Now, in our text block, we’ll add a quick message to explain how the program works.
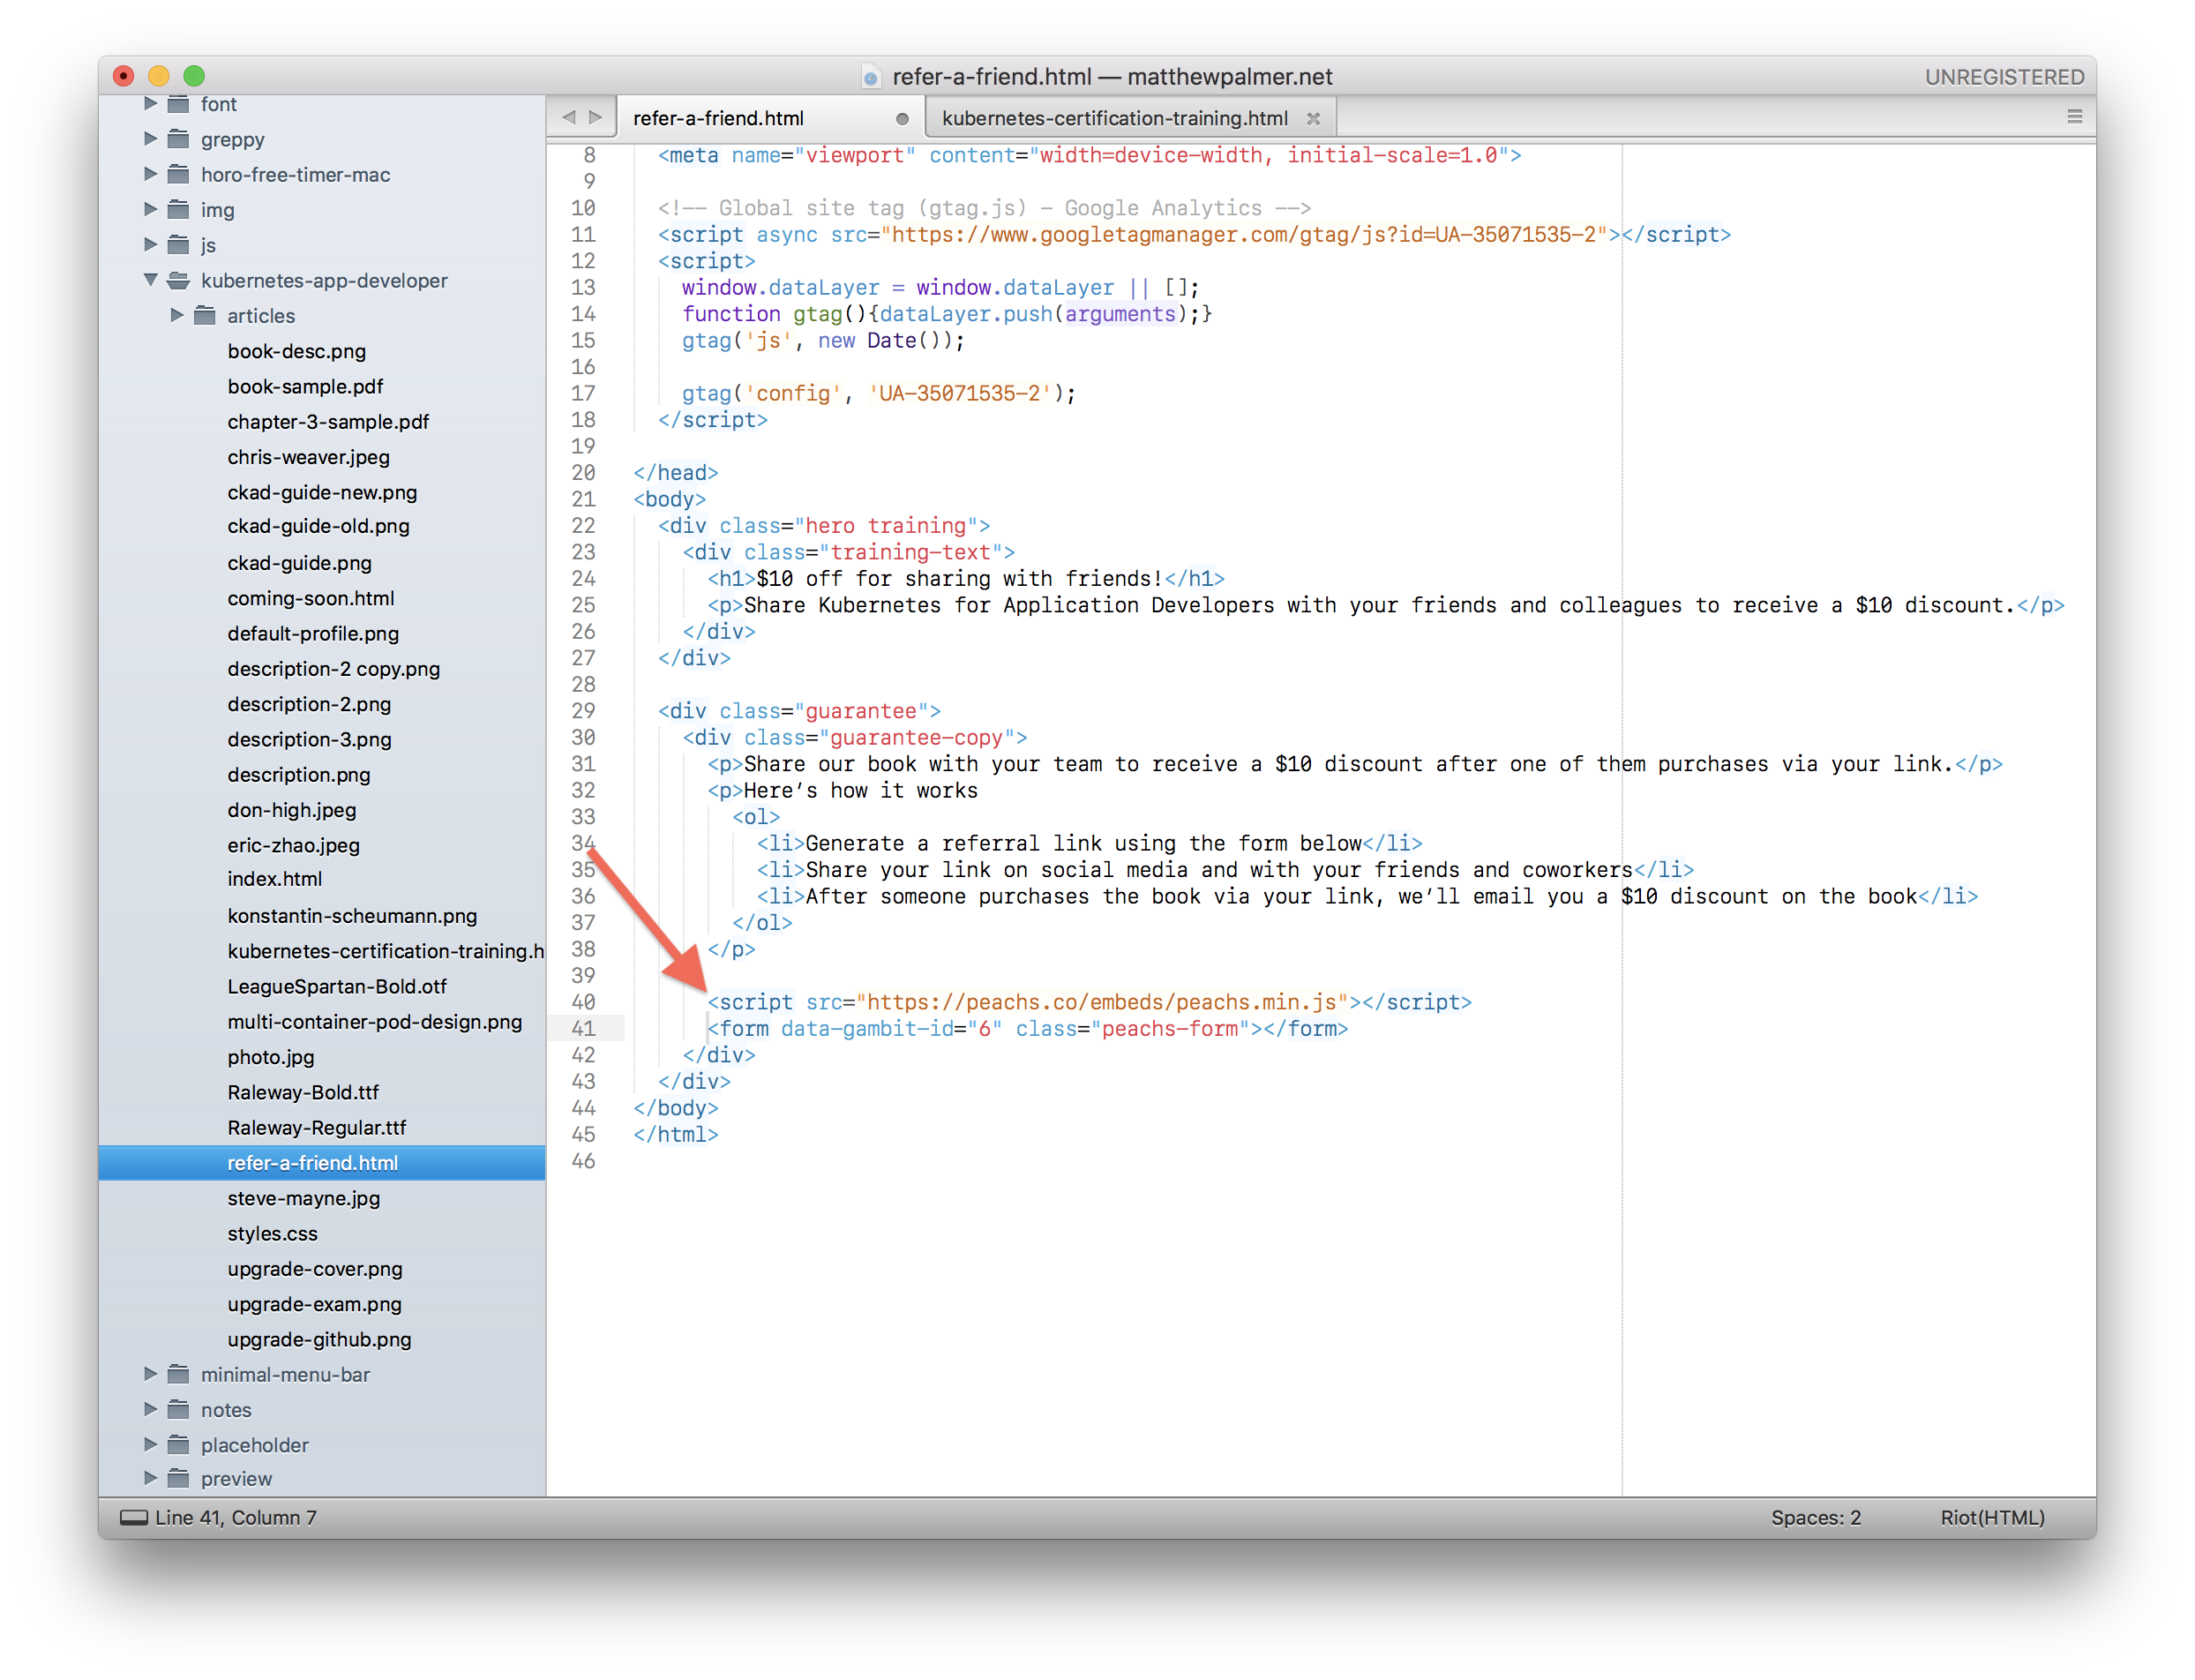
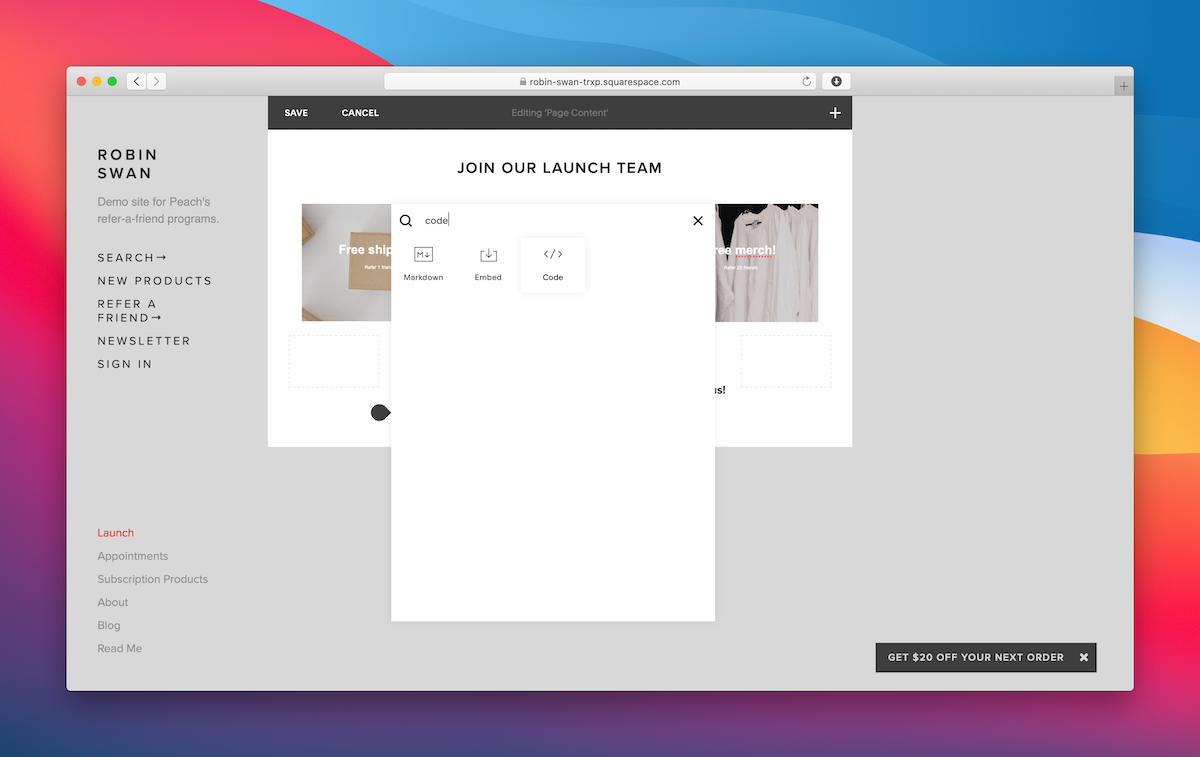
Add the code block
Now that we’ve set up the content to explain our program and our reward tiers, we can add the actual subscriber form.
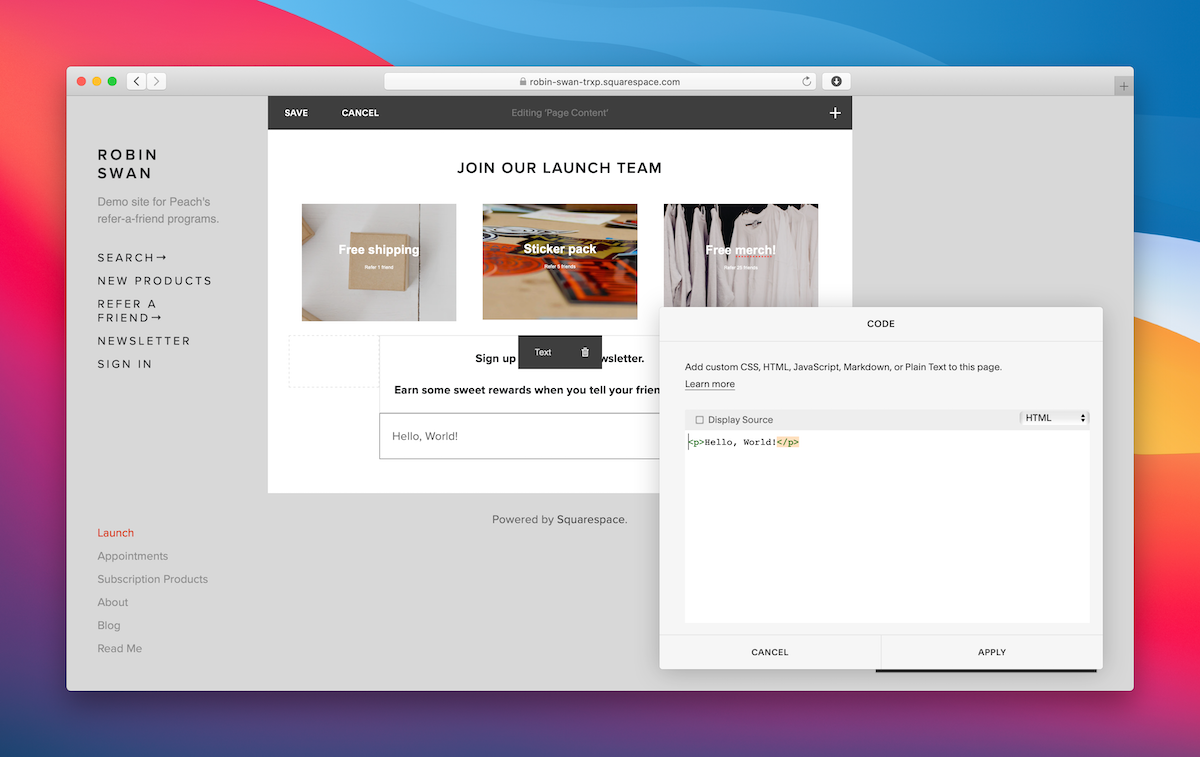
Add a new Code block to the page. When we connect our script, this block will get dynamically replaced with the content for our referral program widget.
Leave this as “Hello world” for now. Once we’ve created our referral program in Peach’s, we’ll replace this with the actual script to get our milestone referral widget in place.
Connect your milestone referral program
We’ve got our landing page and the spot where we want our referral program widget to appear. We need to connect up our widgets.
We’re going to use Peach’s milestone referral programs for this.
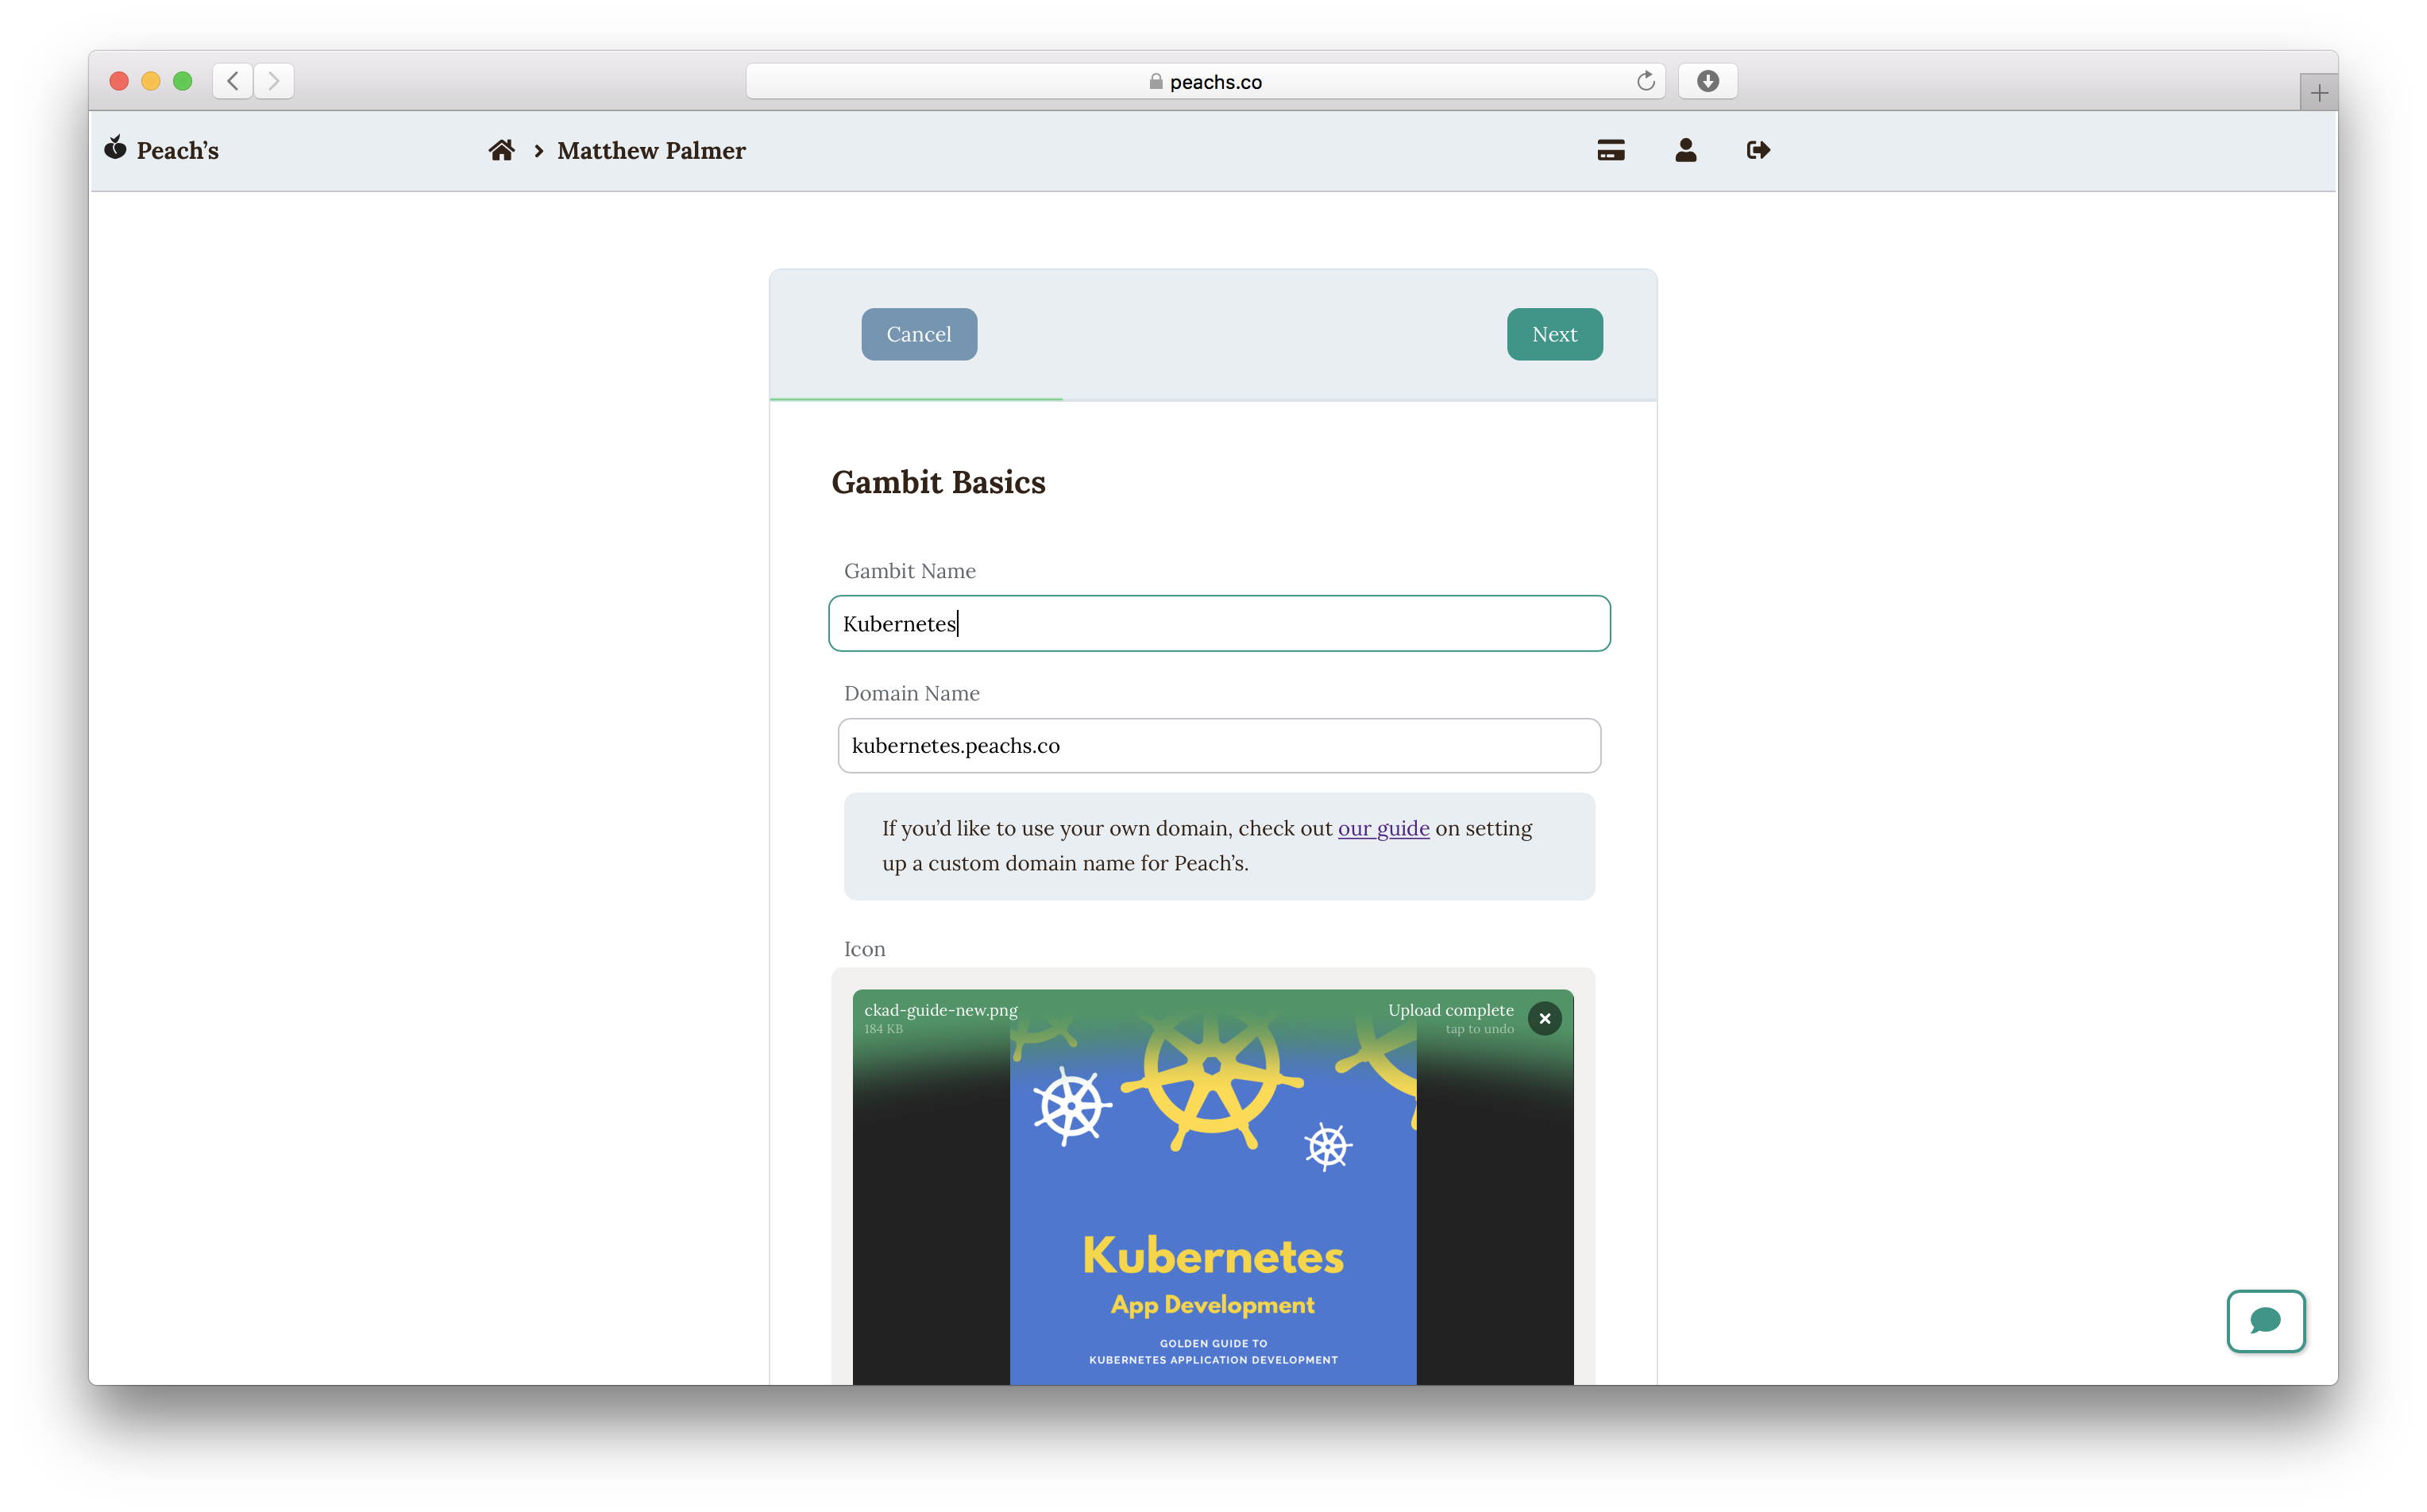
Create your program
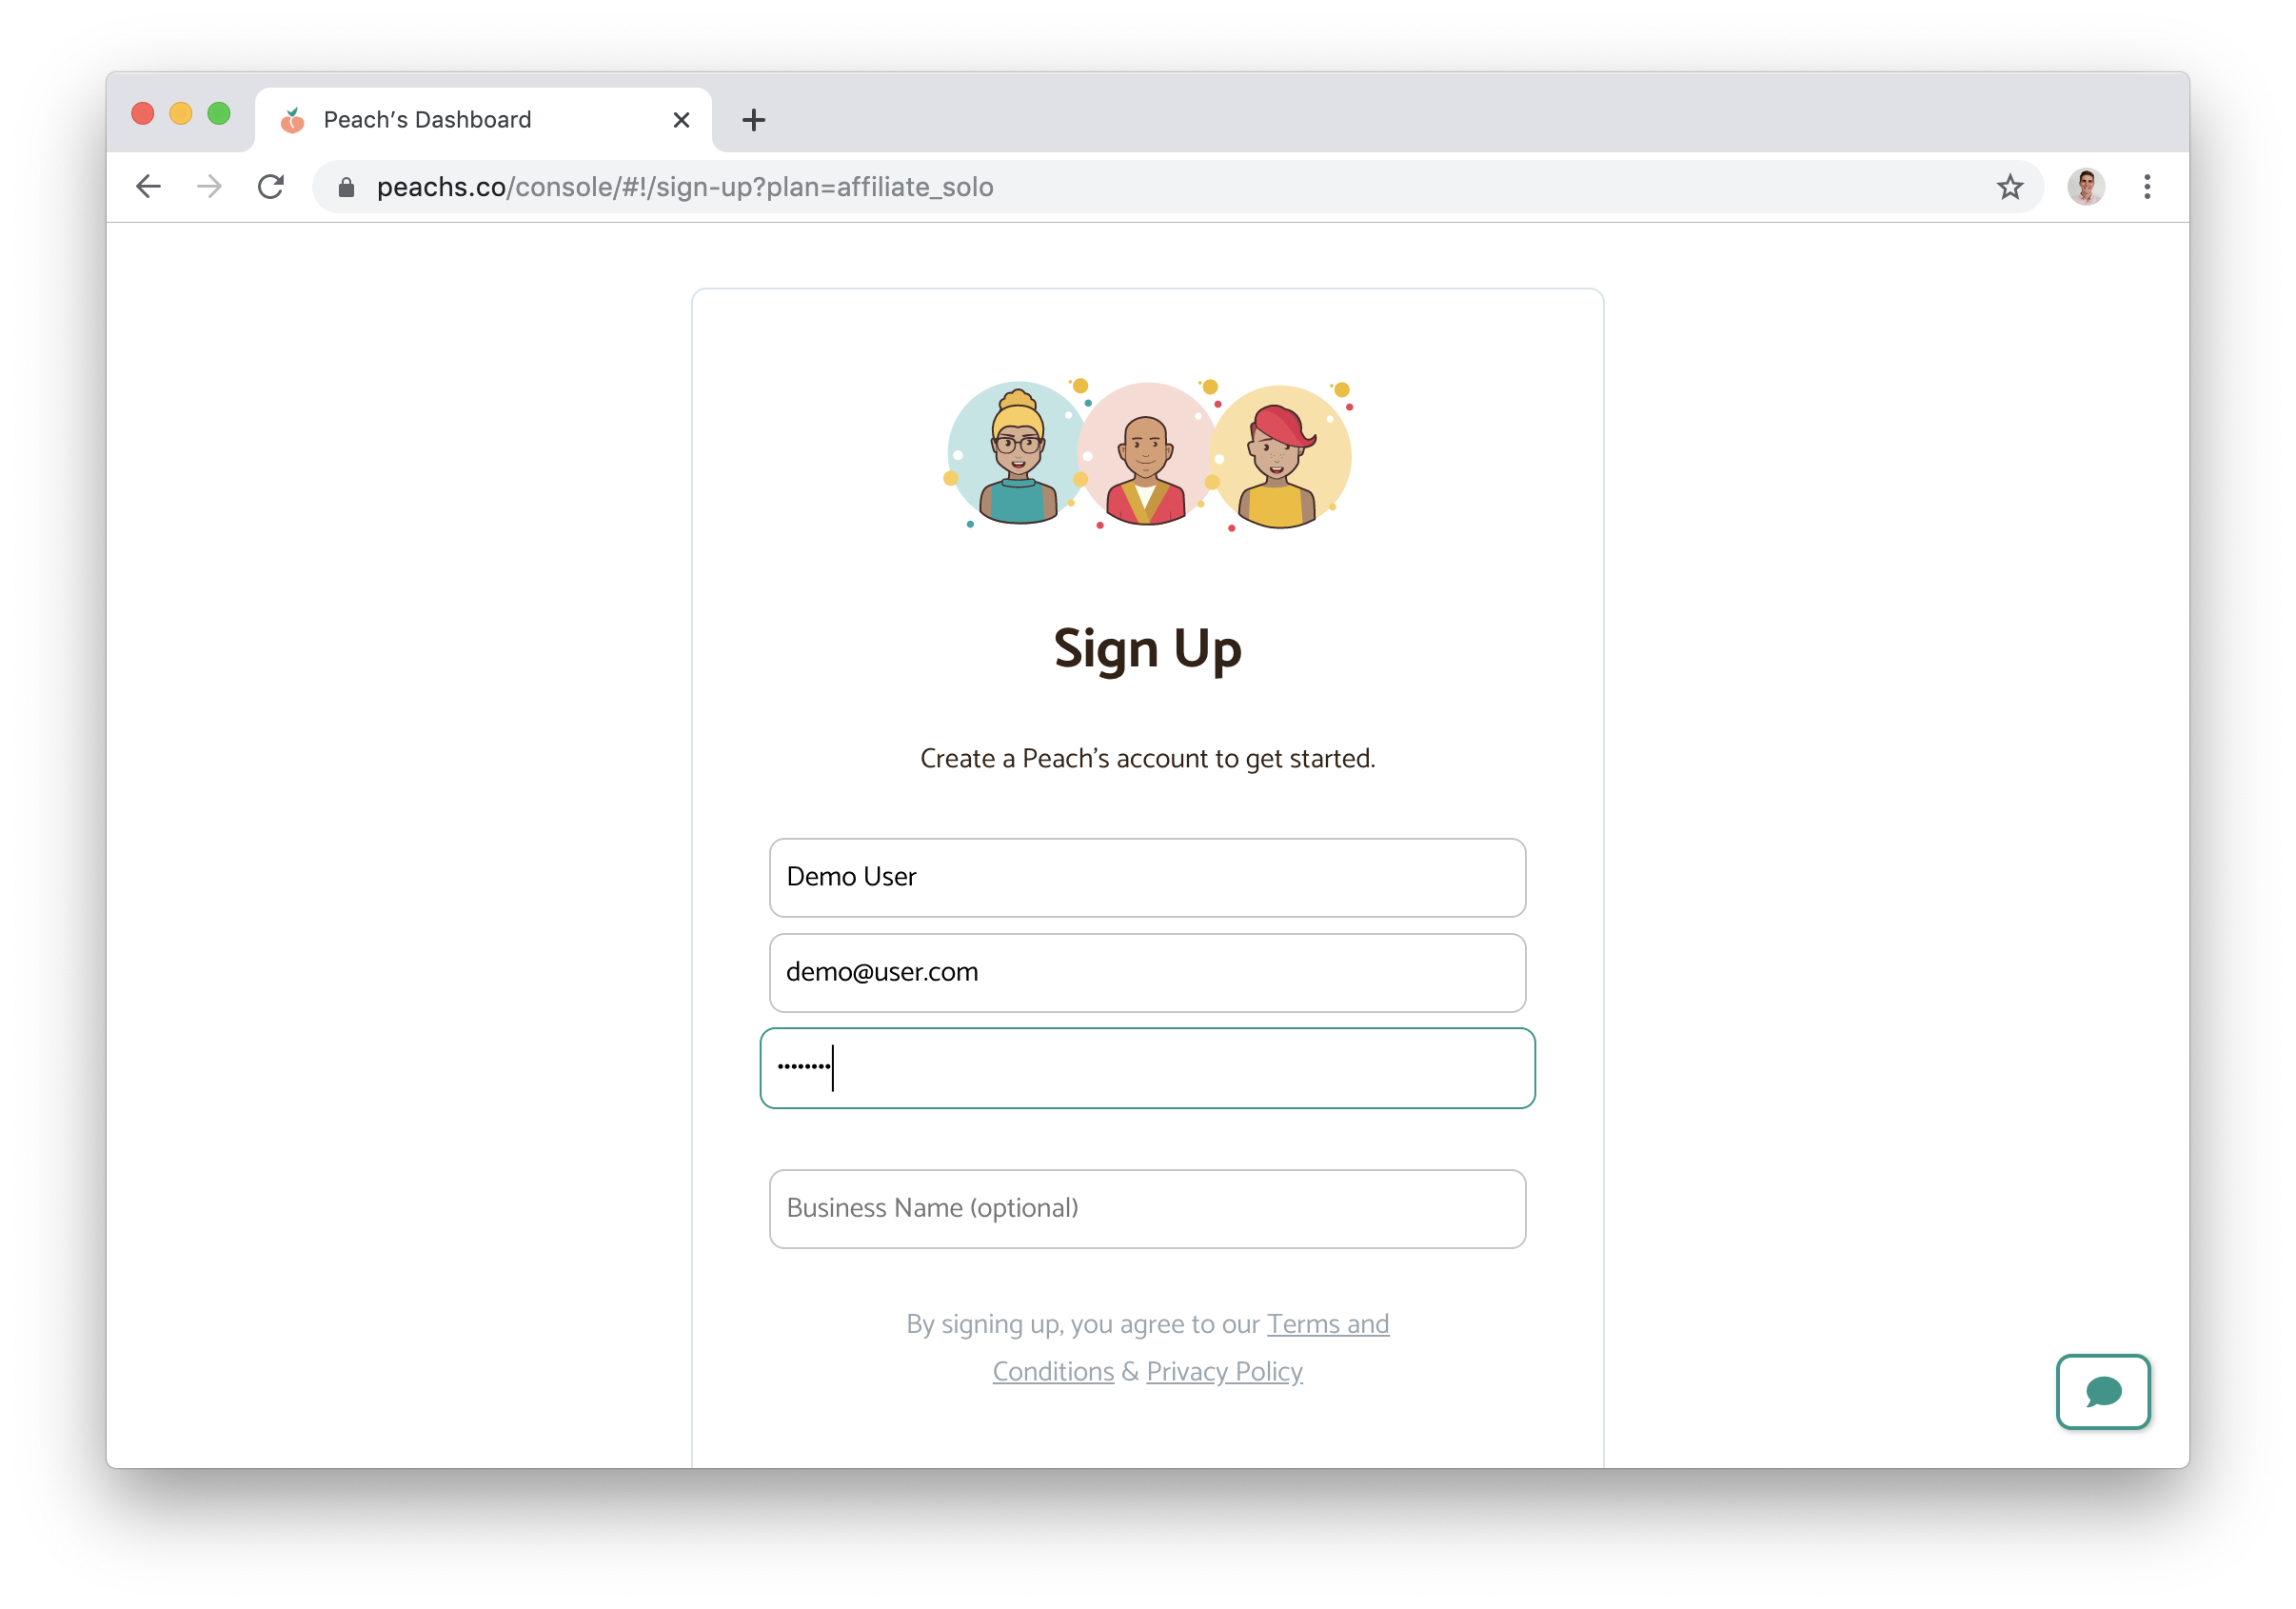
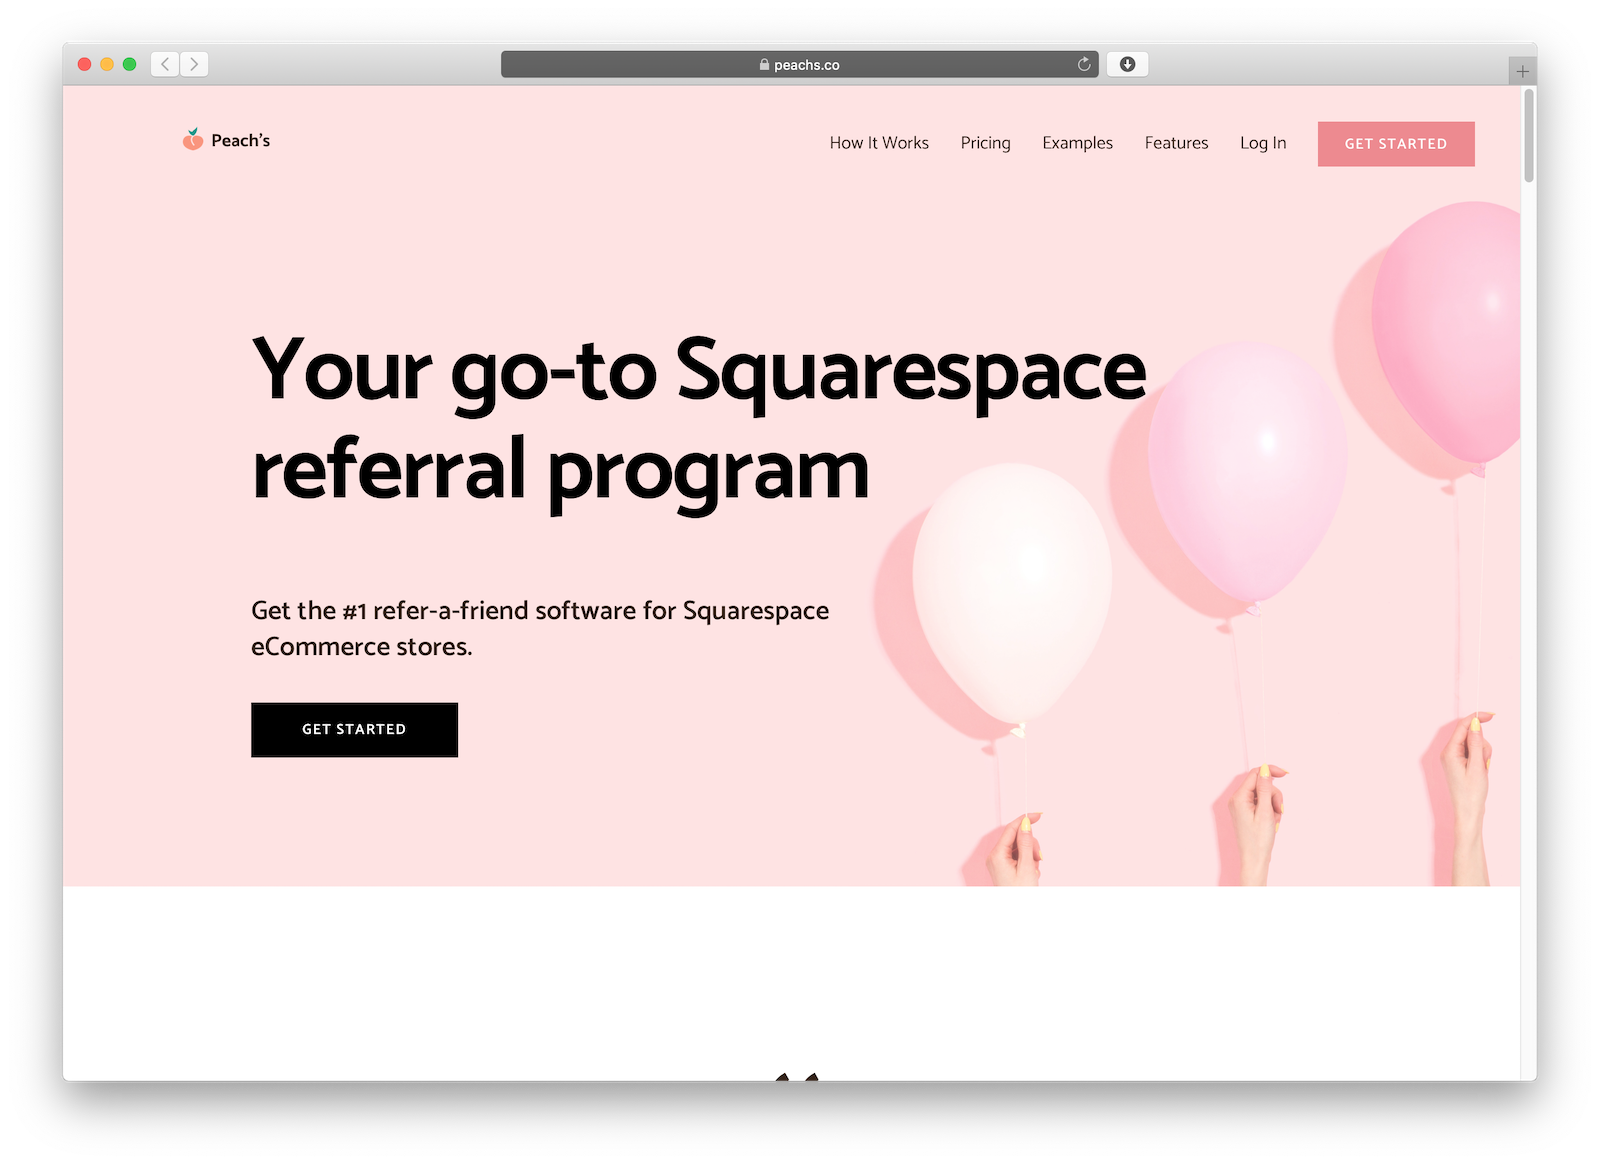
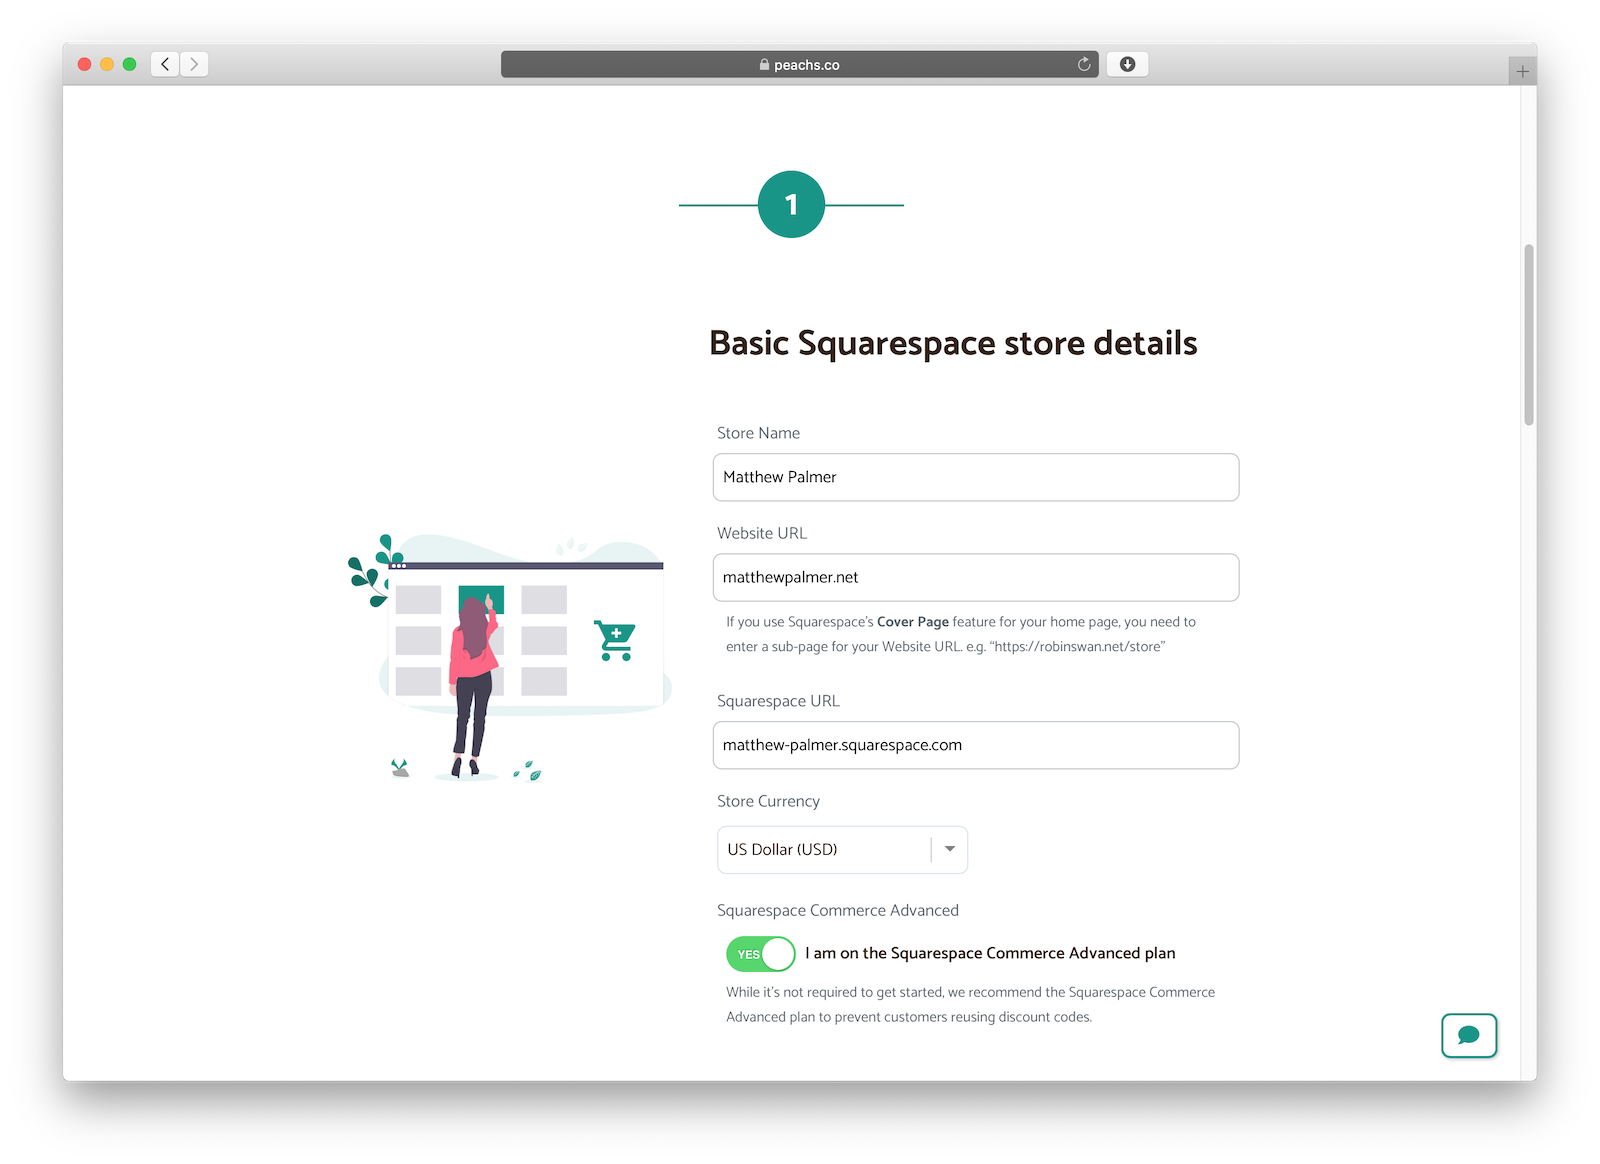
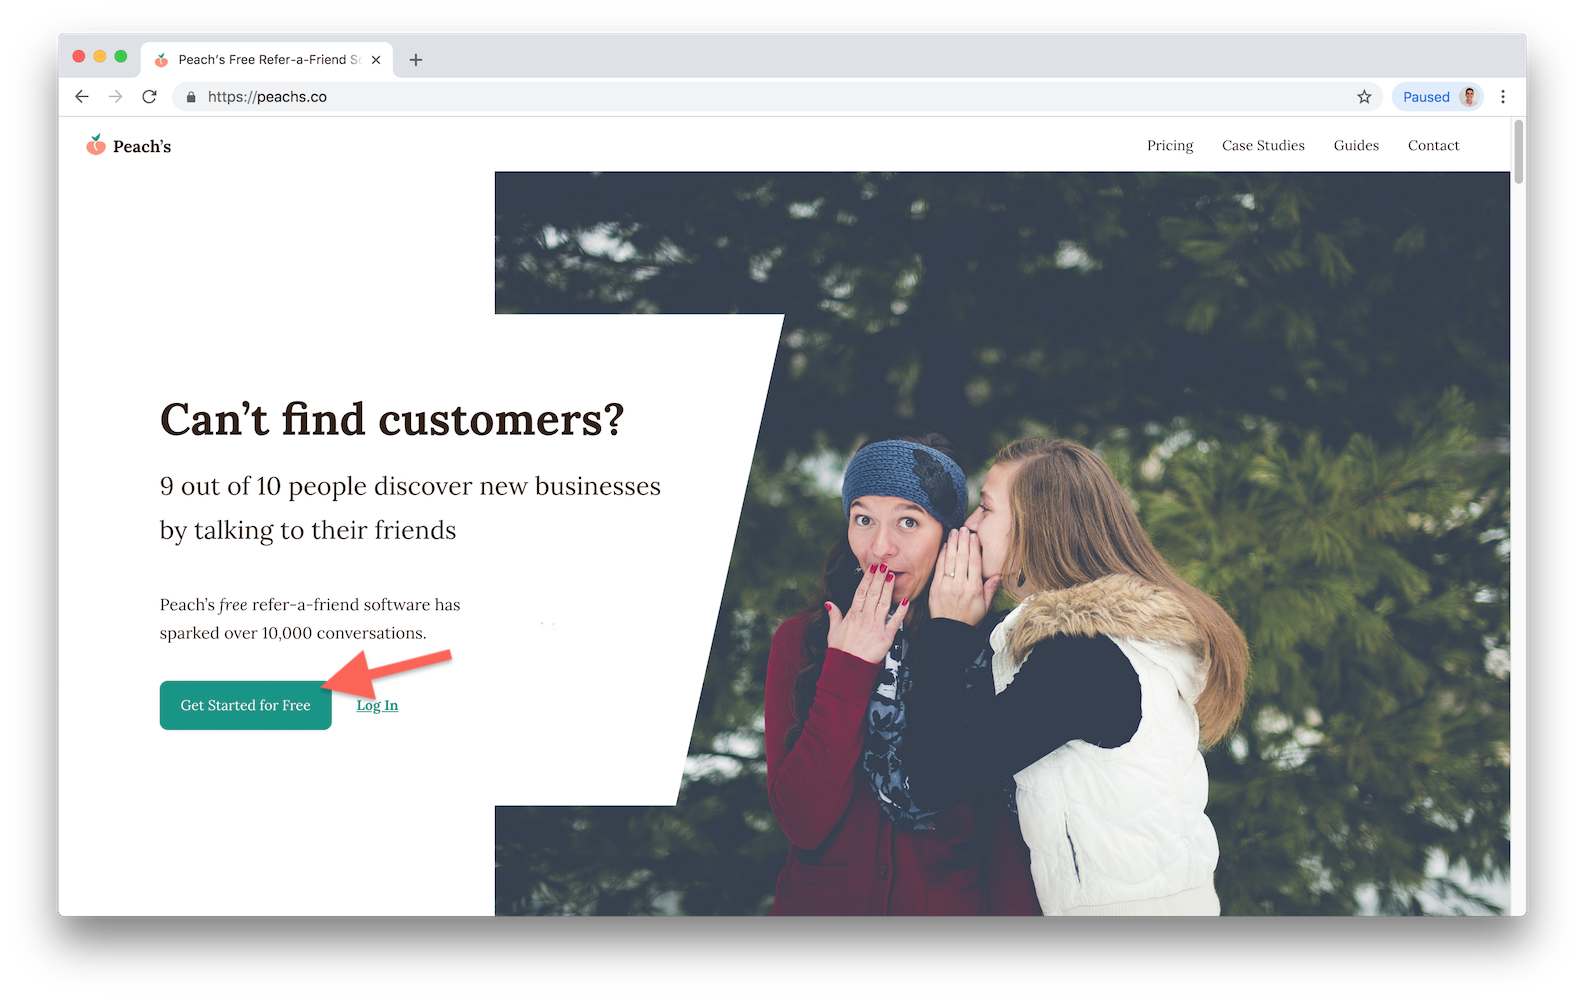
Head to the website, and click “Get Started,” and then create your account.
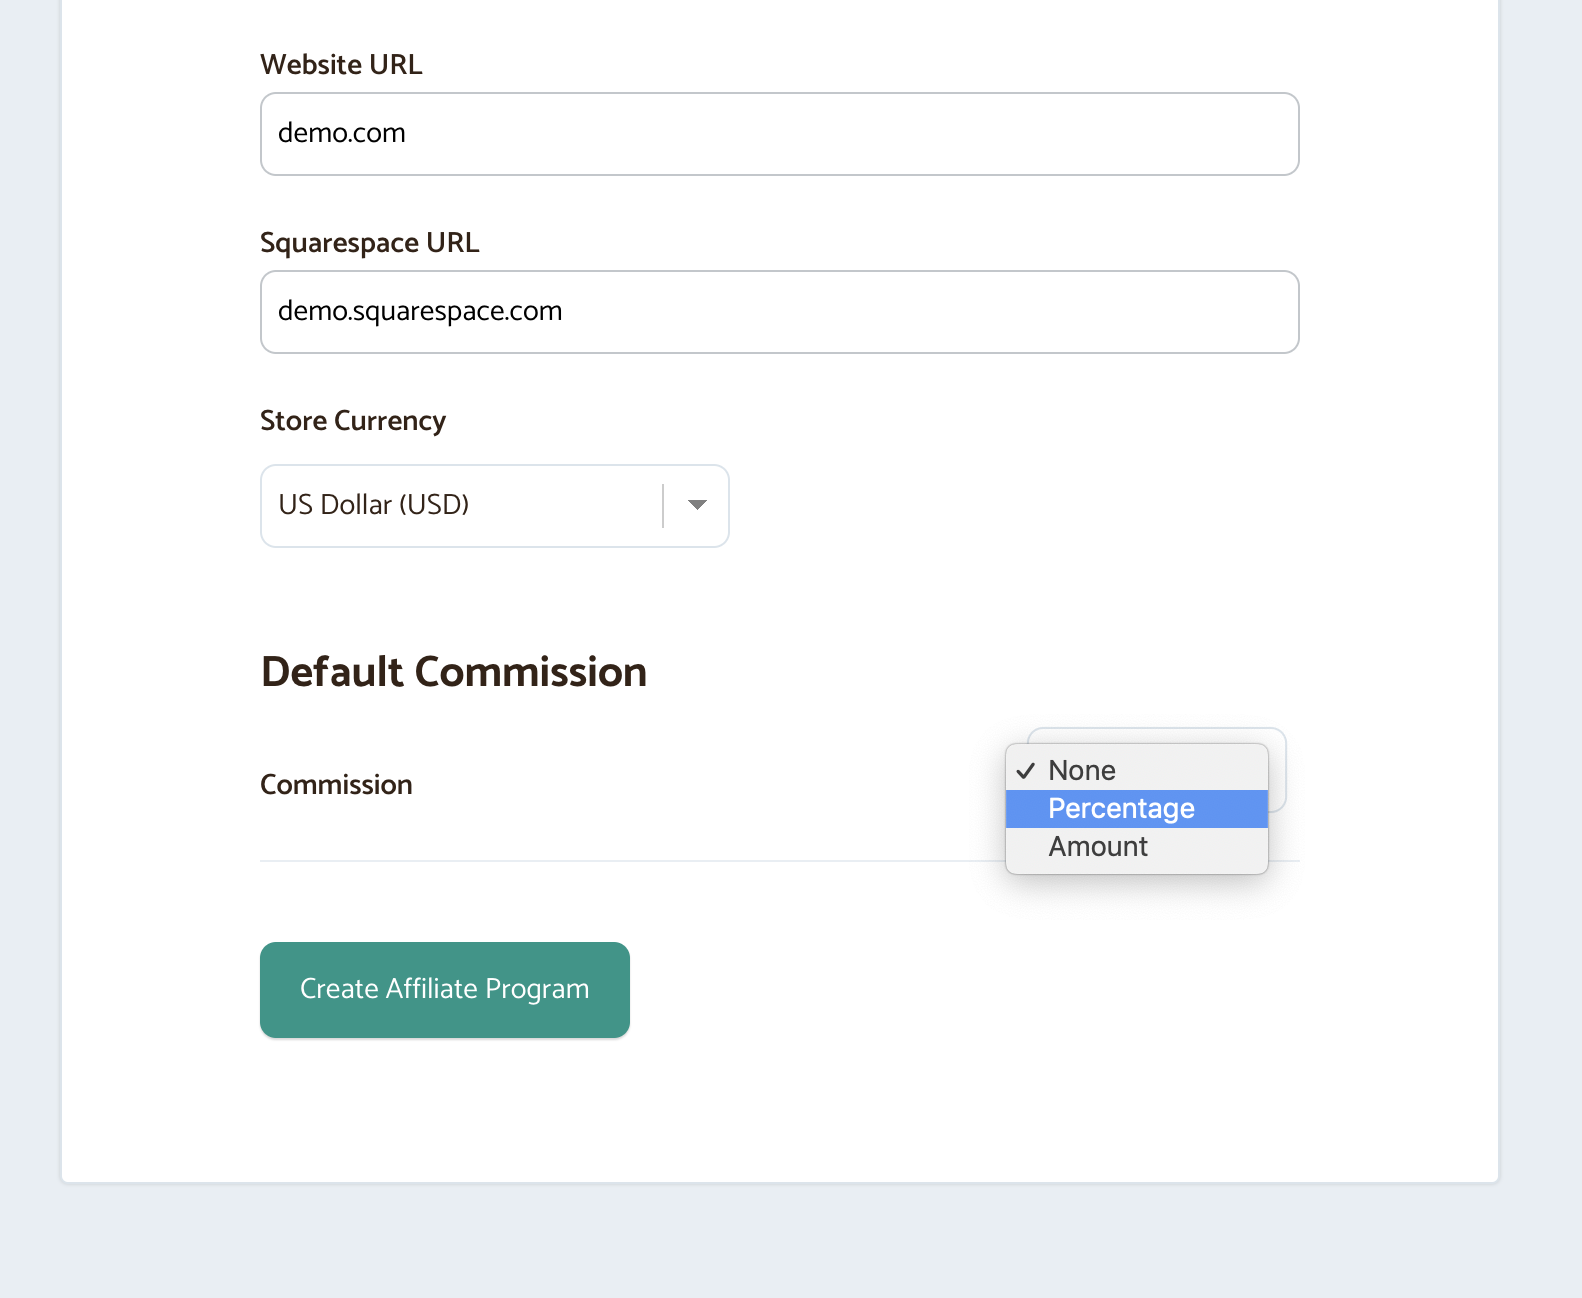
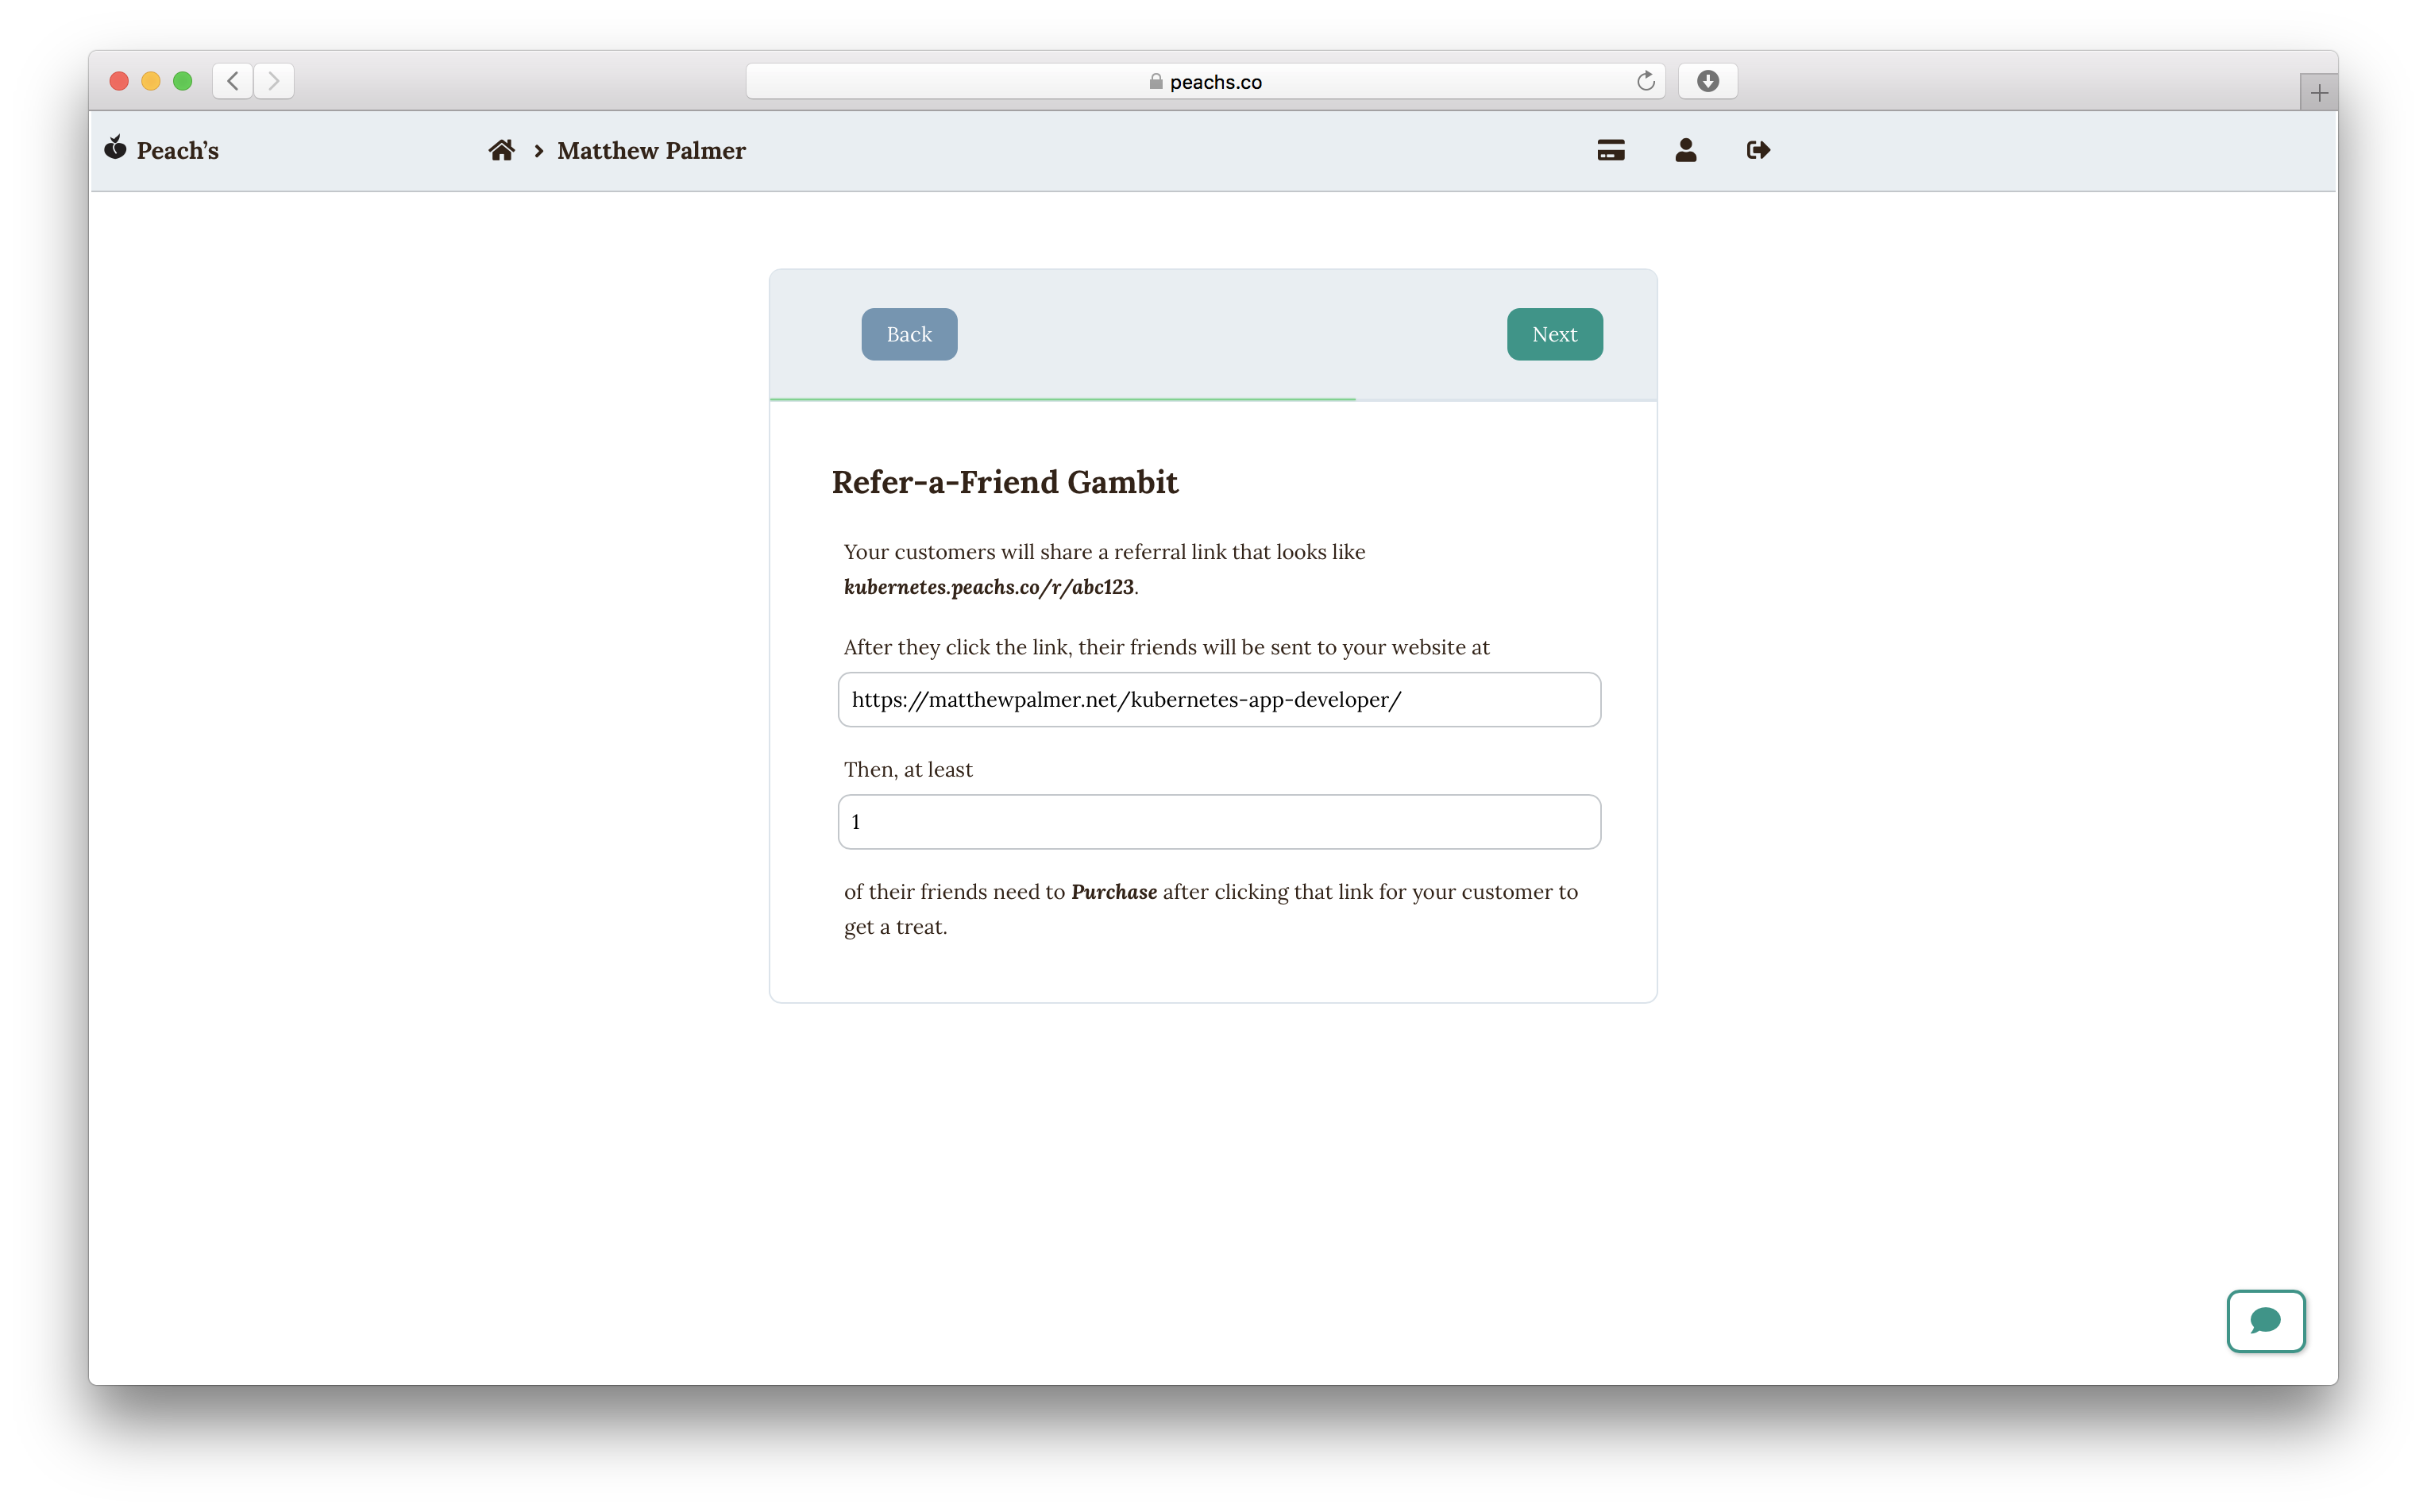
For the value under “Website URL” on the “Create Program” form, enter the URL of the landing page you just set up. (In Squarespace, this is under the “Slug” field in your page’s setting, or you can just view your page in a new Incognito window and copy and paste that URL.)
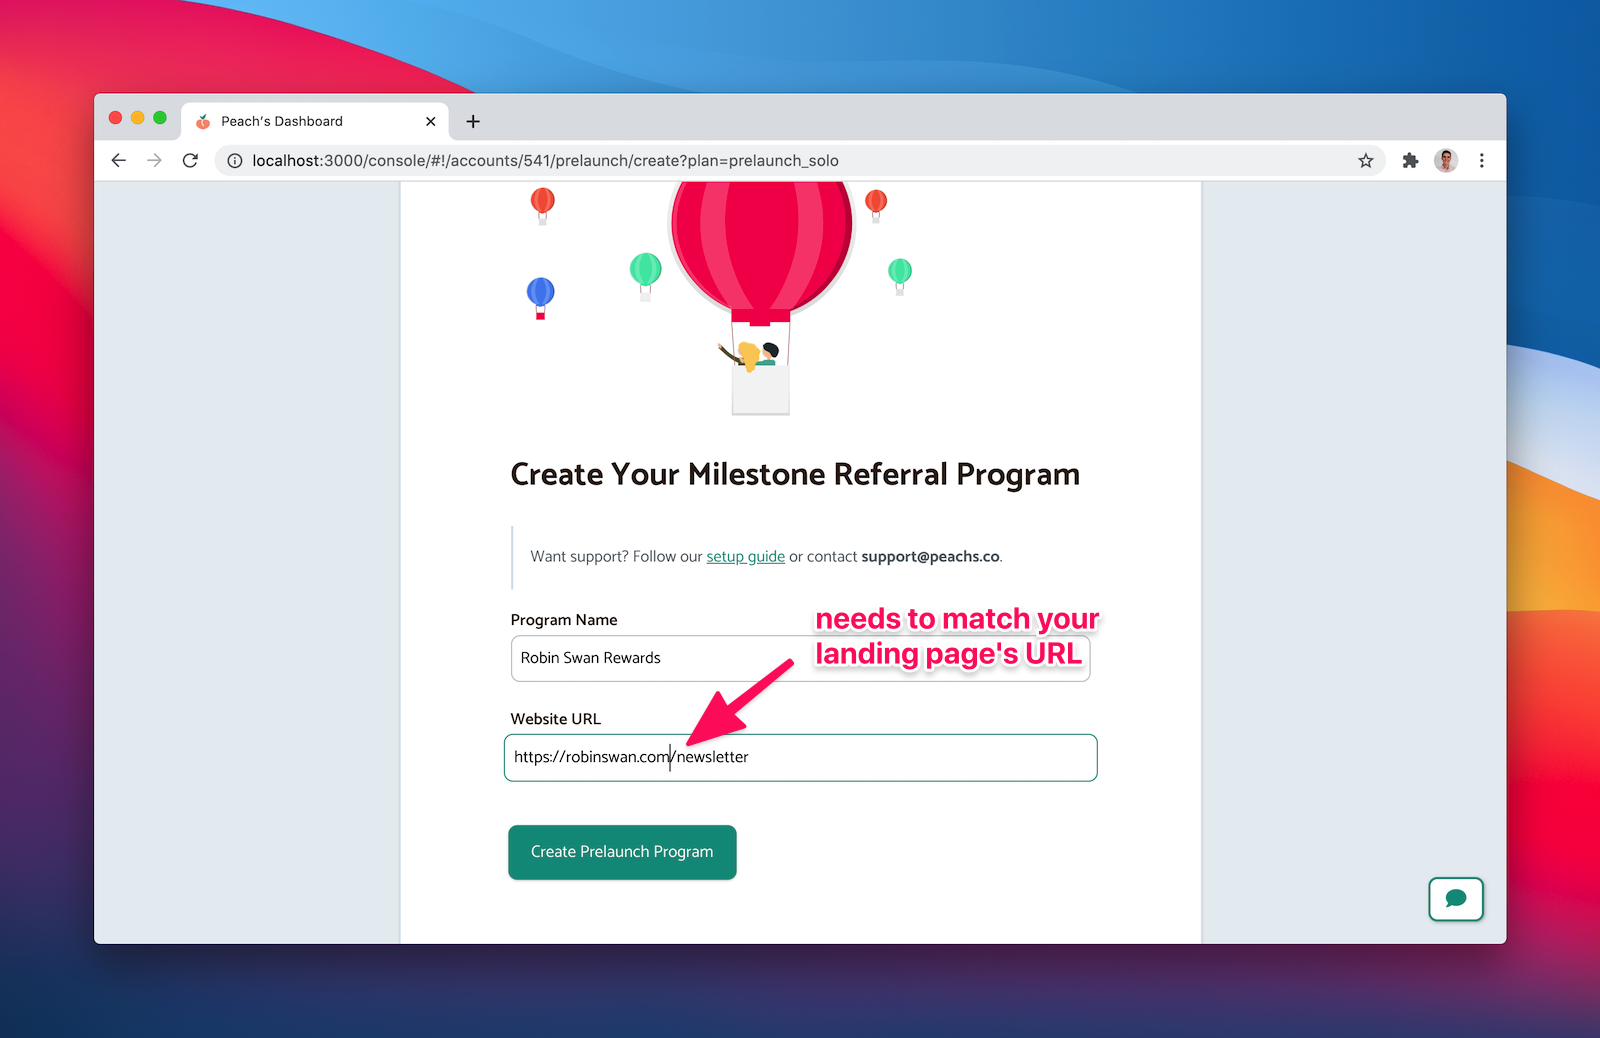
This URL will host your sign up form, your referrer’s stats widgets, and provide easy widgets for referrers to share your site on social media.
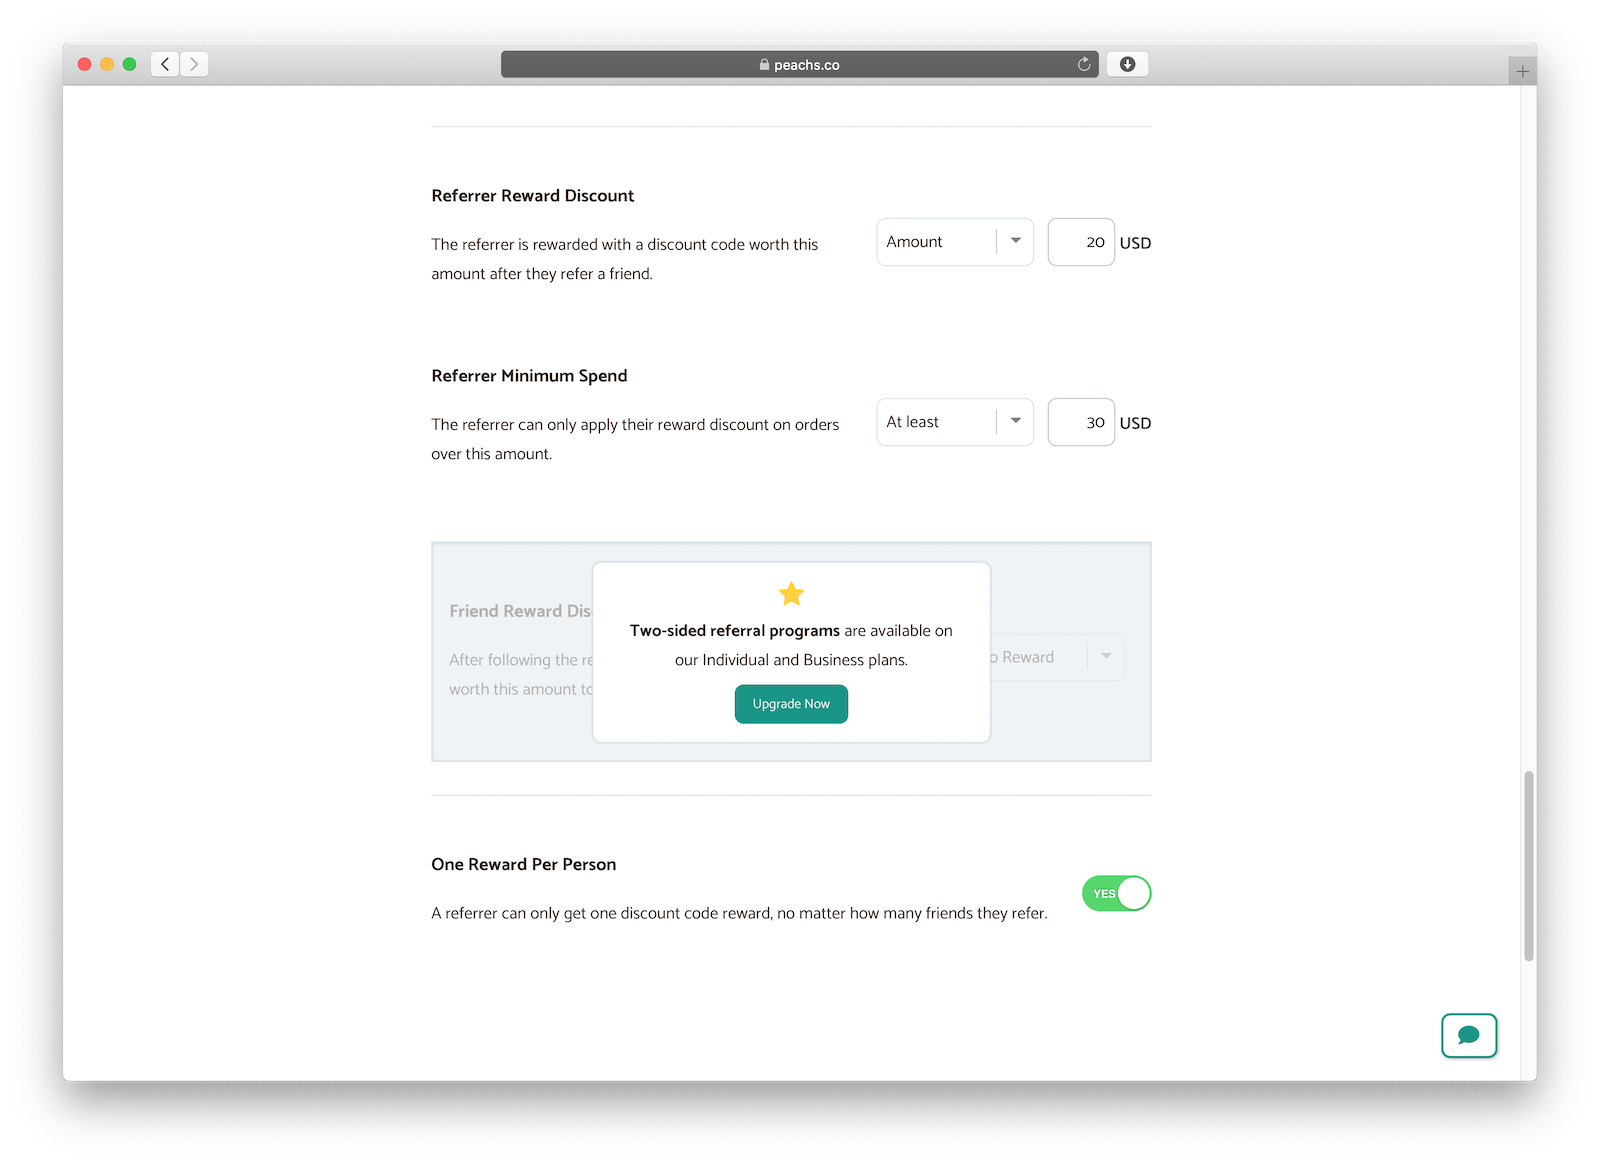
Add your milestones
After you’ve created your program, you’ll be in your Peach’s dashboard.
Click the “Milestones” tab in the left sidebar to configure your widgets.
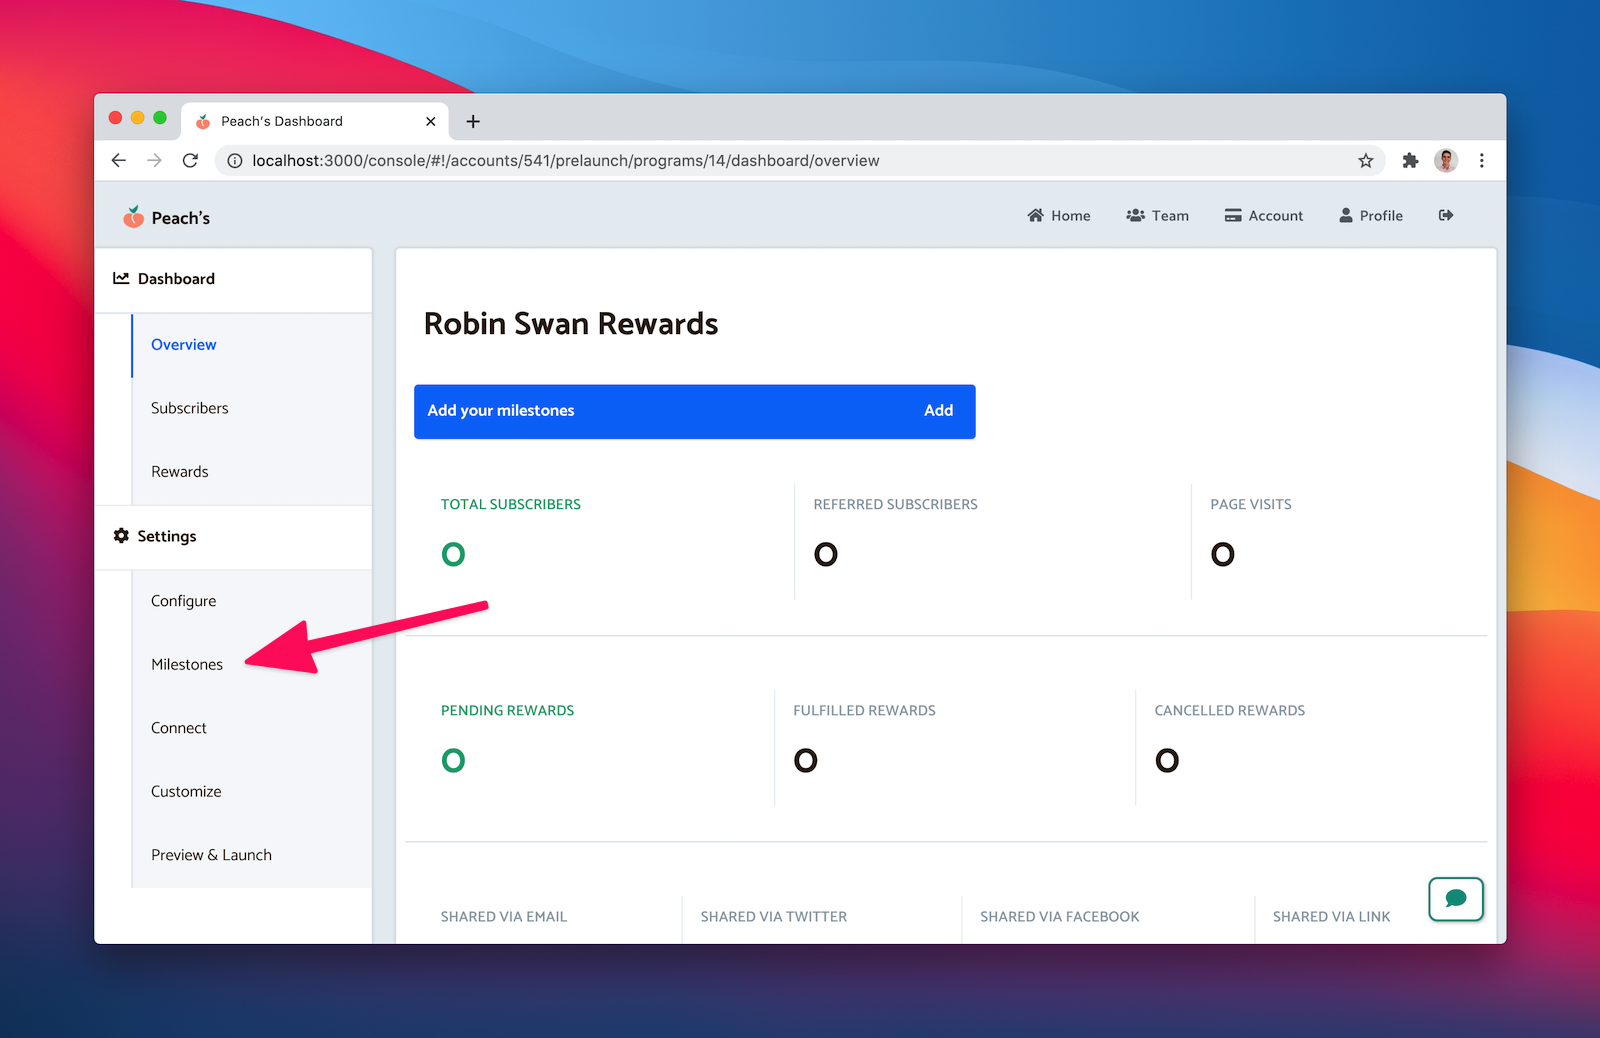
Let’s add milestones for our referral reward tiers – 1 friend, 5 friends, and 25 friends.
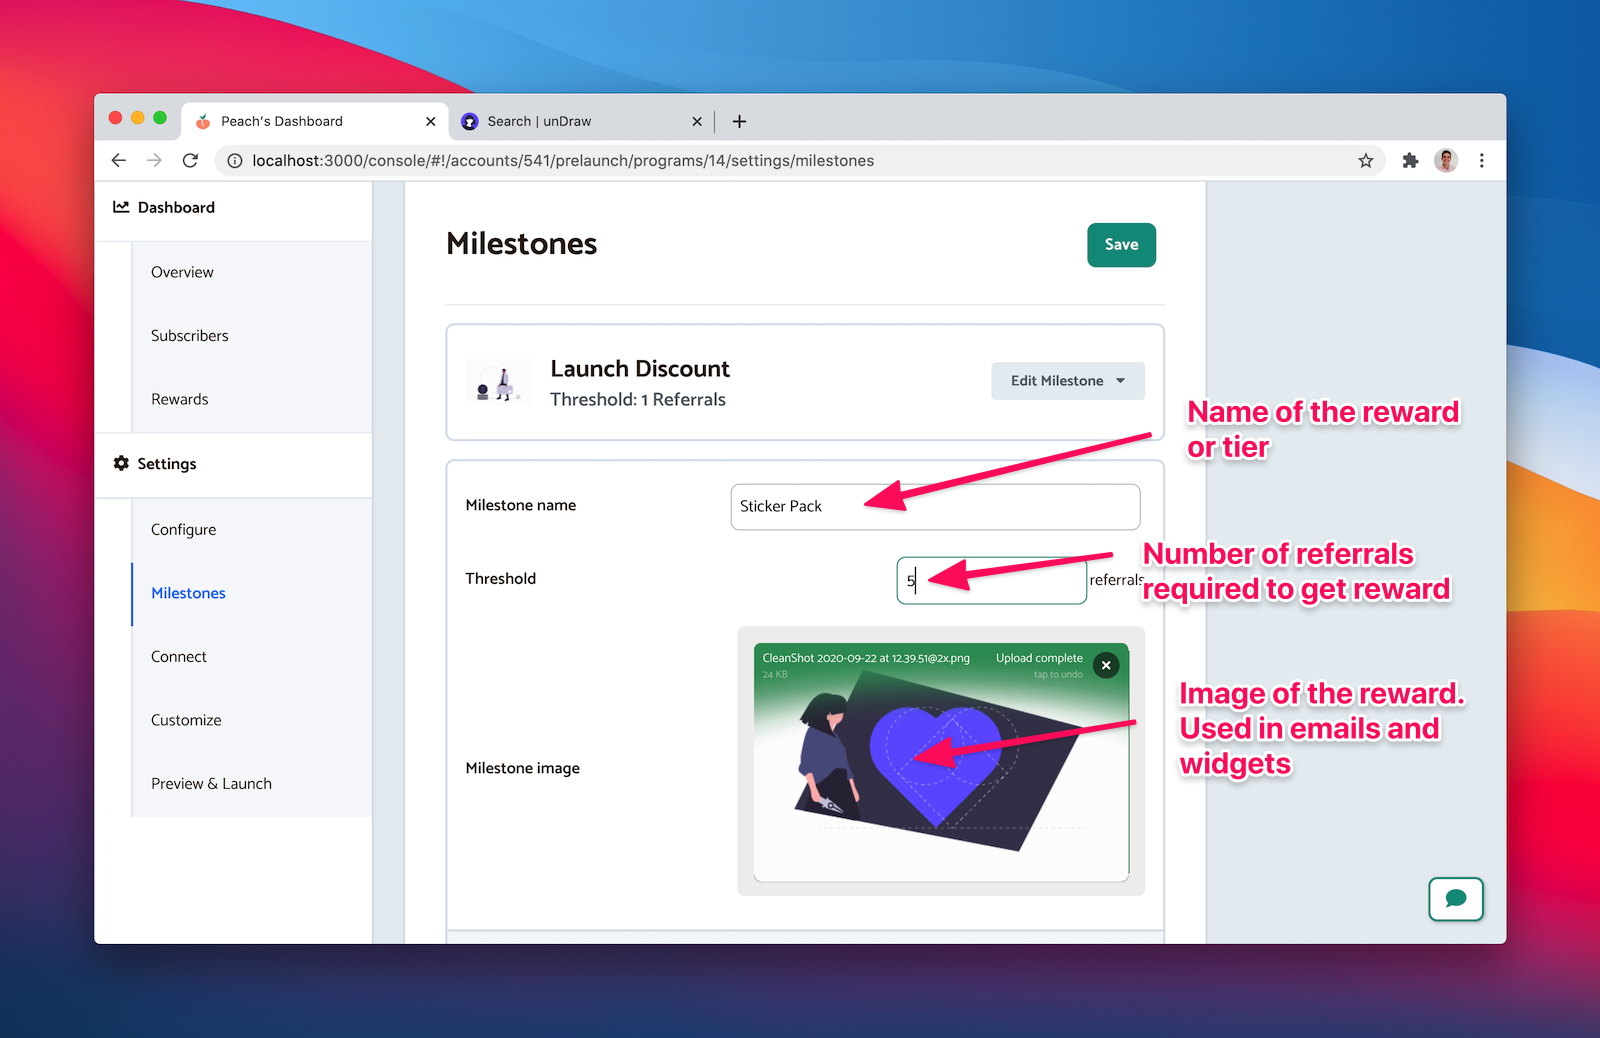
Click “Save” when you’ve added your milestones.
With the milestones set up, now we can plug our widgets into the space on our landing page.
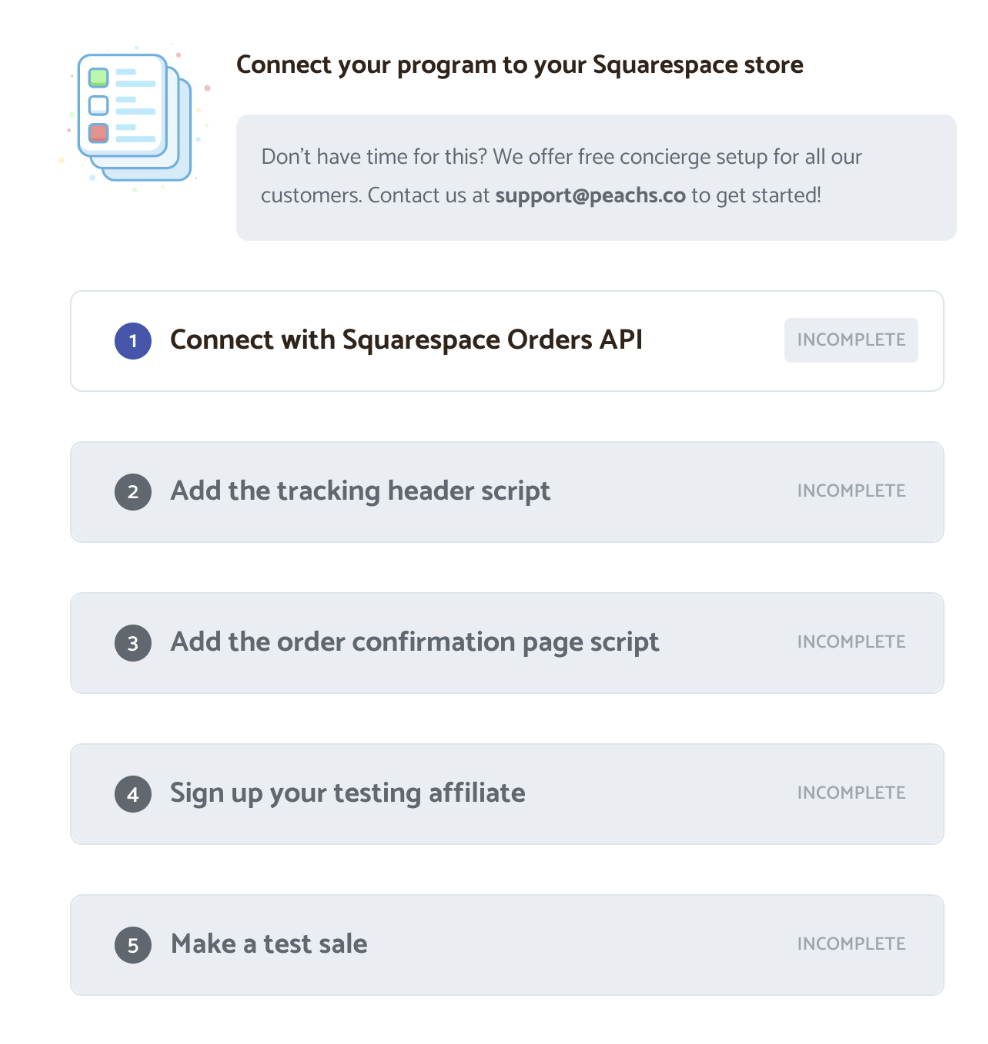
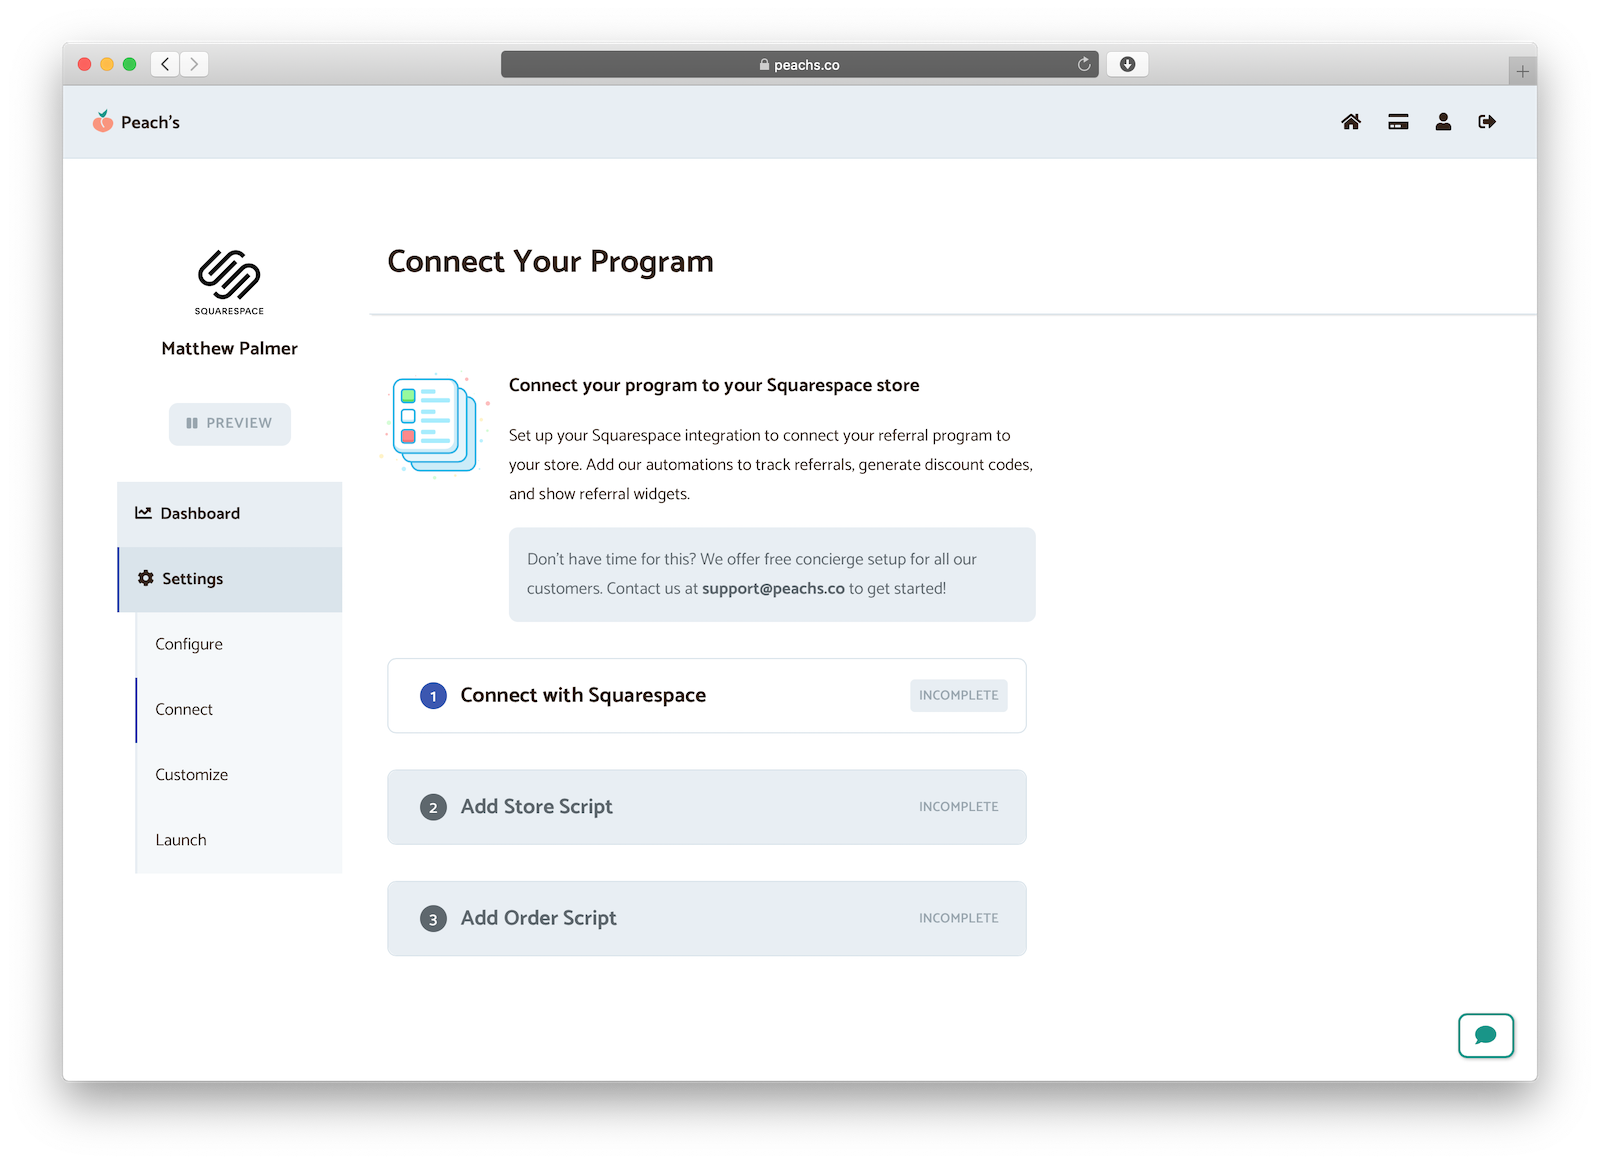
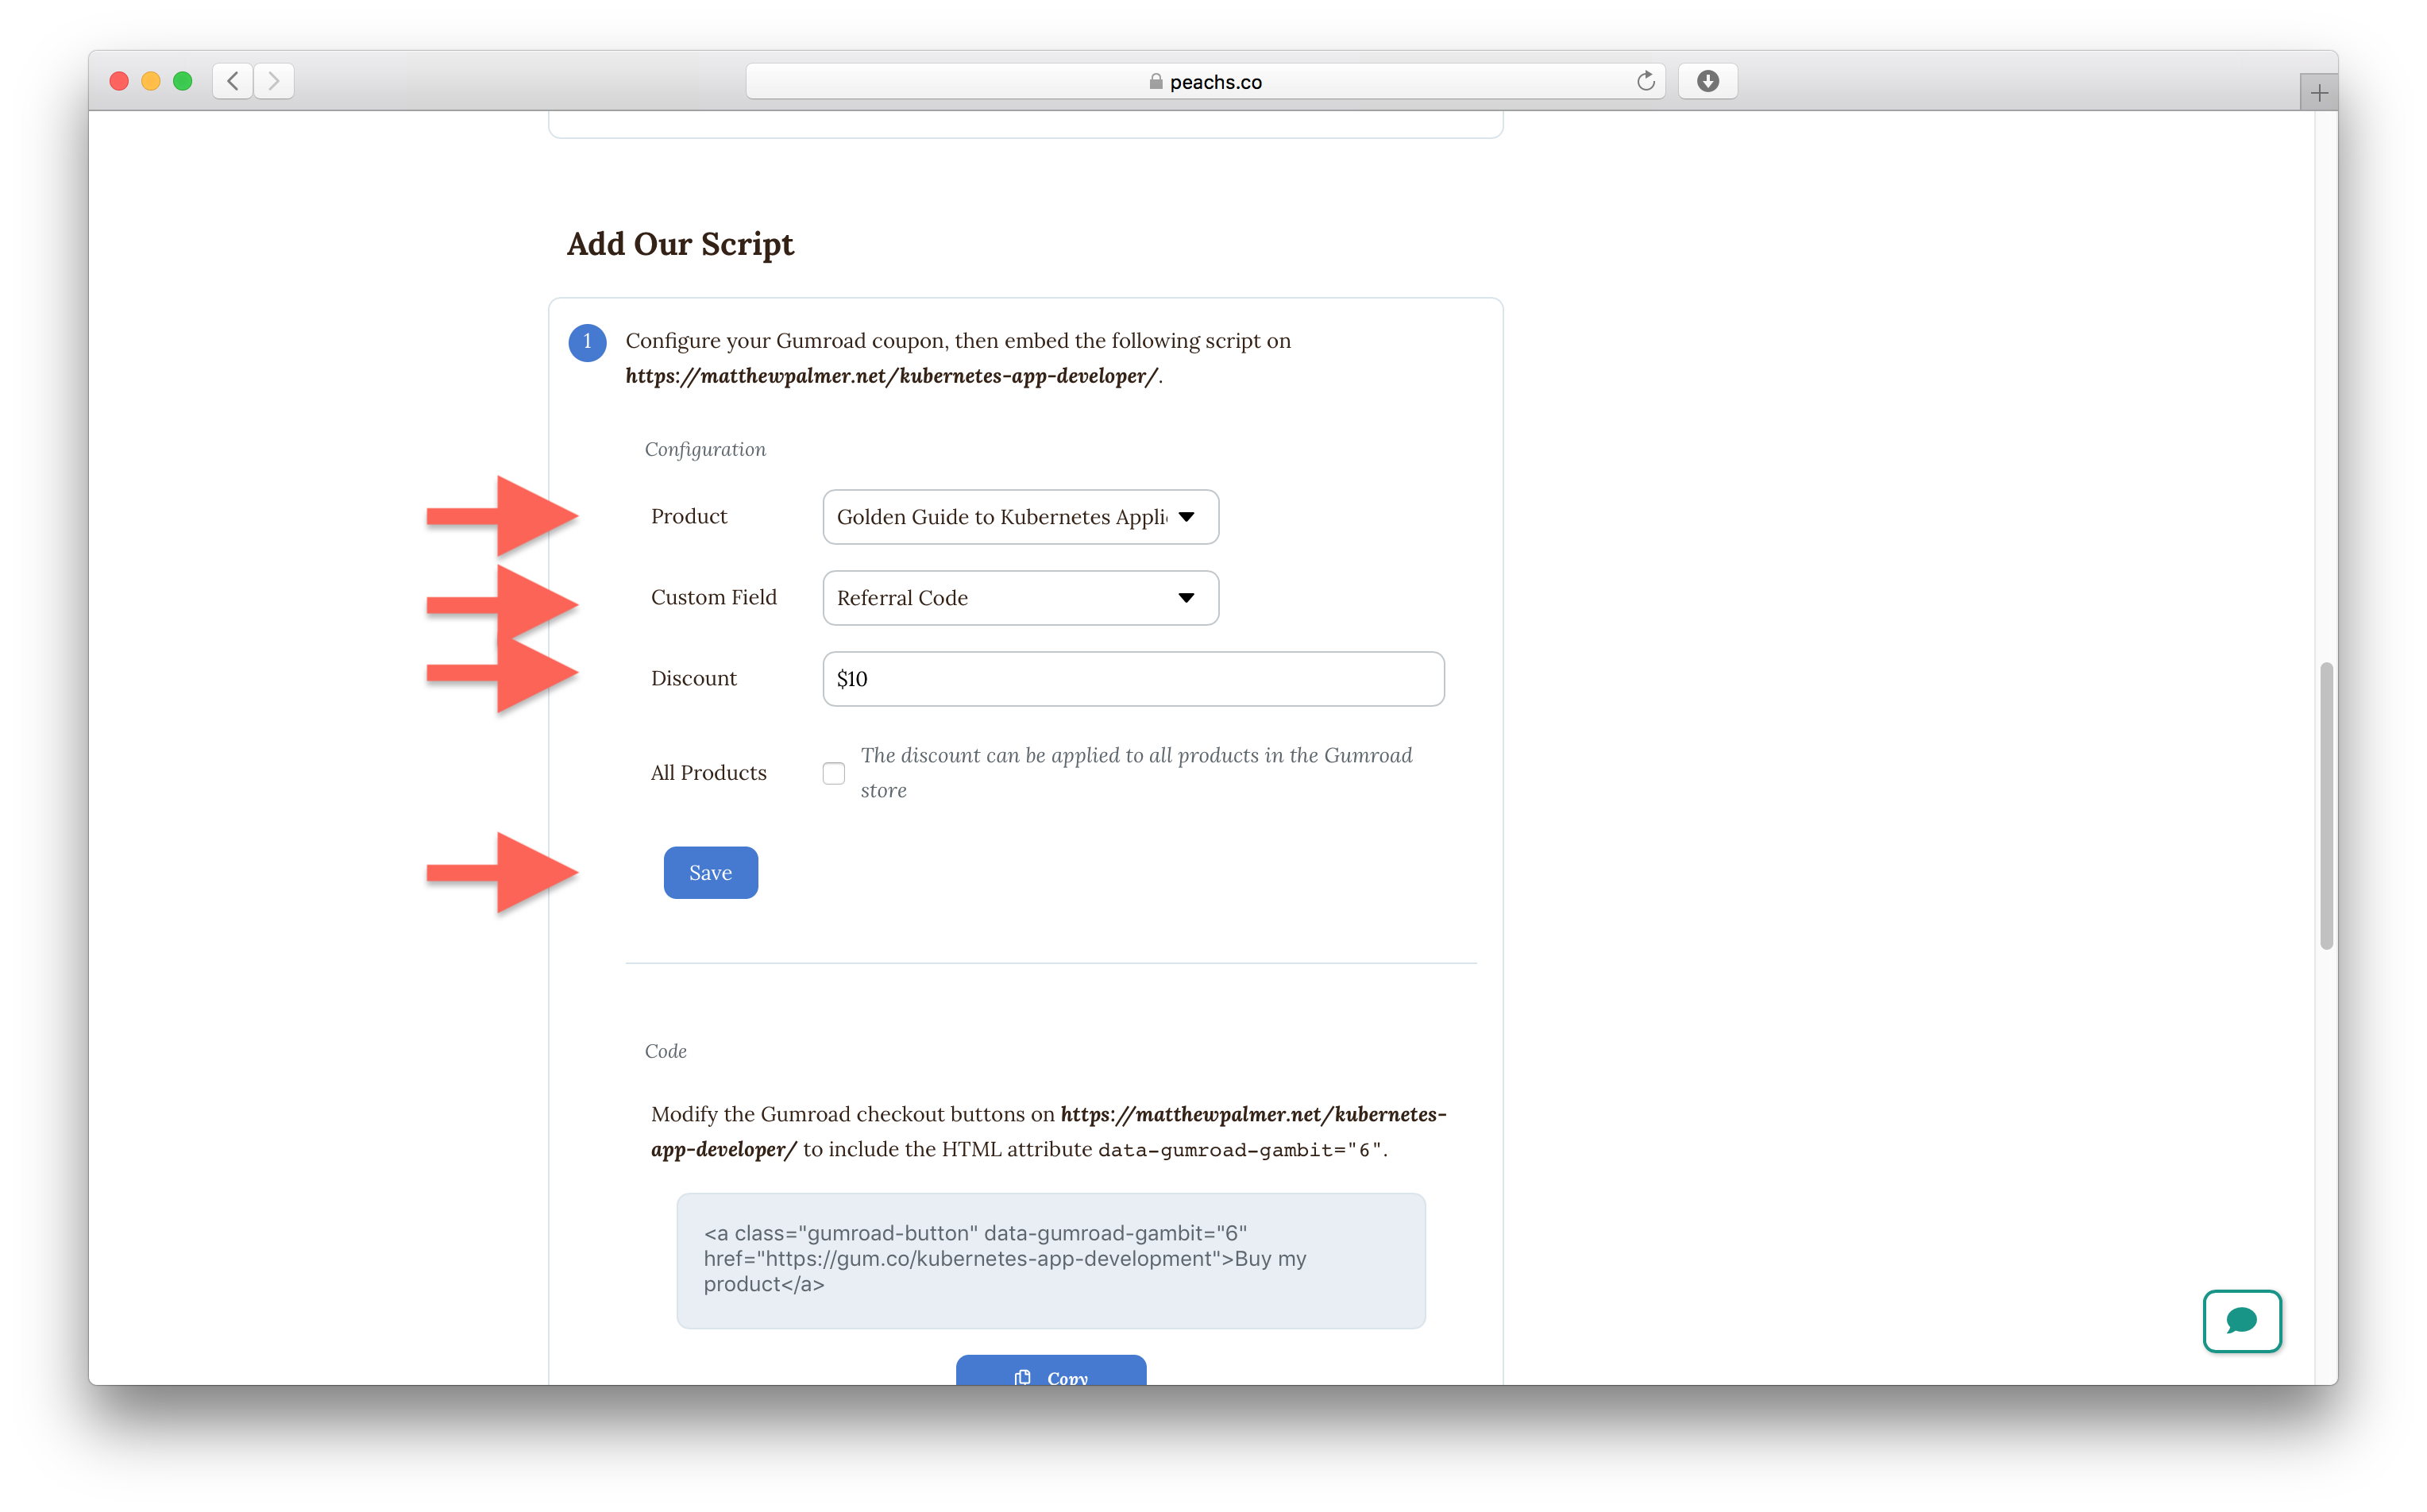
Click on the “Connect” tab in the left sidebar. You’ll be shown the three steps to set up your program.
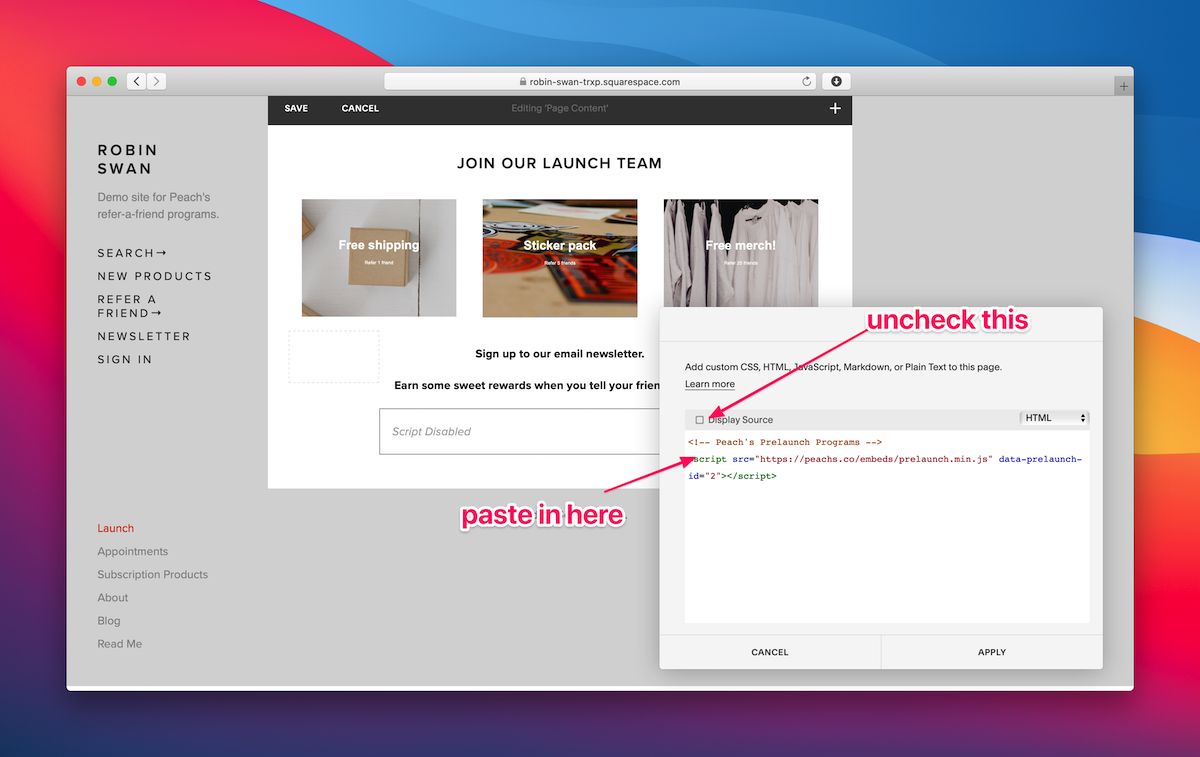
Under step 1, copy the code from the Peach’s dashboard to your clipboard.
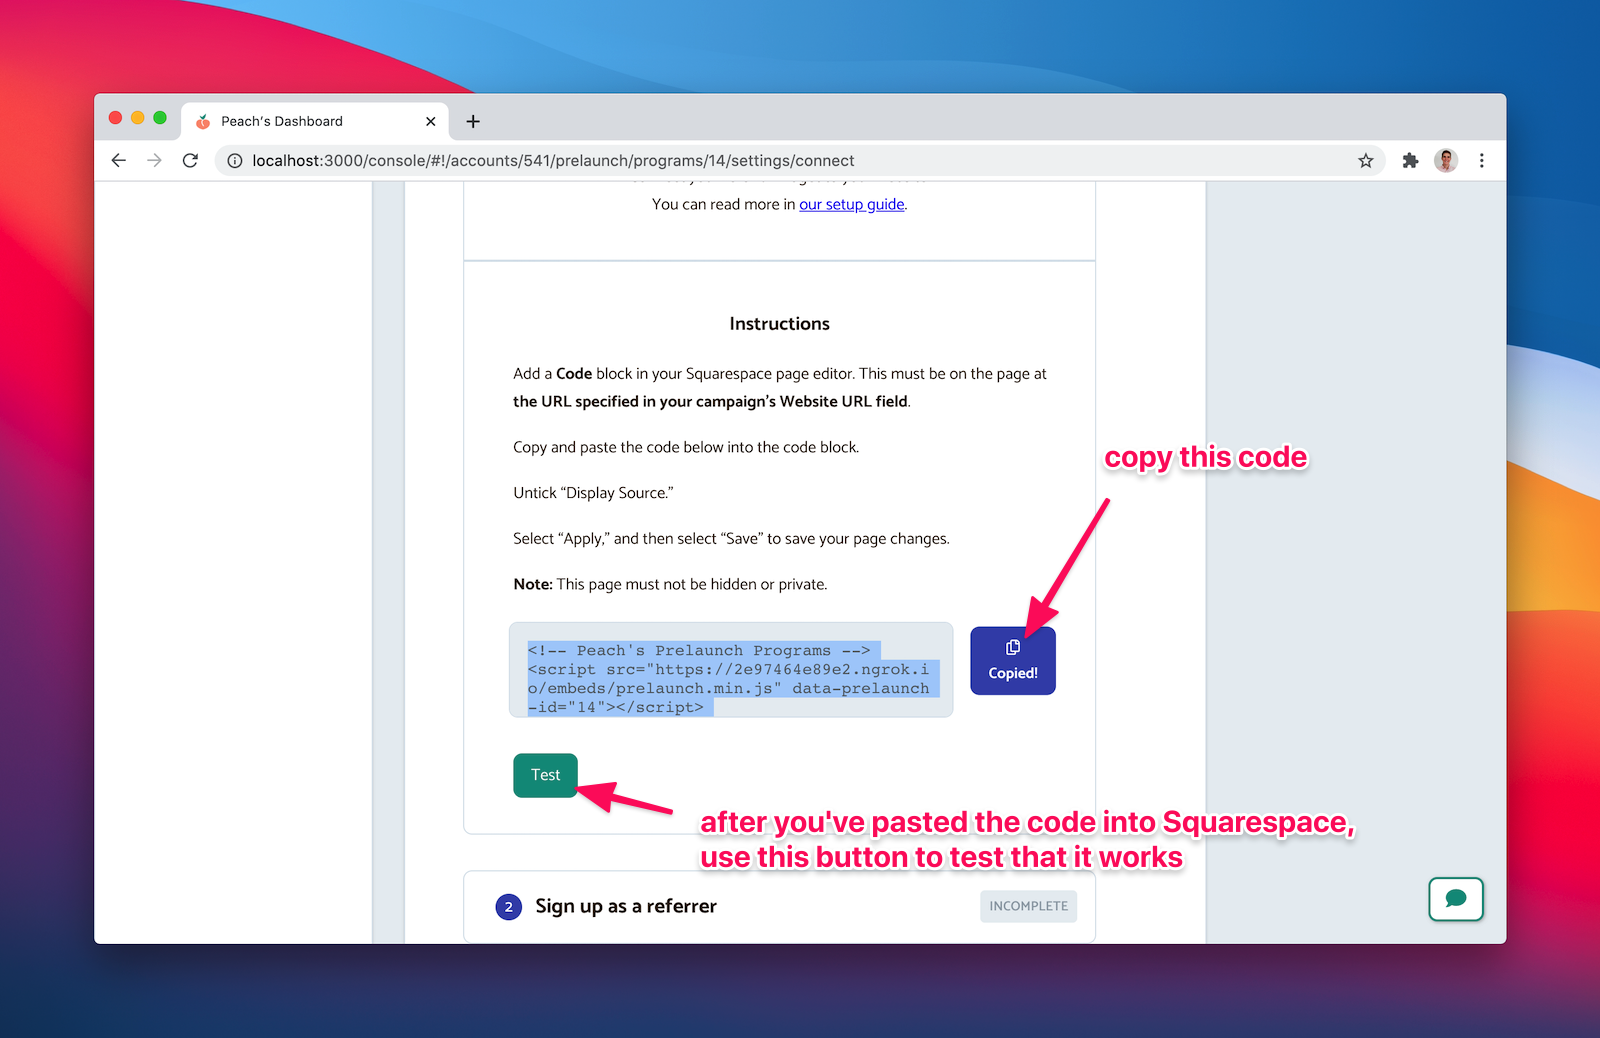
In Squarespace, paste it into the Code block. You’ll need to untick “Display Source.” Save your page in Squarespace.
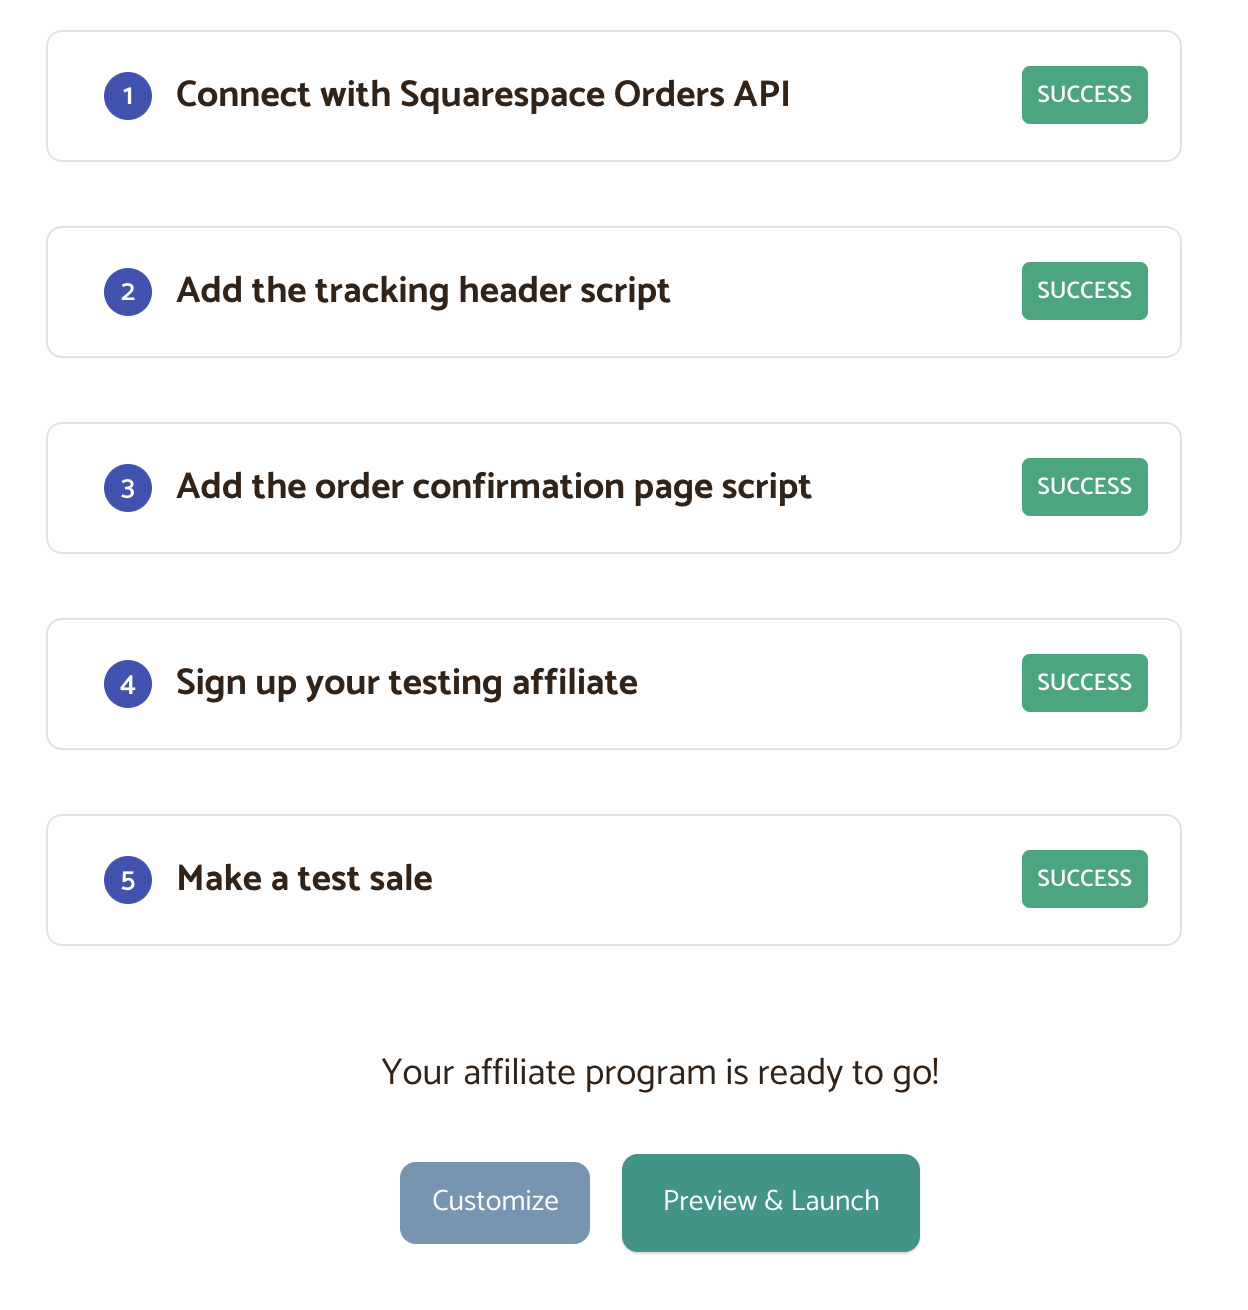
Then click “Test” on the step in Peach’s. If everything is plugged in correctly, and your website URL is correct, this step will succeed.
If you view your landing page in a new Incognito window now, you should see your subscriber form appear.
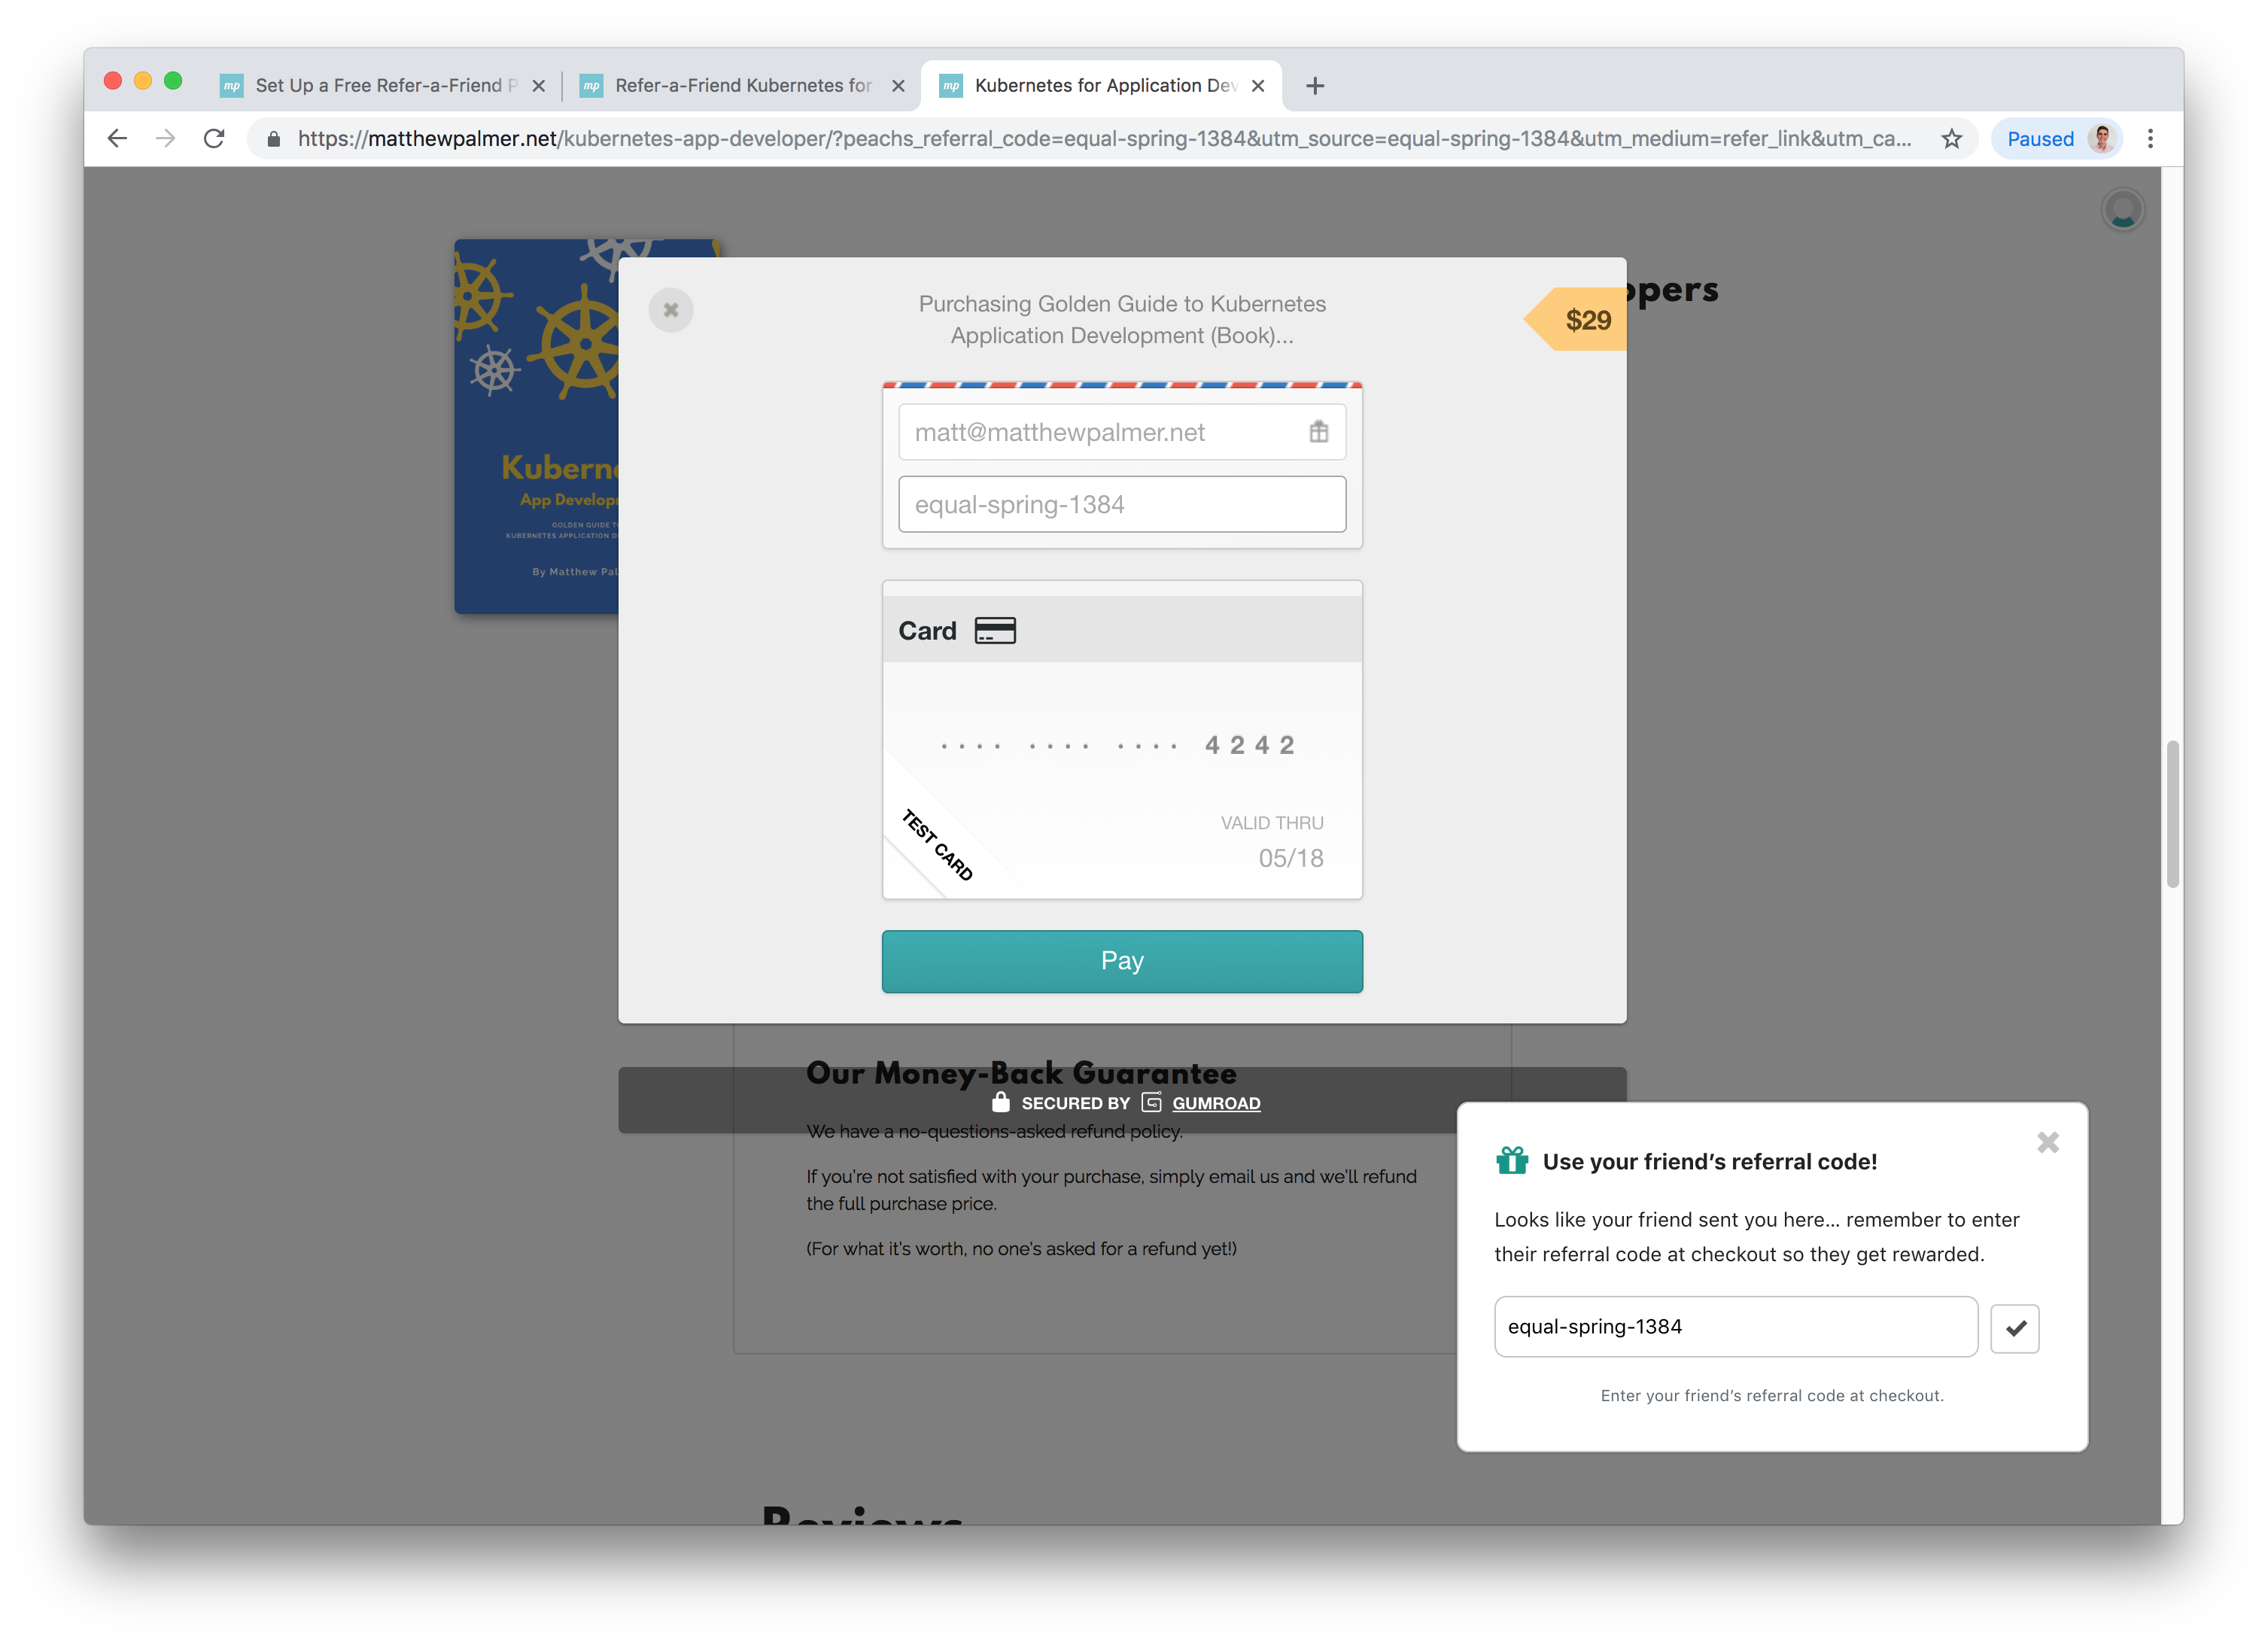
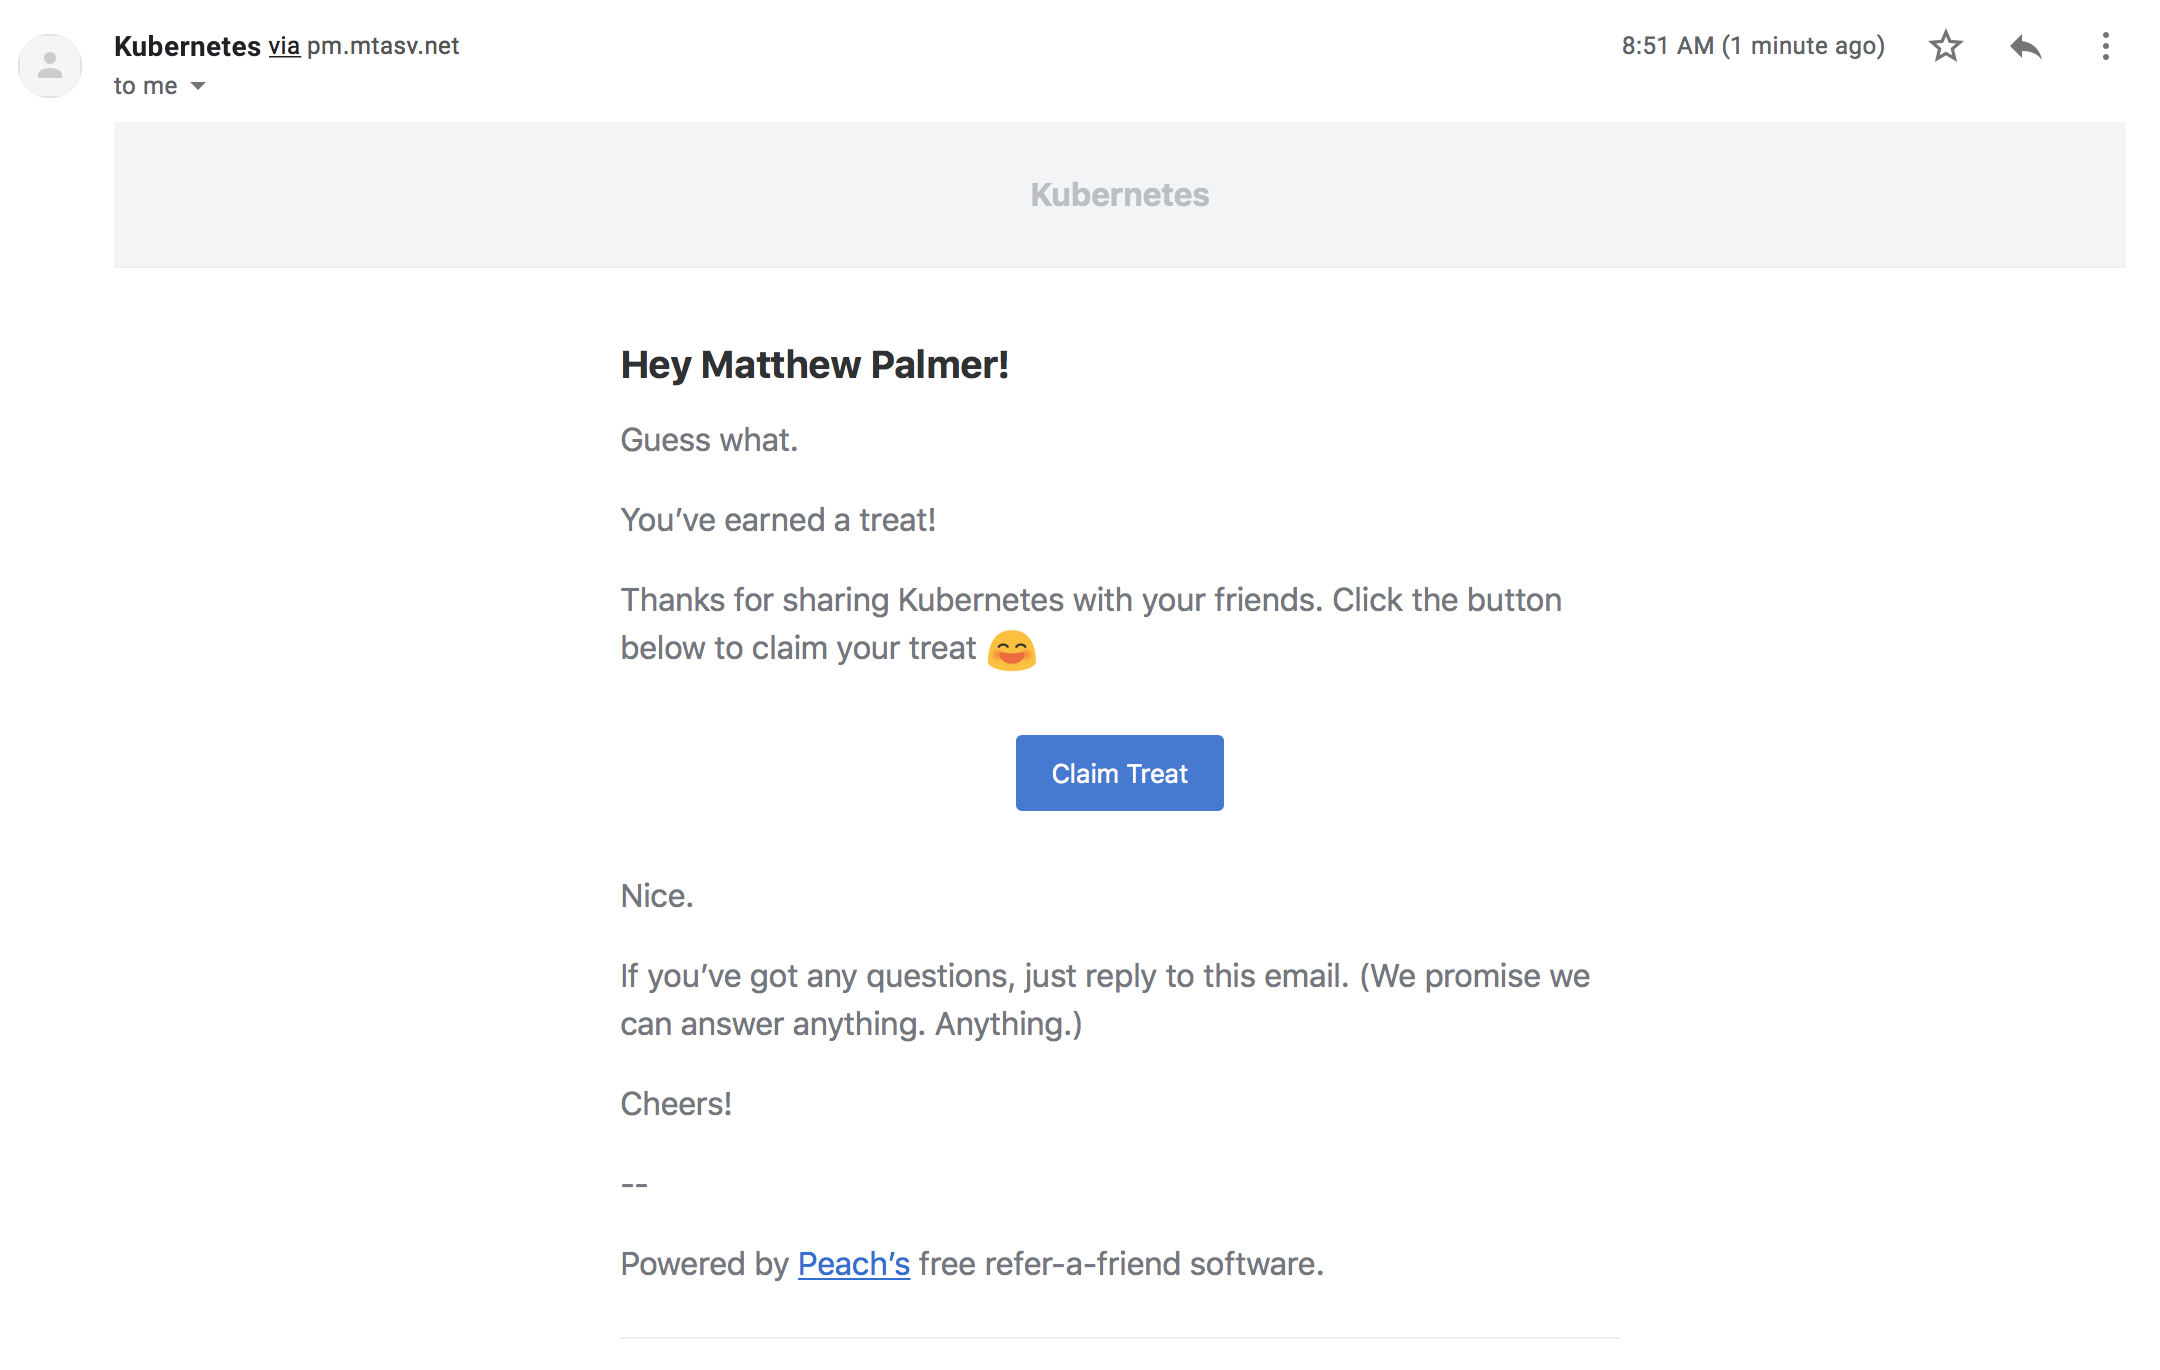
Do a test referral
Follow the instructions under step 2 and 3 on your Peach’s “Connect” tab. It will take you through creating a test subscriber, and perform a test referral so that you can understand how the referral process works.
With those steps completed, you’re good to go!
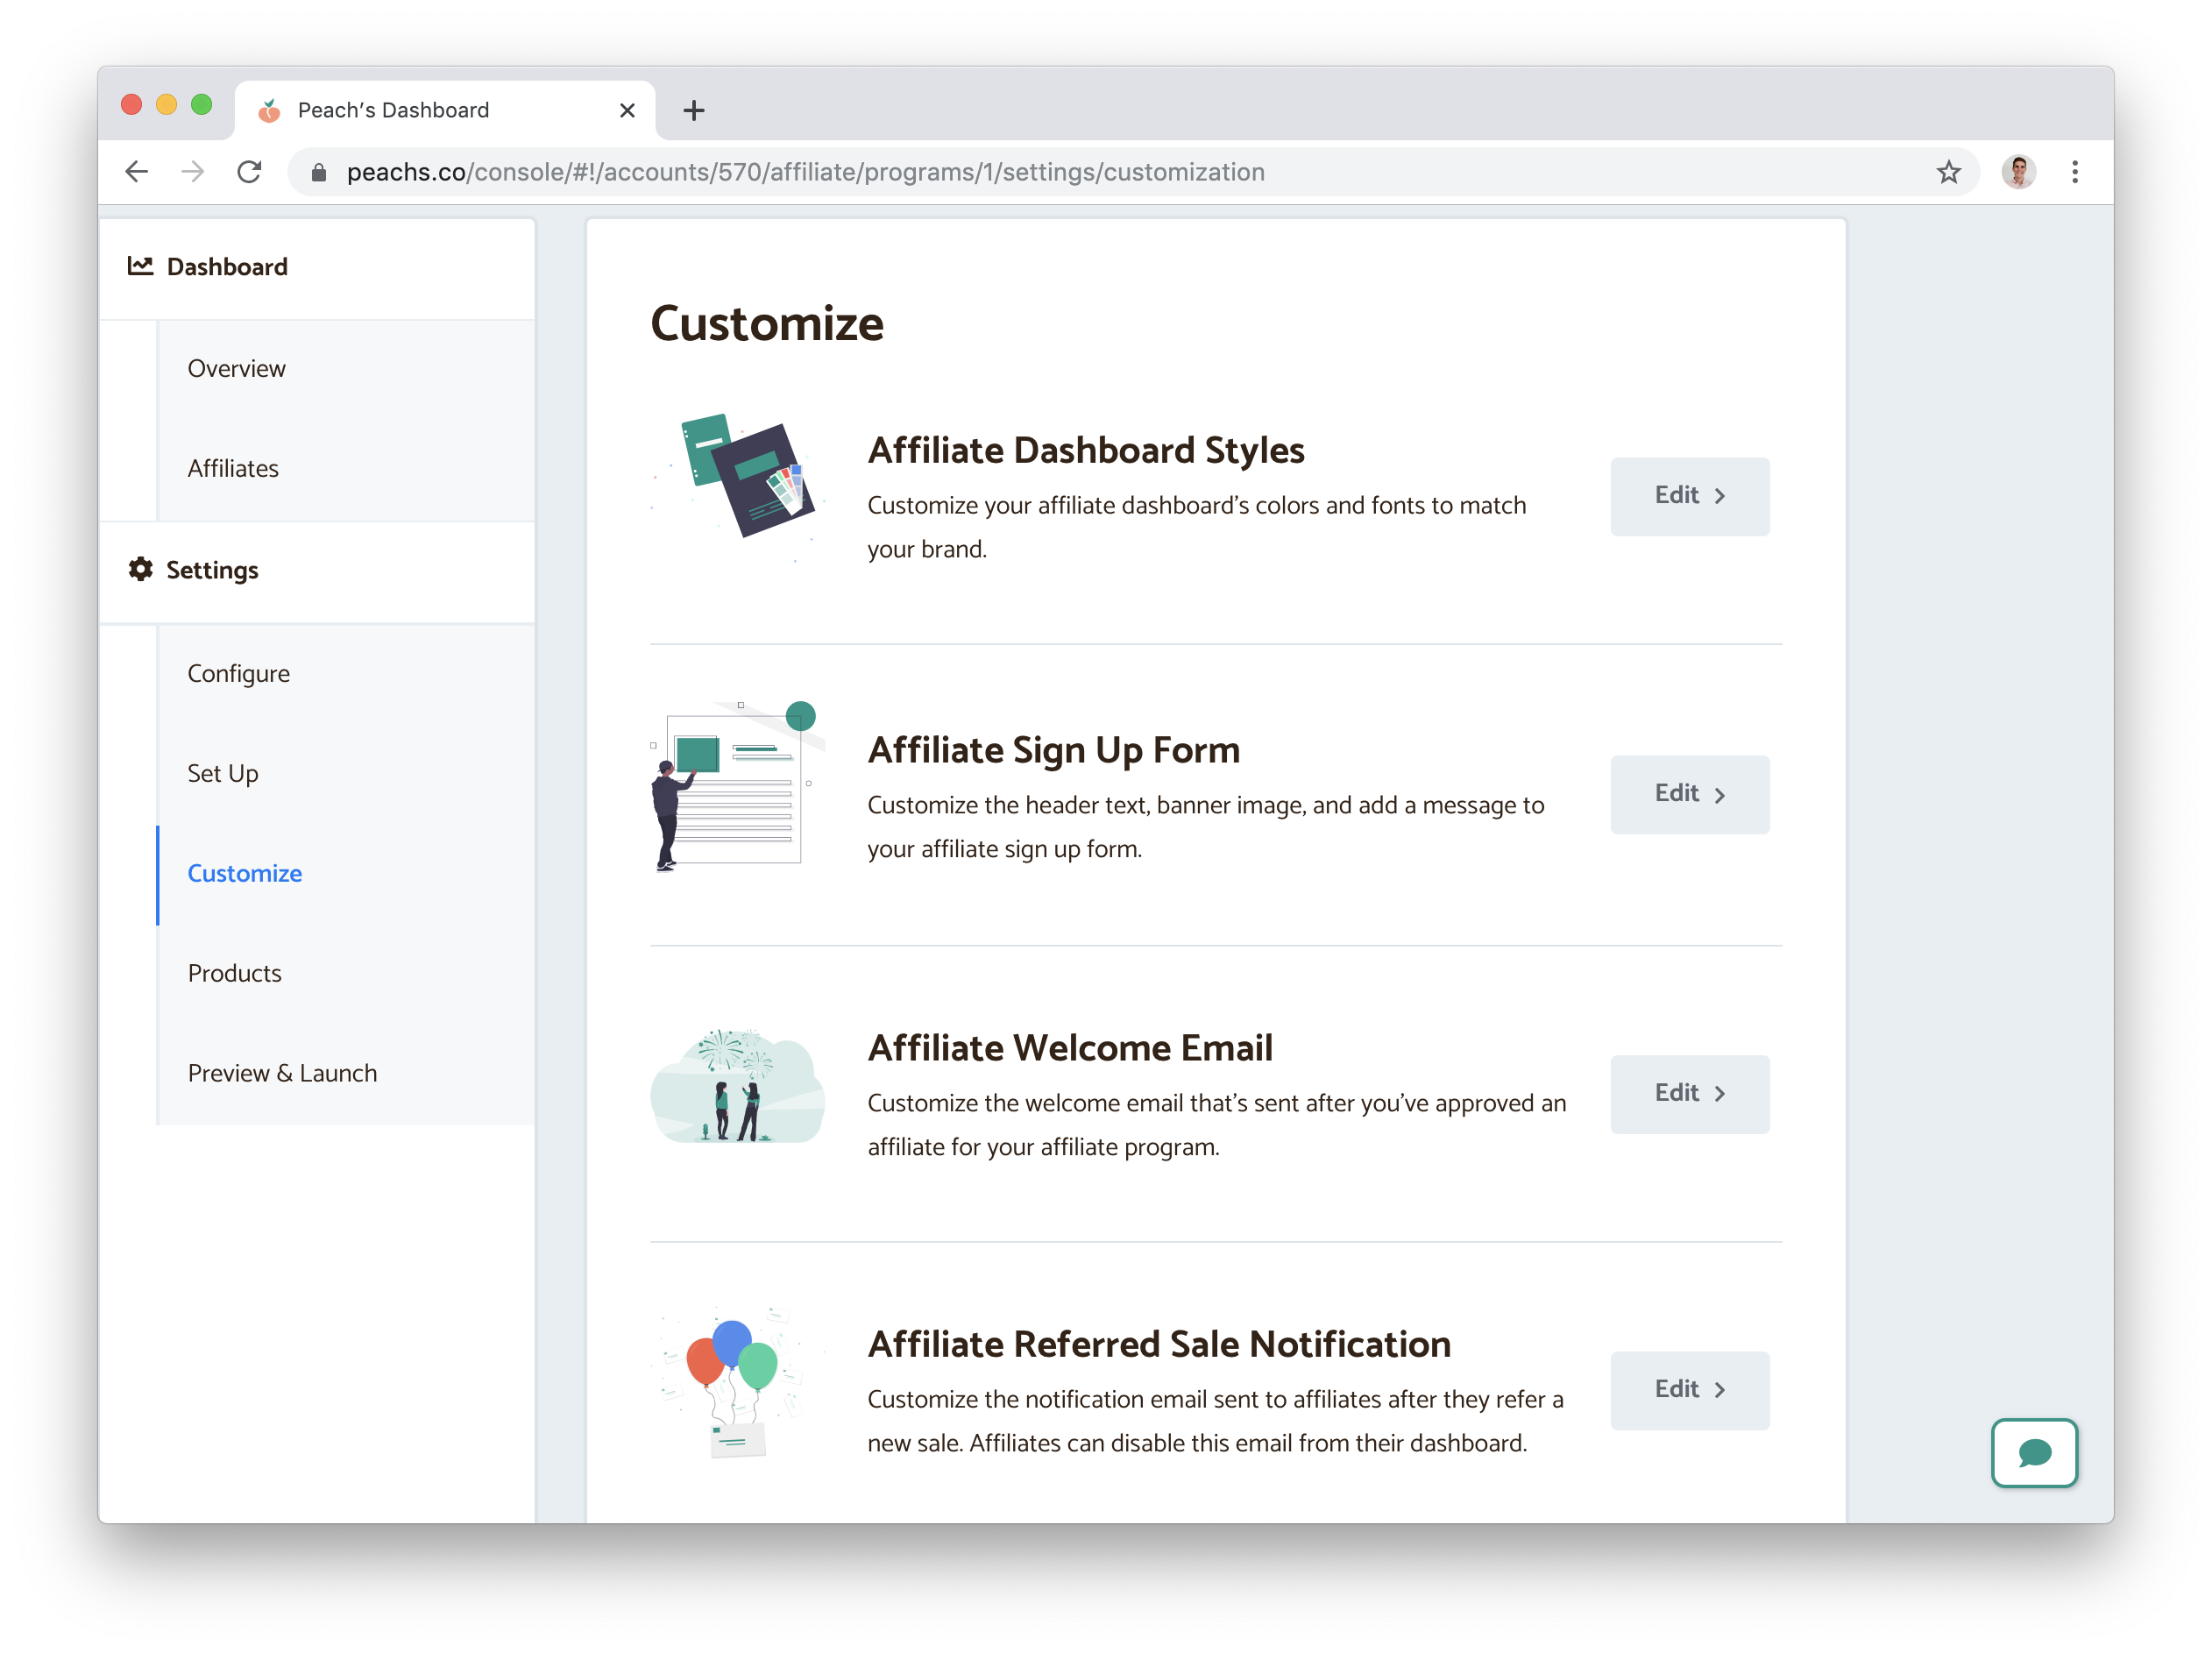
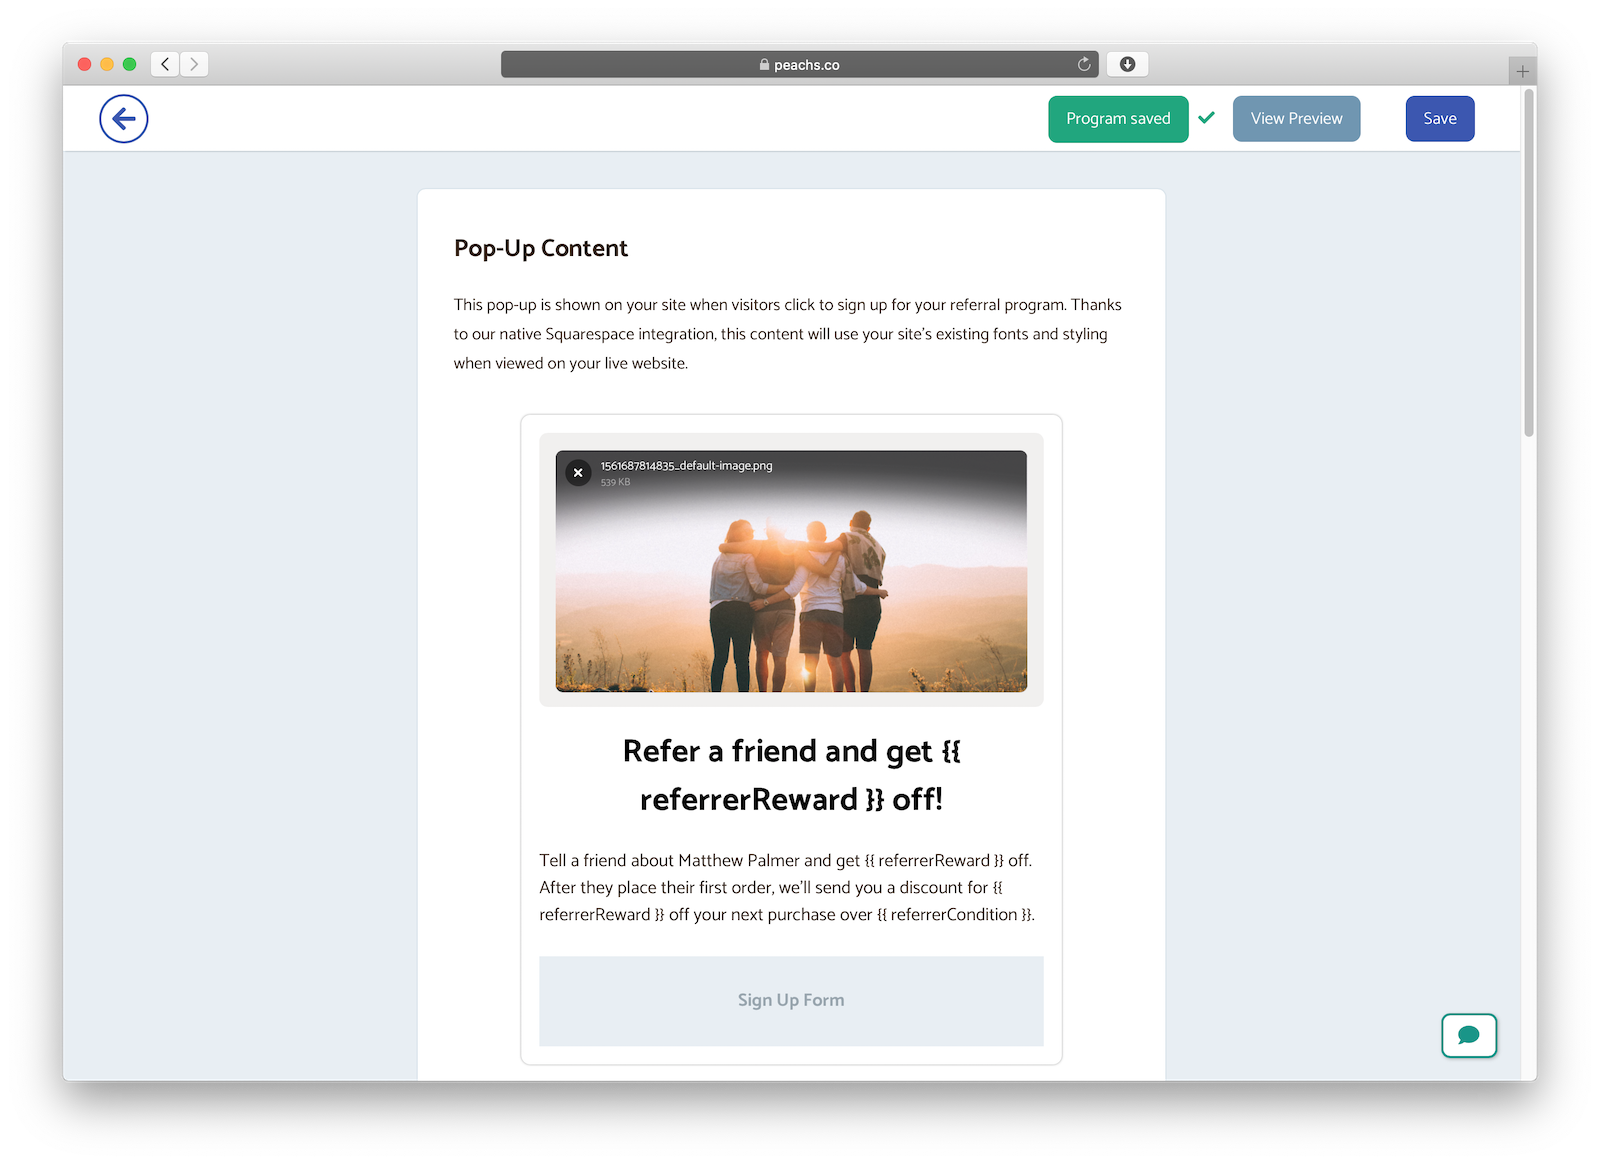
Customize your program
If you want, you can customize your program in the “Customize” tab in Peach’s. You can tweak all your email templates and your widget styles.
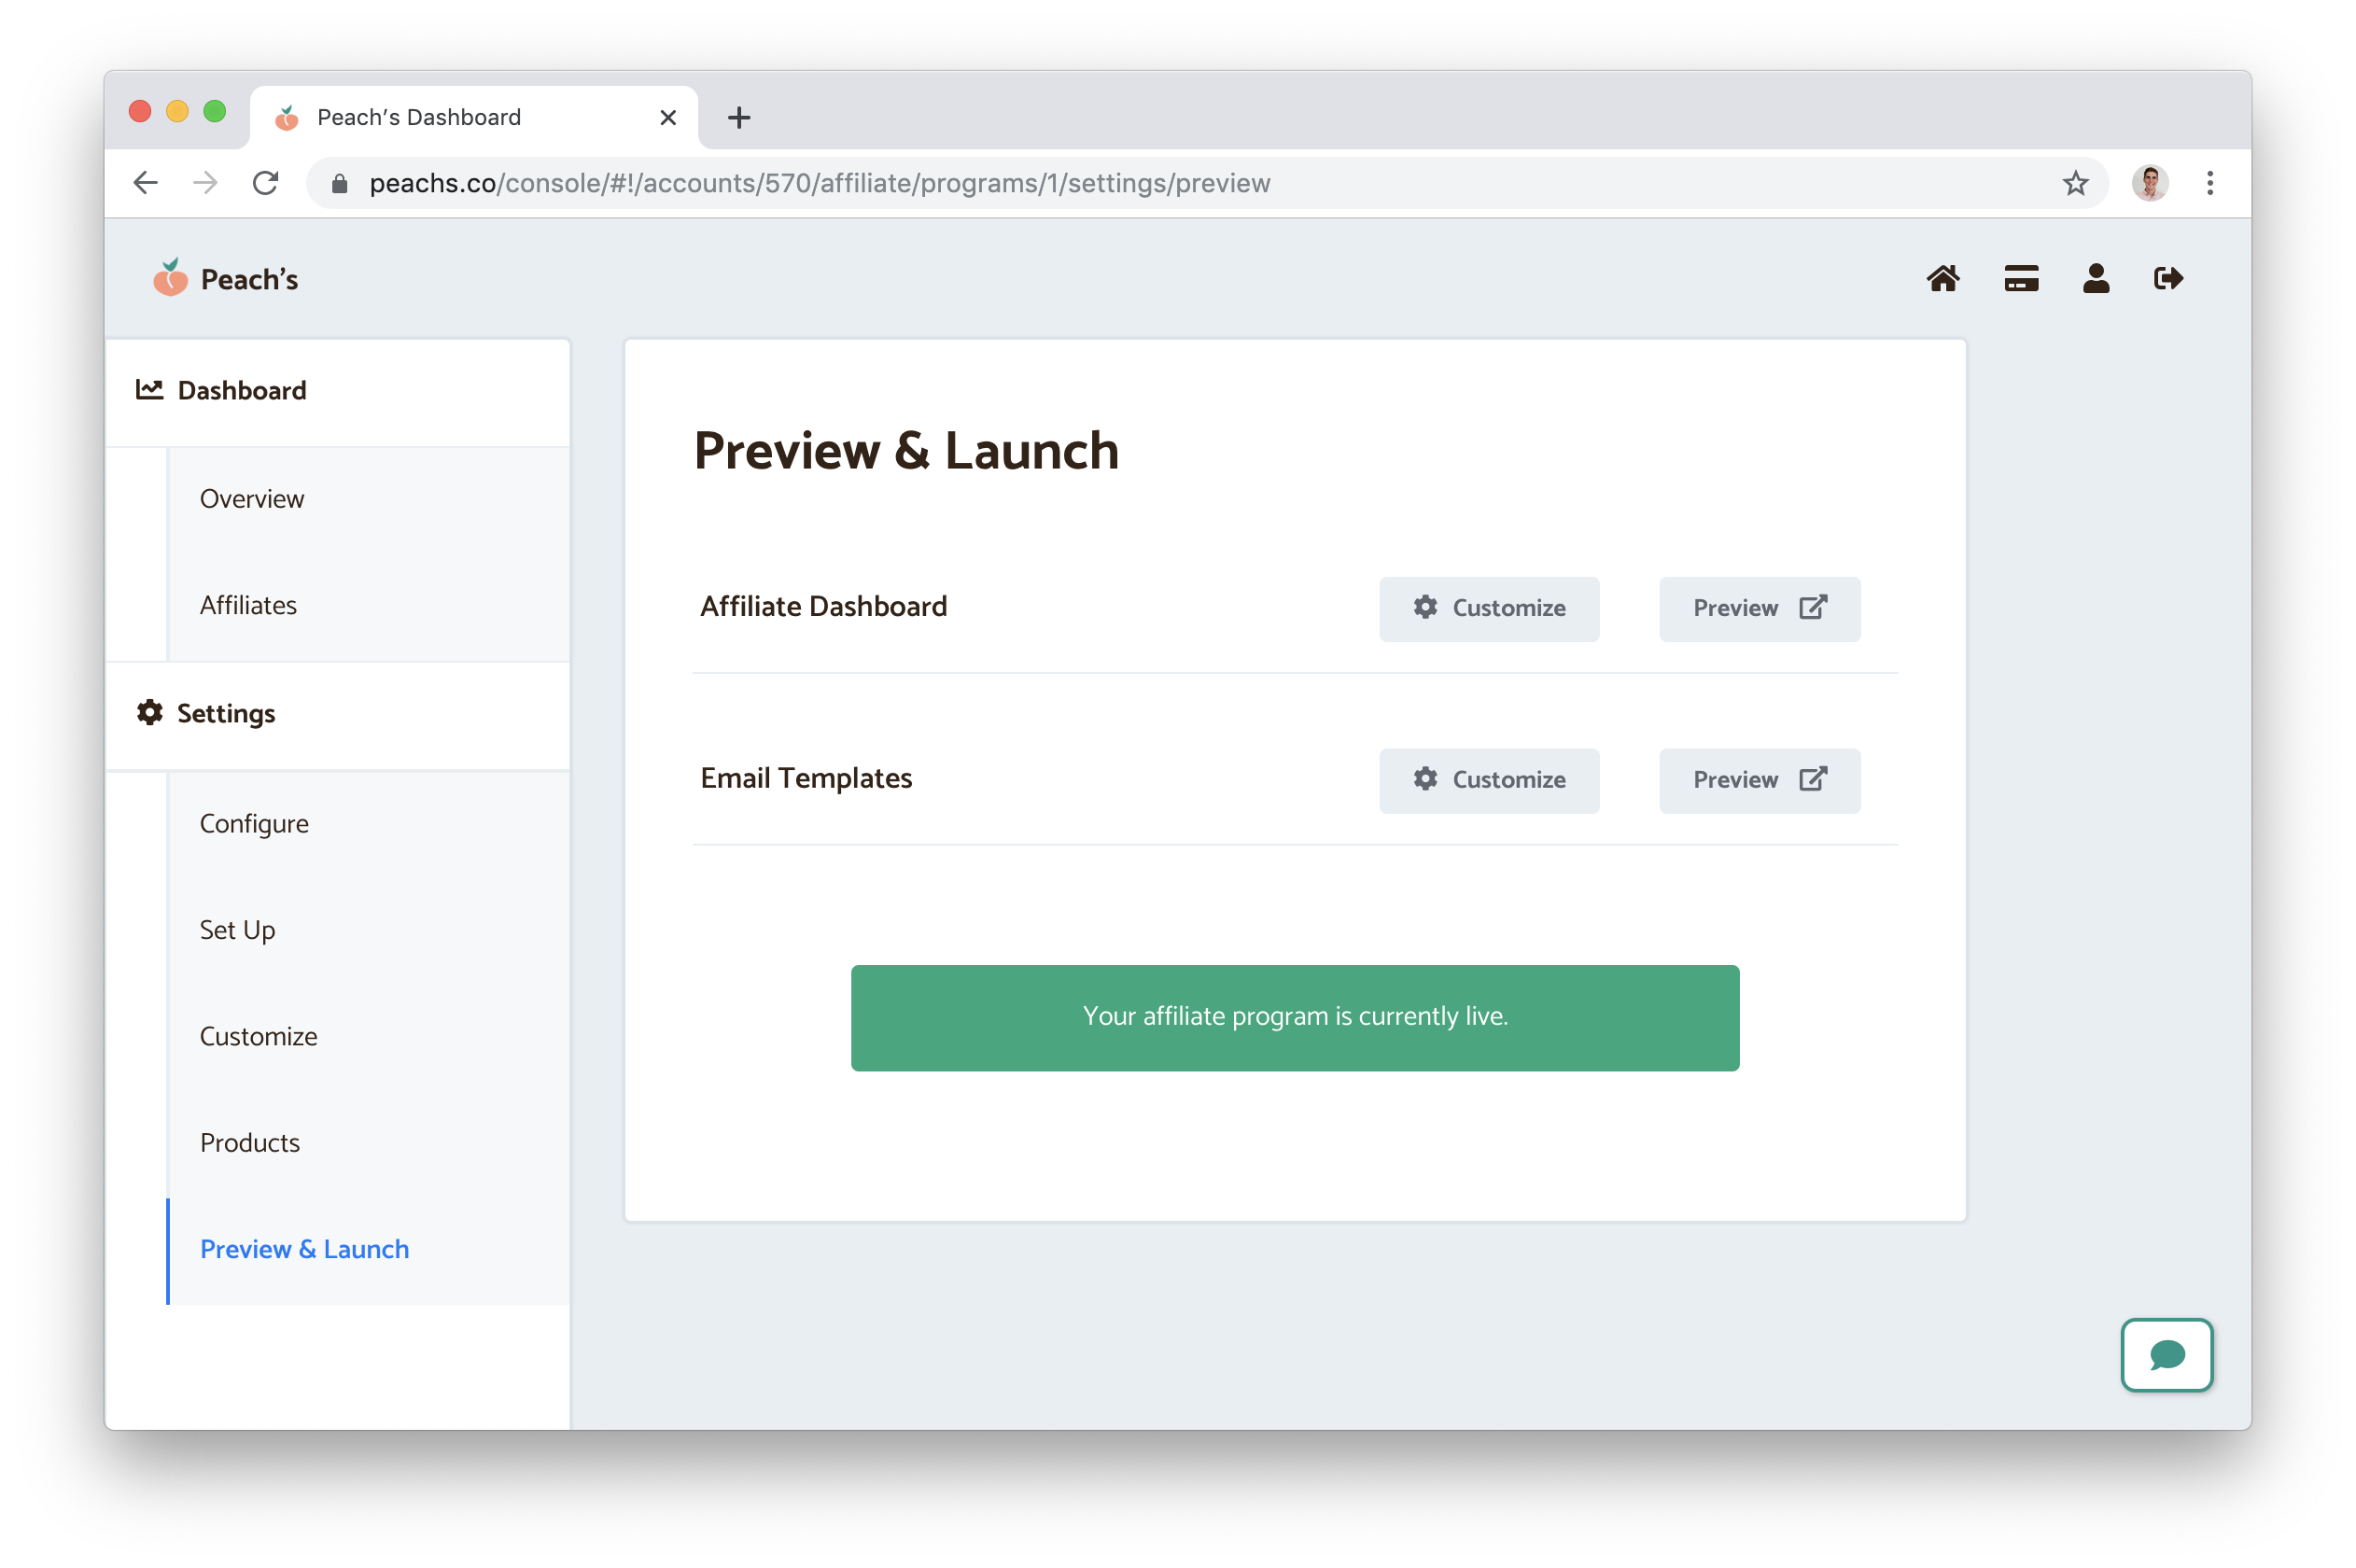
Launch your program
Everything’s done! You can click on the “Preview & Launch” tab to launch your program and make it live. You should see your referral widgets on your landing page, and everything will be working.